




 Английски
 китайски (Китай)
 испански
 Немски
 Френски
 Италиански
 японски
 корейски
 Гръцки
 индонезийски
 китайски (Хонконг)
 Руски
 датски
 финландски
 унгарски
 Турски
 холандски
 португалски
 шведски
 румънски
 словашки
 норвежки
 хърватски
 чешки
 бенгалски
 полски
 тайландски
 украински
 виетнамски
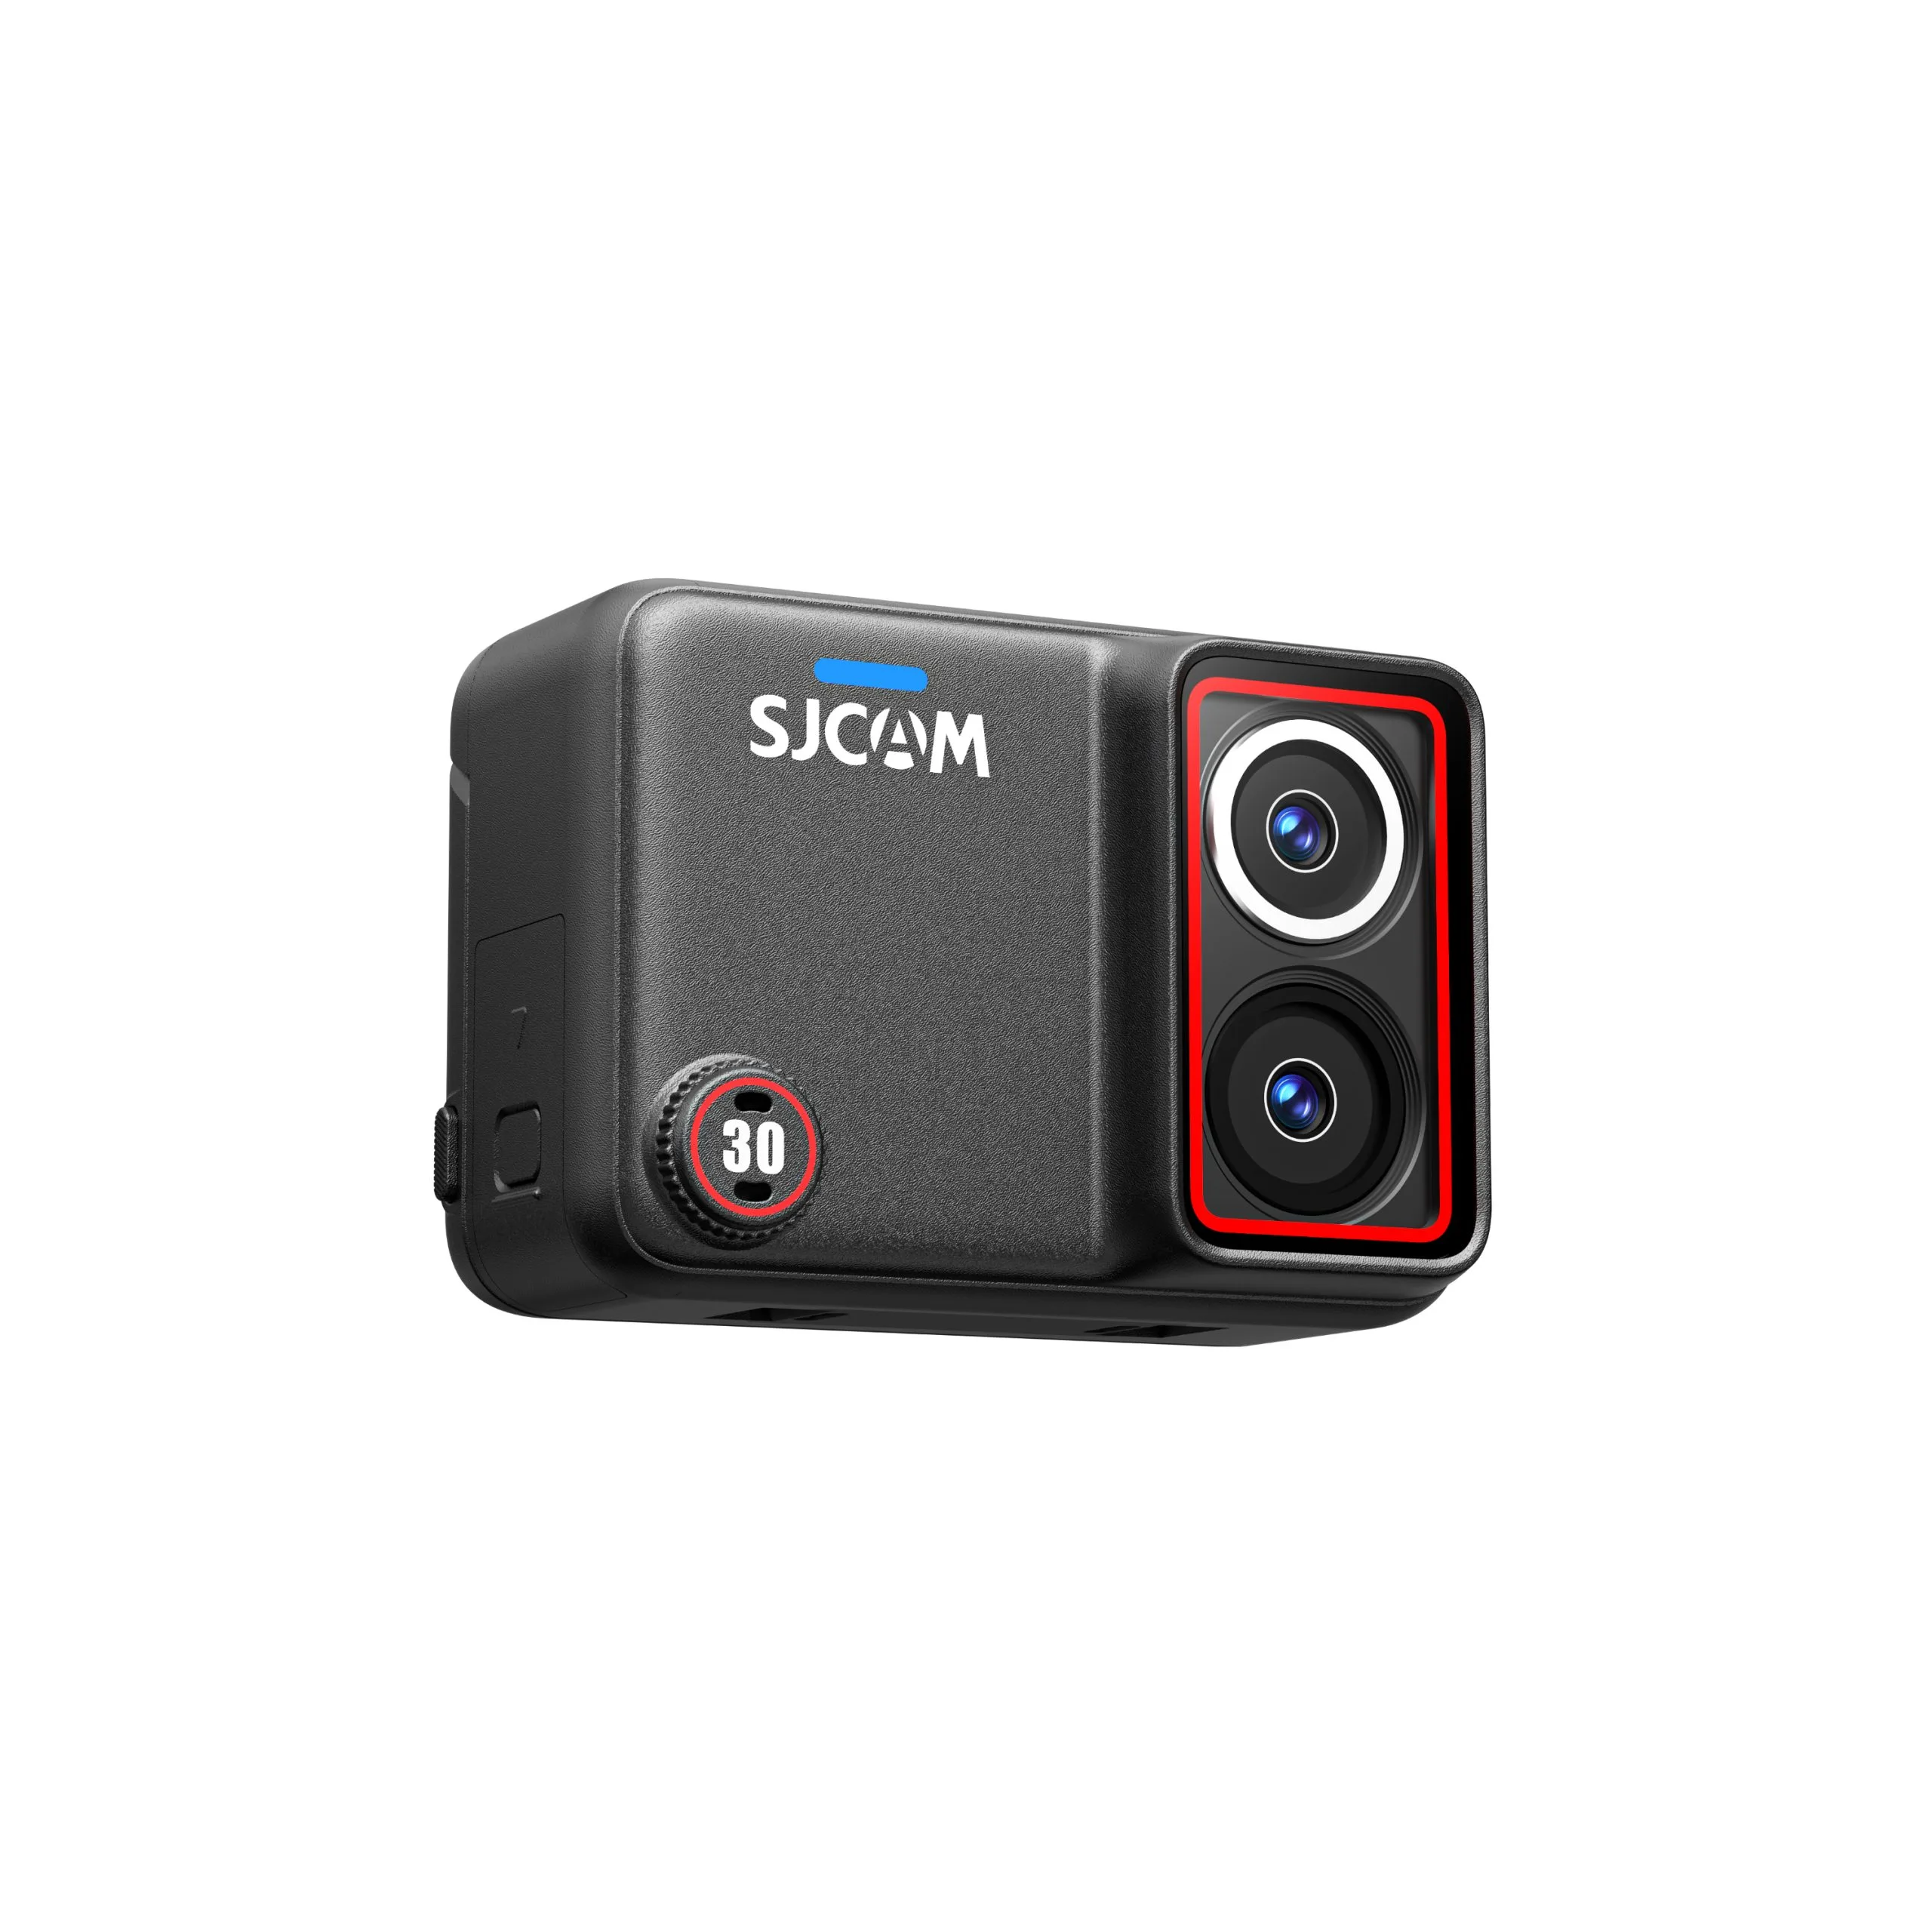
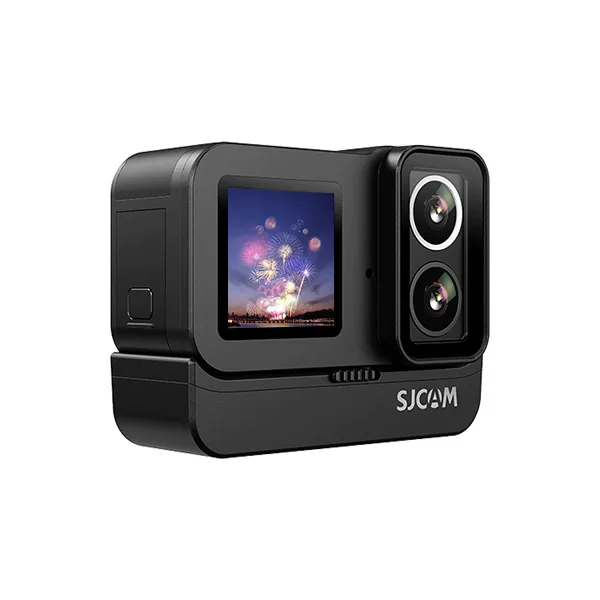
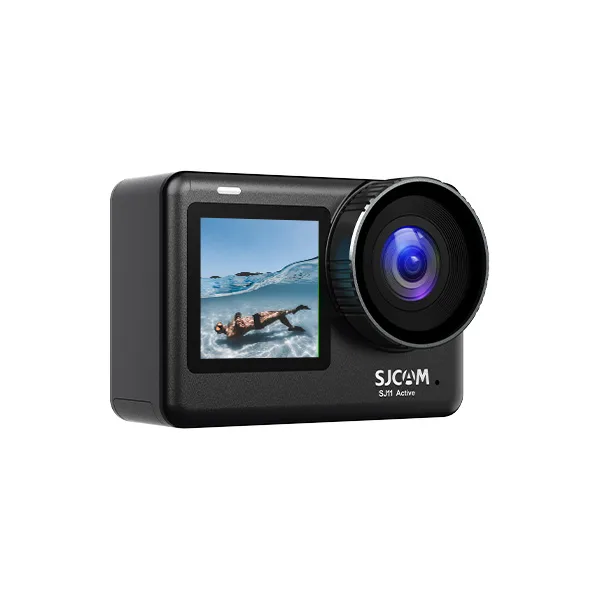
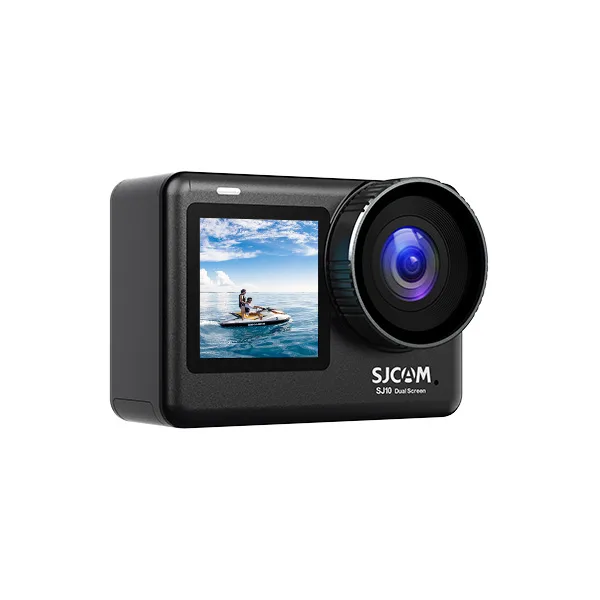
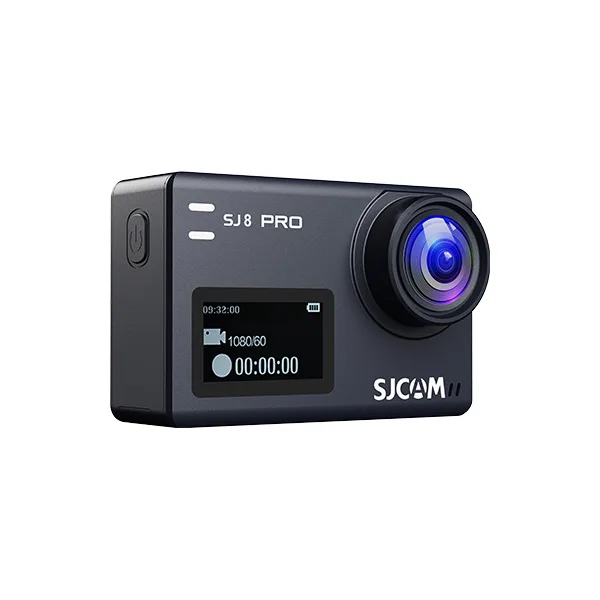
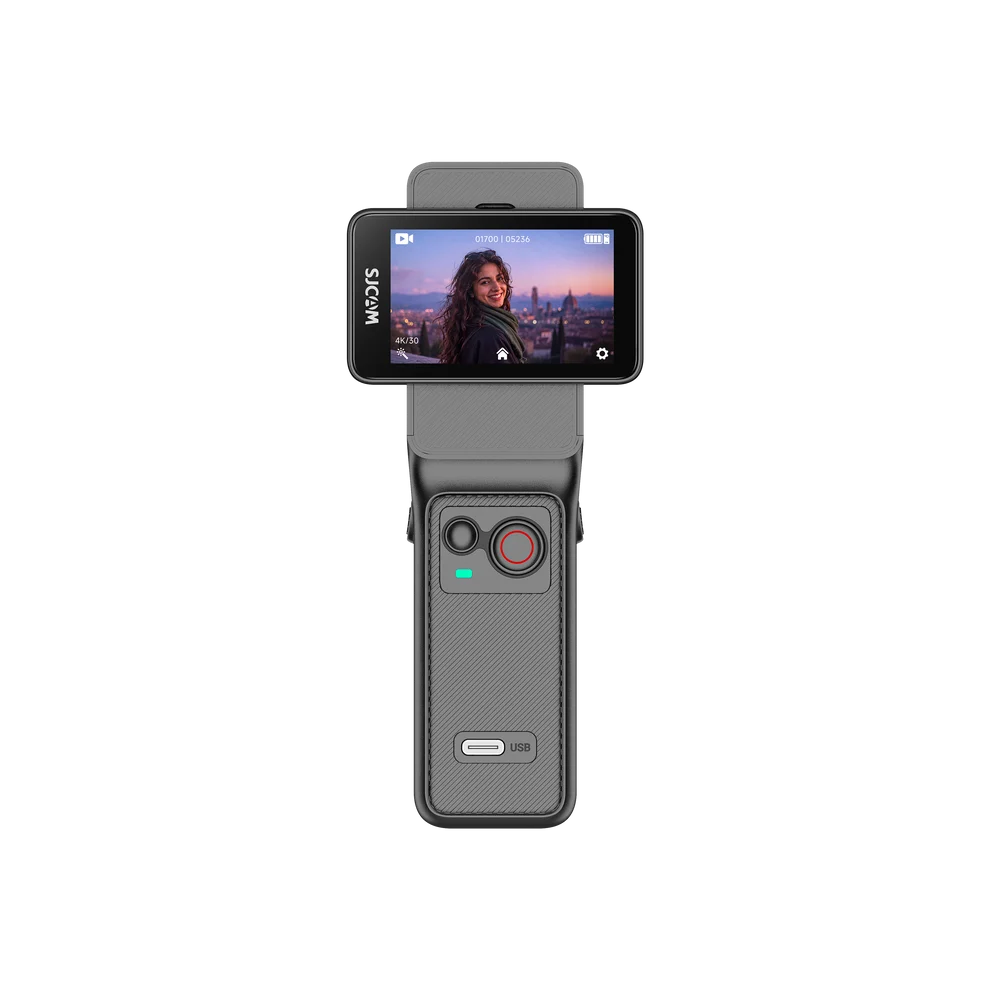



A great snowboarding video isn’t just about having a good camera. Where you mount it can completely change how your ride looks.
A helmet mount captures the slope from your perspective. A snowboard mount brings the lens close to the snow for dramatic carving shots. A selfie stick lets you include yourself, your turns, and the mountain scenery in the same frame.
But which setup actually works best?
The answer depends on the footage you want, your riding style, and whether the mounting equipment is suitable for the conditions. Here’s how three popular action camera mounts for snowboarding compare, including practical setup advice and mistakes worth avoiding.
What Is the Best Action Camera Mount for Snowboarding?
For natural first-person footage, a compatible, manufacturer-approved helmet mount is an option. A specialized board mount offers unusual low-angle footage, while a selfie stick gives you more freedom to frame yourself and the surrounding landscape when conditions allow safe use.
Each has its trade-offs.
| Mount Type | Най-добро за | Camera Perspective | Основен недостатък |
|---|---|---|---|
| Стойка за каска | First-person riding footage | Rider’s head-level view | Helmet compatibility and added bulk |
| Snowboard Mount | Creative carving shots | Low, close-to-snow angle | Vibration, impact, and detachment risks |
| Селфи стик | Follow-cam and scenic shots | Flexible third-person view | Occupies a hand and may affect balance |
There isn’t one mount that works best for every snowboarder. If you mostly want to show the trail ahead, consider an approved helmet setup. If you’re interested in creative footage, a specialized board mount or selfie stick may provide a more interesting perspective under suitable conditions.
1. Helmet Mount: Best for First-Person Snowboarding POV
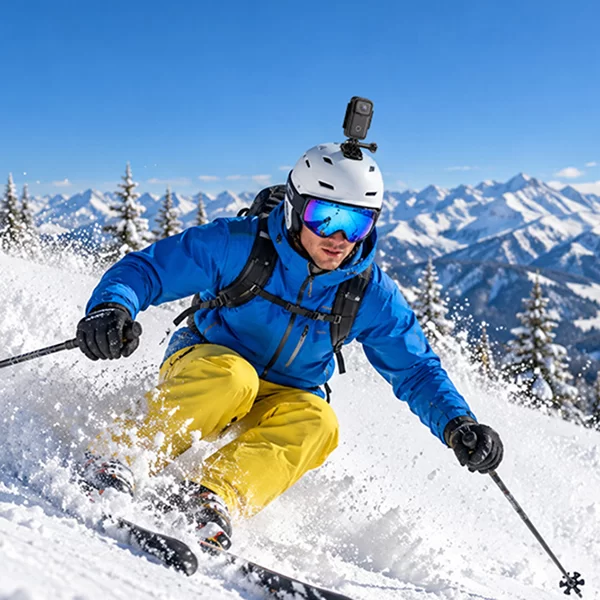
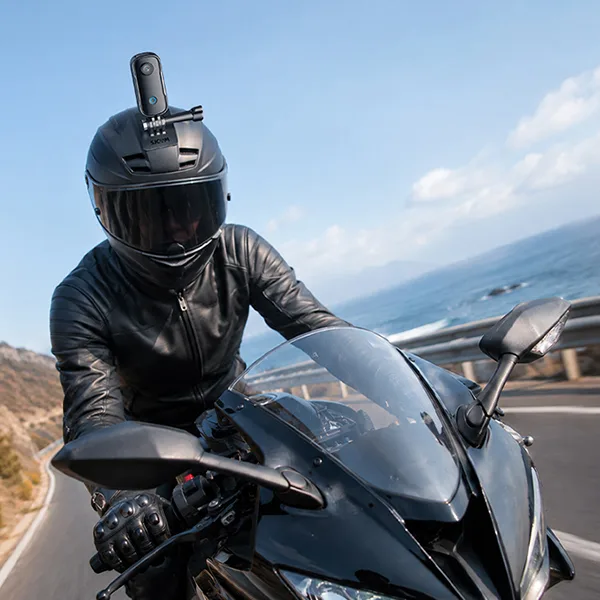
A helmet camera puts viewers close to your line of sight. It captures the slope opening ahead, the direction of your turns, and the changing terrain as you ride.
It’s a popular perspective for snowboarding POV videos because the camera moves with your head rather than your arms.
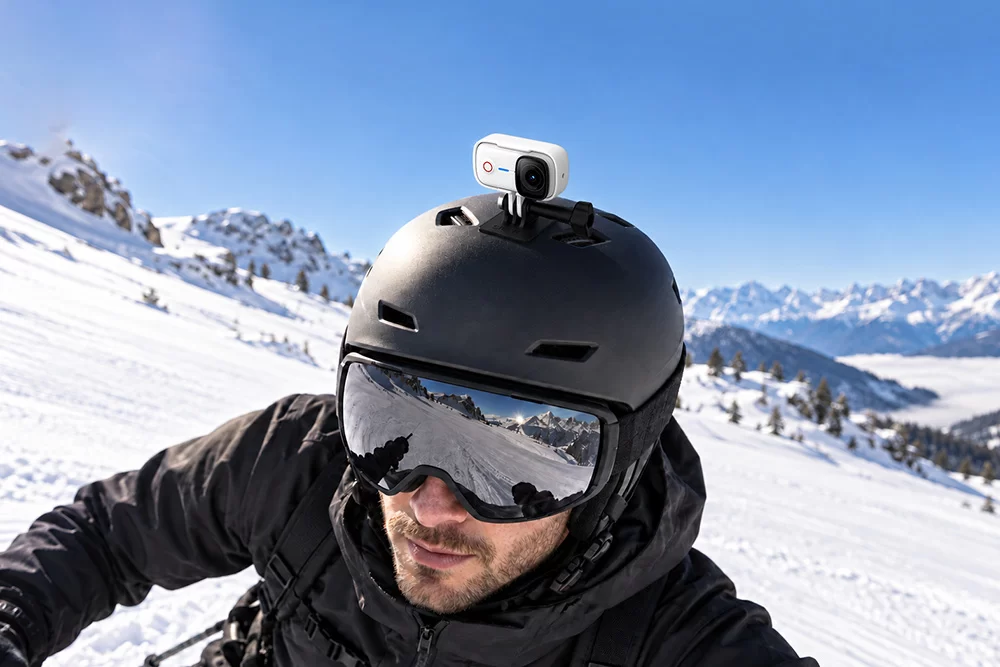
How to Mount an Action Camera on a Snowboard Helmet
Before attaching anything, check your helmet manufacturer’s instructions. Not every snowboard helmet is designed to accept camera accessories, and an unapproved attachment may affect its protective performance.
If your helmet manufacturer permits a compatible camera mount, follow these steps:
- Check compatibility. Confirm that the helmet, mount, and camera are approved for the intended combination.
- Choose the mounting position. Follow the manufacturer’s permitted locations rather than assuming the top or side is suitable.
- Install the mount correctly. Follow its instructions for attachment, preparation, and any required adhesive curing.
- Secure the camera. Check the connector and locking mechanism.
- Test the framing. Put on your helmet while stationary and record a short clip.
- Inspect the setup. Make sure the camera does not obstruct your vision or interfere with helmet function.
Don’t drill holes, modify the helmet shell, or attach an incompatible mount.
Best Helmet Camera Angle for Snowboarding
For forward-facing POV footage, start with the lens approximately level with your natural viewing direction.
If the camera points too high, you’ll capture mostly sky. Too low, and the video may show little beyond the snow directly ahead.
A short test recording is usually more useful than trying to guess the perfect angle. Review it after a gentle practice run and make adjustments only while safely stopped.
Най-подходящо за: Riders who want a natural first-person perspective and have a helmet specifically approved for camera mounting.
2. Snowboard Mount: Best for Creative Board-Level Footage
Few camera angles make a carving turn look as dramatic as a low shot near the snowboard.
A board-level view captures snow spraying from the edge, the changing angle of the board, and the surface rushing past the lens. These clips can add variety to an otherwise straightforward POV video.
However, mounting a camera directly on a snowboard presents challenges that shouldn’t be overlooked.
Can You Mount an Action Camera Directly on a Snowboard?
Only use a board-mounted camera when the snowboard and mounting equipment manufacturers permit that specific configuration.
Snowboards flex during turns. Snow, moisture, vibration, and impacts can also affect mounting security. An ordinary adhesive camera base should not be assumed suitable for direct attachment.
If your equipment does not explicitly support board mounting, choose another perspective instead.
How to Set Up a Snowboard Camera Mount
For a manufacturer-approved board mounting system:
- Check compatibility with your snowboard, camera, and binding setup.
- Inspect the mounting area for damage, snow, or moisture.
- Install the attachment exactly as instructed by its manufacturer.
- Confirm that it does not interfere with board flex, bindings, or normal operation.
- Test the attachment in a controlled setting away from active traffic.
- Stop using it immediately if anything loosens, shifts, or becomes damaged.
Don’t improvise with household adhesives or an accessory intended for another surface.
When Is a Board Mount Worth Using?
A snowboard mount is most useful when you want a short creative shot rather than an entire day’s recording.
It can produce compelling footage of carving movement, but the low position also exposes the equipment to spray, vibration, and possible impacts.
For an alternative, ask a companion to record a low-angle shot from a safe, permitted location off the riding line.
Най-подходящо за: Carefully planned creative footage using an approved board-specific mounting system.
3. Selfie Stick: Best for Follow-Cam and Scenic Snowboarding Shots
A selfie stick gives you something a fixed mount usually can’t: the freedom to change composition without repositioning the camera on your body.
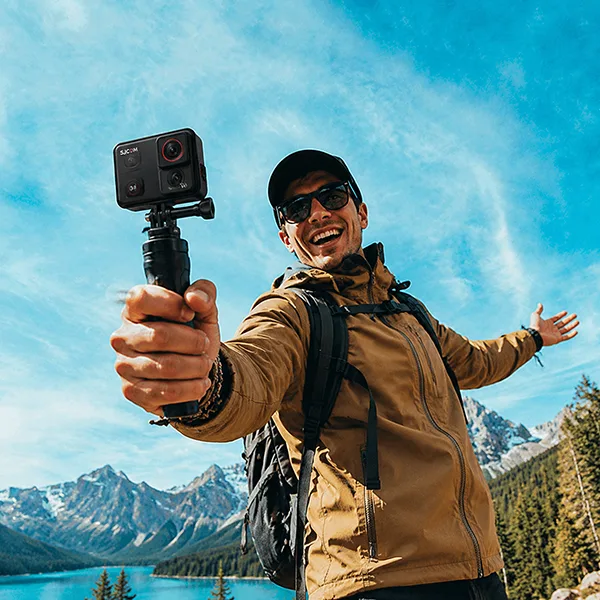
You can include your upper body, snowboard, and mountain background in one shot. It’s particularly useful for stationary introductions, scenic viewpoints, and controlled filming situations.
Unlike specialized 360° camera systems, a conventional action camera won’t automatically make the selfie stick disappear from the video.

How to Use a Selfie Stick for Snowboarding
Start with a short, compatible action camera selfie stick that you can control comfortably.
- Attach the camera and tighten the mounting connector.
- Check the stick’s locking mechanism.
- Set your preferred recording mode before filming.
- Practice the camera angle while stationary.
- Use the stick only where permitted and where it won’t compromise your balance, awareness, or control.
- Stop in a safe area before changing the camera angle or extending the stick.
Avoid using a handheld stick during high-speed riding, jumps, technical terrain, or crowded runs.
Best Selfie Stick Angles
Different positions create different results.
| Camera Position | What You’ll Capture |
|---|---|
| In front, facing the rider | Face, upper body, and mountain scenery |
| To the side | Side profile and body position |
| Behind the rider | Rider’s movement and surrounding terrain |
| Elevated while stationary | Wider landscapes and group shots |
For beginners, stationary shots are the easiest place to experiment. You can focus on framing without needing to control the snowboard simultaneously.
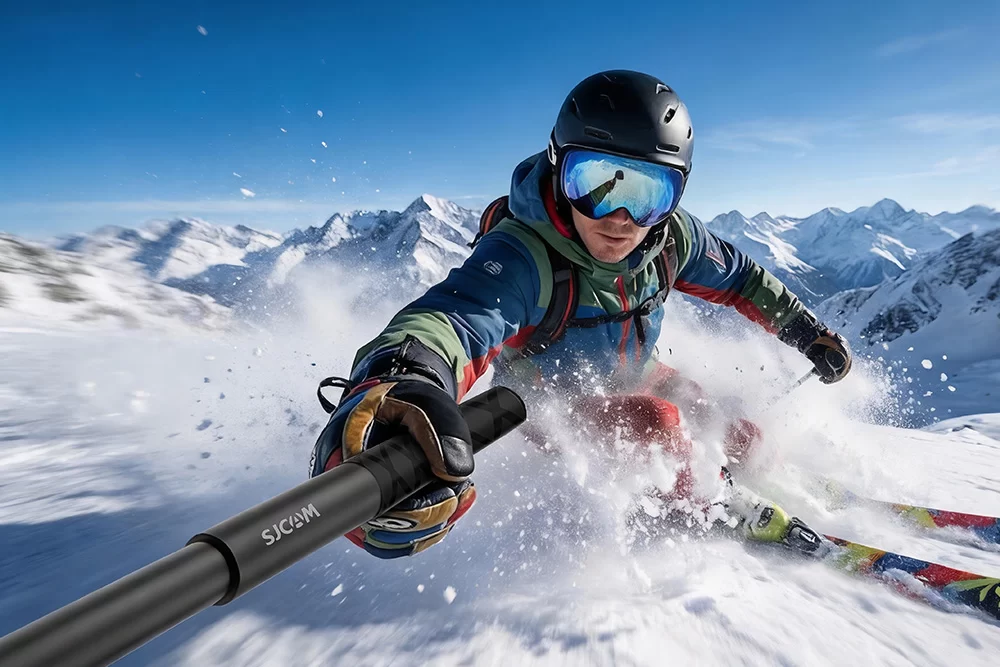
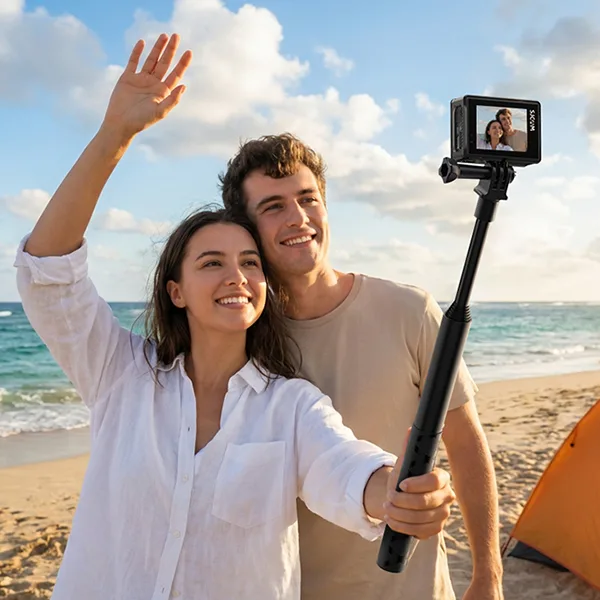
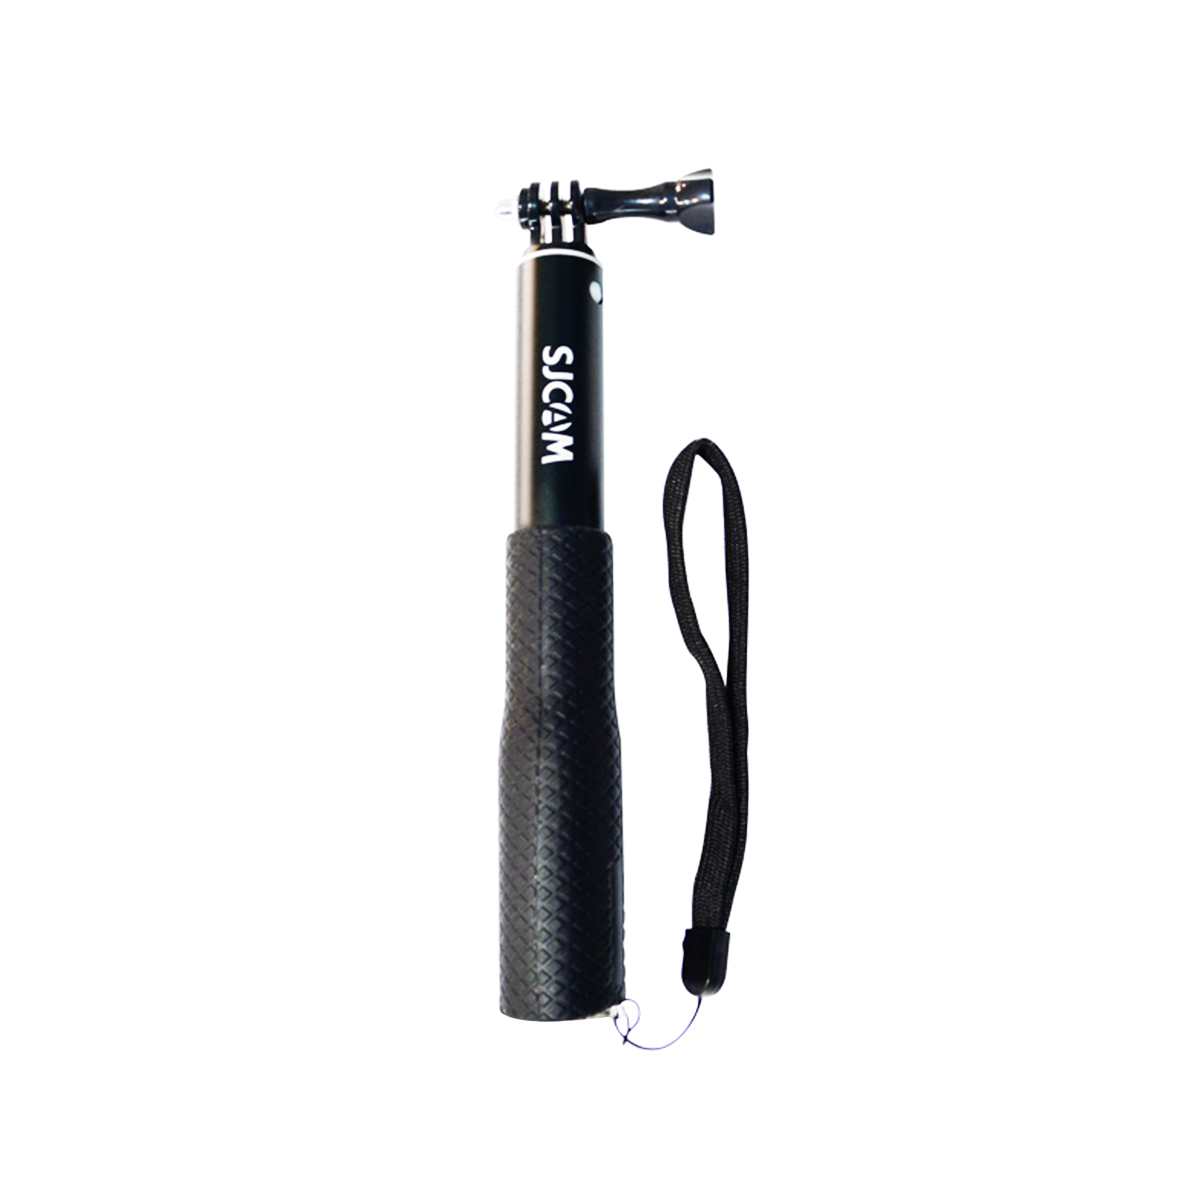
The SJCAM Advanced Selfie Stick extends to approximately 120 cm, offering flexibility for travel filming and wider compositions. Check the product’s compatibility and intended use before taking it into snowy conditions.
Best for: Snowboarding vlogs, scenic shots, and carefully controlled third-person footage.
Helmet vs. Board vs. Selfie Stick: Which Should You Choose?
The most useful mount is the one that gives you the perspective you want without making riding more difficult.
For beginners: Prioritize learning to snowboard before filming while moving. Stationary shots or footage recorded by a companion are good starting points. A compatible body-mounted camera may also be worth considering once you’re comfortable on the slopes.
For first-person POV: A manufacturer-approved helmet mount can capture the direction you’re looking and the terrain ahead.
For carving details: A properly designed and approved snowboard mount creates a distinctive low-angle perspective. It’s a specialized option rather than an everyday default.
For travel-style videos: A selfie stick provides flexible framing, especially when stopped at viewpoints. Another rider filming from a safe position can capture moving shots without requiring you to hold equipment.
You don’t need every mount in your bag. One suitable setup, combined with a few thoughtfully filmed clips, can tell the story of a full day on the mountain.
Best Action Camera Settings for Different Snowboarding Mounts
Your mounting position affects camera movement and framing, but it doesn’t determine the camera’s recording capabilities.
These settings are practical starting points rather than universal recommendations.
| Монтиране | Предложени настройки | Основен приоритет |
|---|---|---|
| Каска | 4K/30fps, wide FOV, EIS if available | Clear forward-facing POV |
| Board-specific | 4K/60fps, ако се поддържа | Fast movement and vibration |
| Селфи стик | 4K/30fps, EIS if available | Stable framing and subject placement |
Electronic image stabilization can reduce camera shake, but it cannot compensate for a loose attachment.
Bright snow also creates challenging exposure conditions. Review a short test clip before your main recording session, especially if the snow looks gray or the highlights lose detail.
For a more detailed explanation of shutter speed, frame rate, exposure, and stabilization, read our Best Action Camera Settings for Skiing.
How to Keep Your Action Camera Secure in Snow and Cold Weather
Snowboarding puts more demands on camera equipment than ordinary walking or travel filming.
A mount that feels secure indoors may behave differently after exposure to cold, moisture and repeated vibration.
Check the Mount Before Every Session
Inspect the locking mechanism, connectors and any approved attachment points before heading onto the slope.
Make sure the camera doesn’t interfere with protective equipment, bindings or movement. Follow the manufacturer’s instructions regarding any additional retention accessories.
Protect Against Snow and Moisture
Snow can collect around connectors, buttons and lens housings.
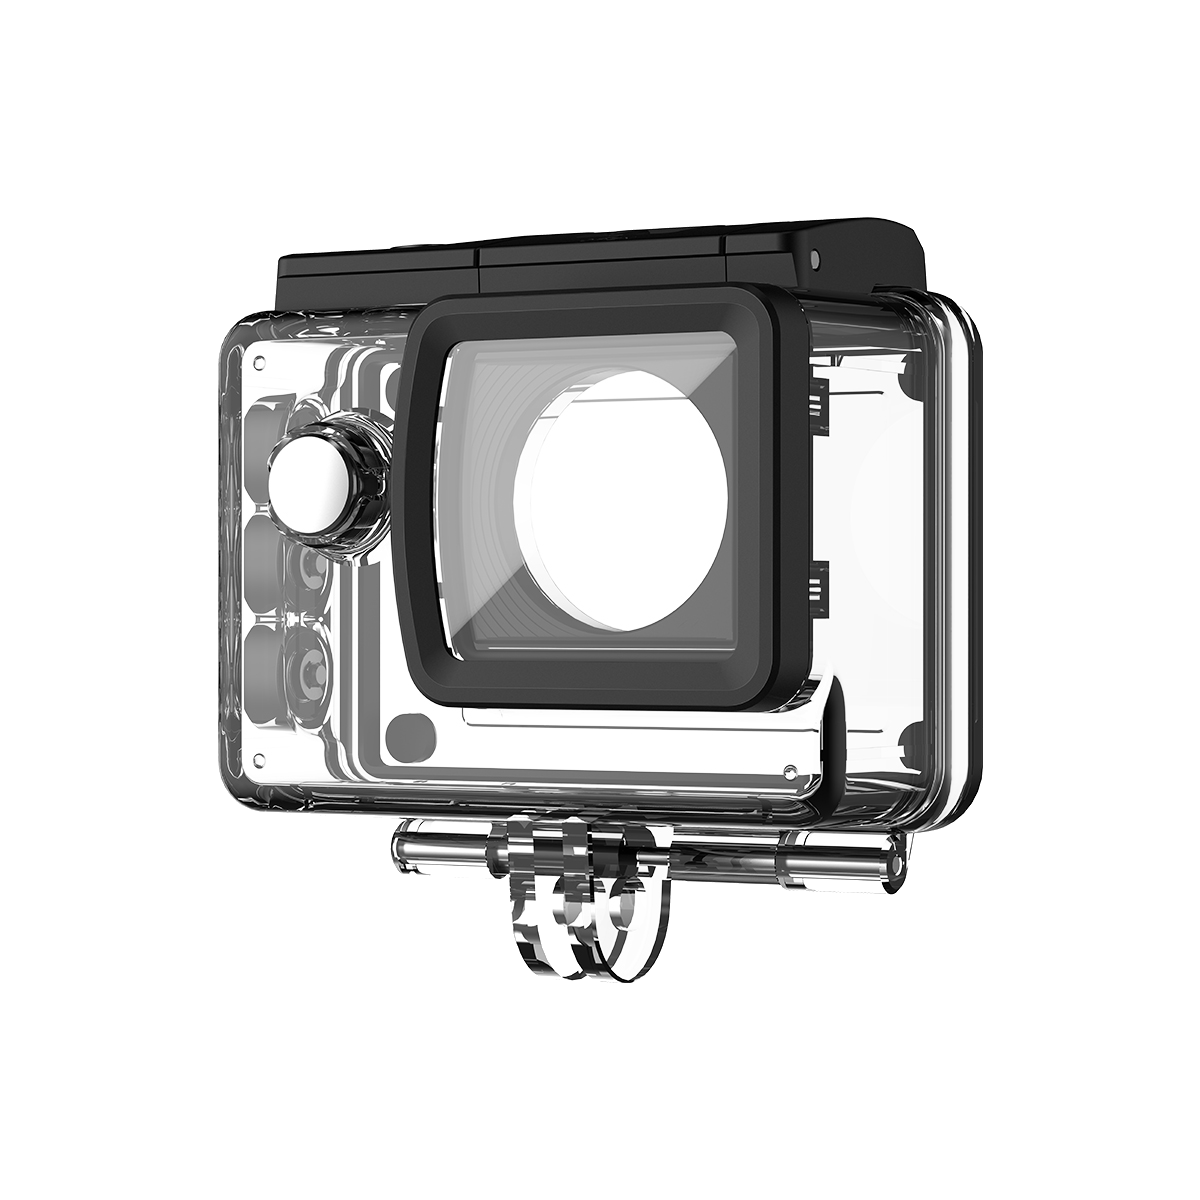
Use the appropriate waterproof protection for your camera, and remember that a waterproof camera body doesn’t necessarily mean every attached accessory is waterproof.
Wipe away moisture after filming and avoid opening battery compartments while they are wet.
Plan for Reduced Battery Performance
Cold weather can shorten recording time. Begin with a fully charged battery and keep compatible spare batteries protected according to the manufacturer’s guidance.
If you’re filming all day, record the moments you actually want rather than leaving the camera running through every lift ride and break.
Recommended SJCAM Cameras and Accessories for Snowboarding
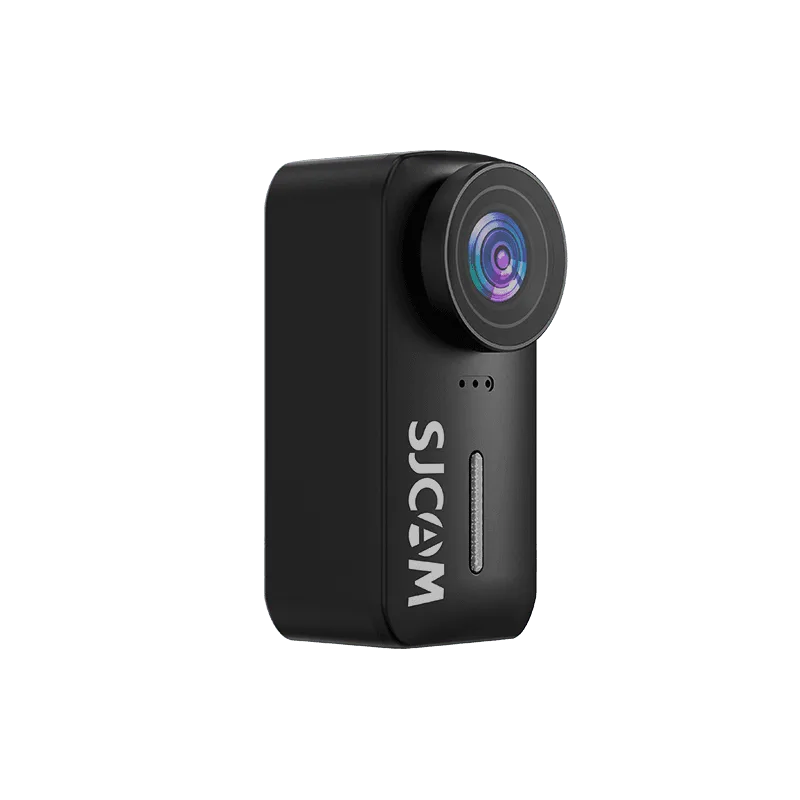
Choosing the right camera matters just as much as choosing the mount. Snowboarding involves fast turns, changing terrain, bright snow, and cold temperatures, so look for a camera with reliable stabilization, suitable recording modes, and compatible mounting accessories.
Here are three SJCAM action cameras worth considering for different snowboarding filming styles.
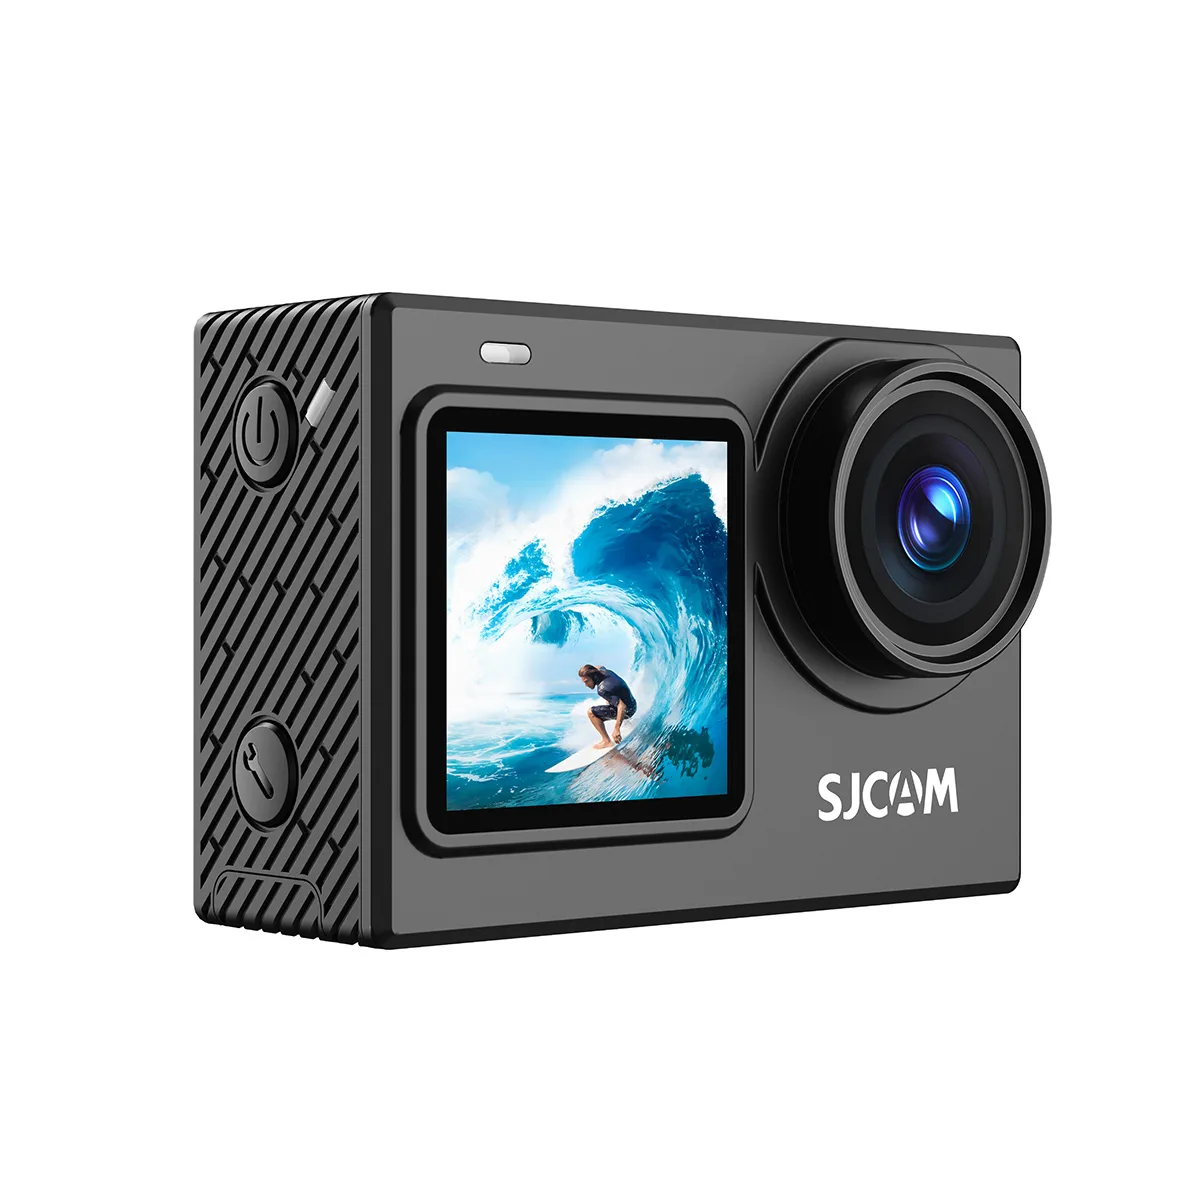
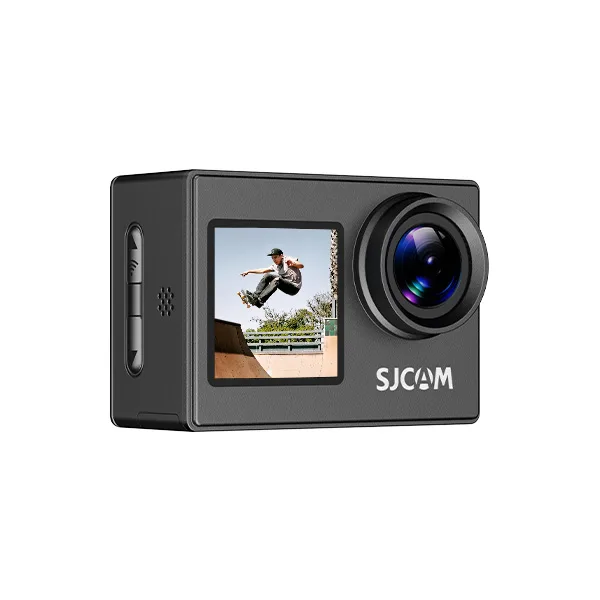
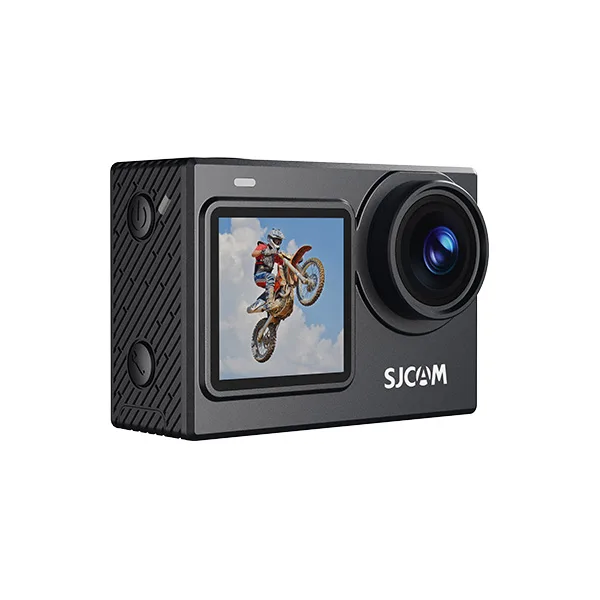
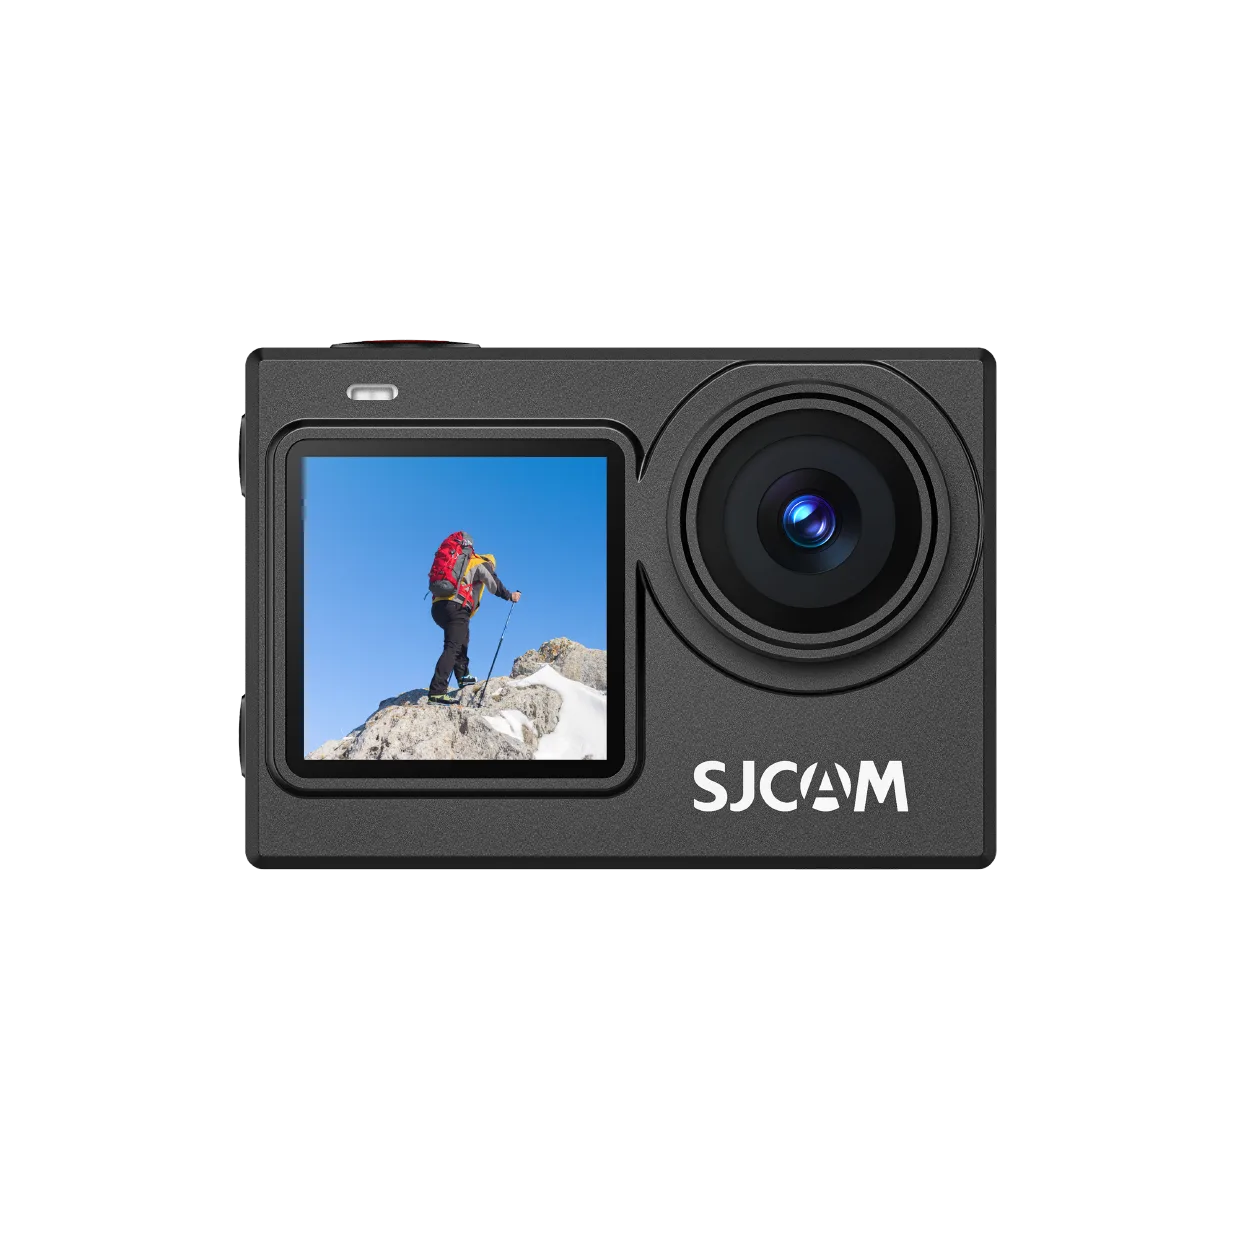
SJCAM SJ6 Ultra – Best for Wide-Angle Snowboarding POV
The SJCAM SJ6 Ultra is a practical choice for snowboarders who want to capture expansive mountain scenery and immersive first-person footage.
SJ6 Ултра
Its 166° ultra-wide-angle lens captures more of the slope, surrounding peaks, and riding environment in a single frame. The camera records up to 4K/30fps, while its six-axis gyroscopic stabilization helps reduce camera shake caused by turns and uneven snow.
The dual-screen design also makes it easier to check framing before setting off or when recording short videos at scenic stops.
Препоръчителна настройка: Use a compatible, manufacturer-approved helmet mount for forward-facing POV footage, or a handheld grip for filming mountain views while stationary.
Най-подходящо за: Scenic snowboarding runs, wide-angle POV footage, and casual mountain vlogging.
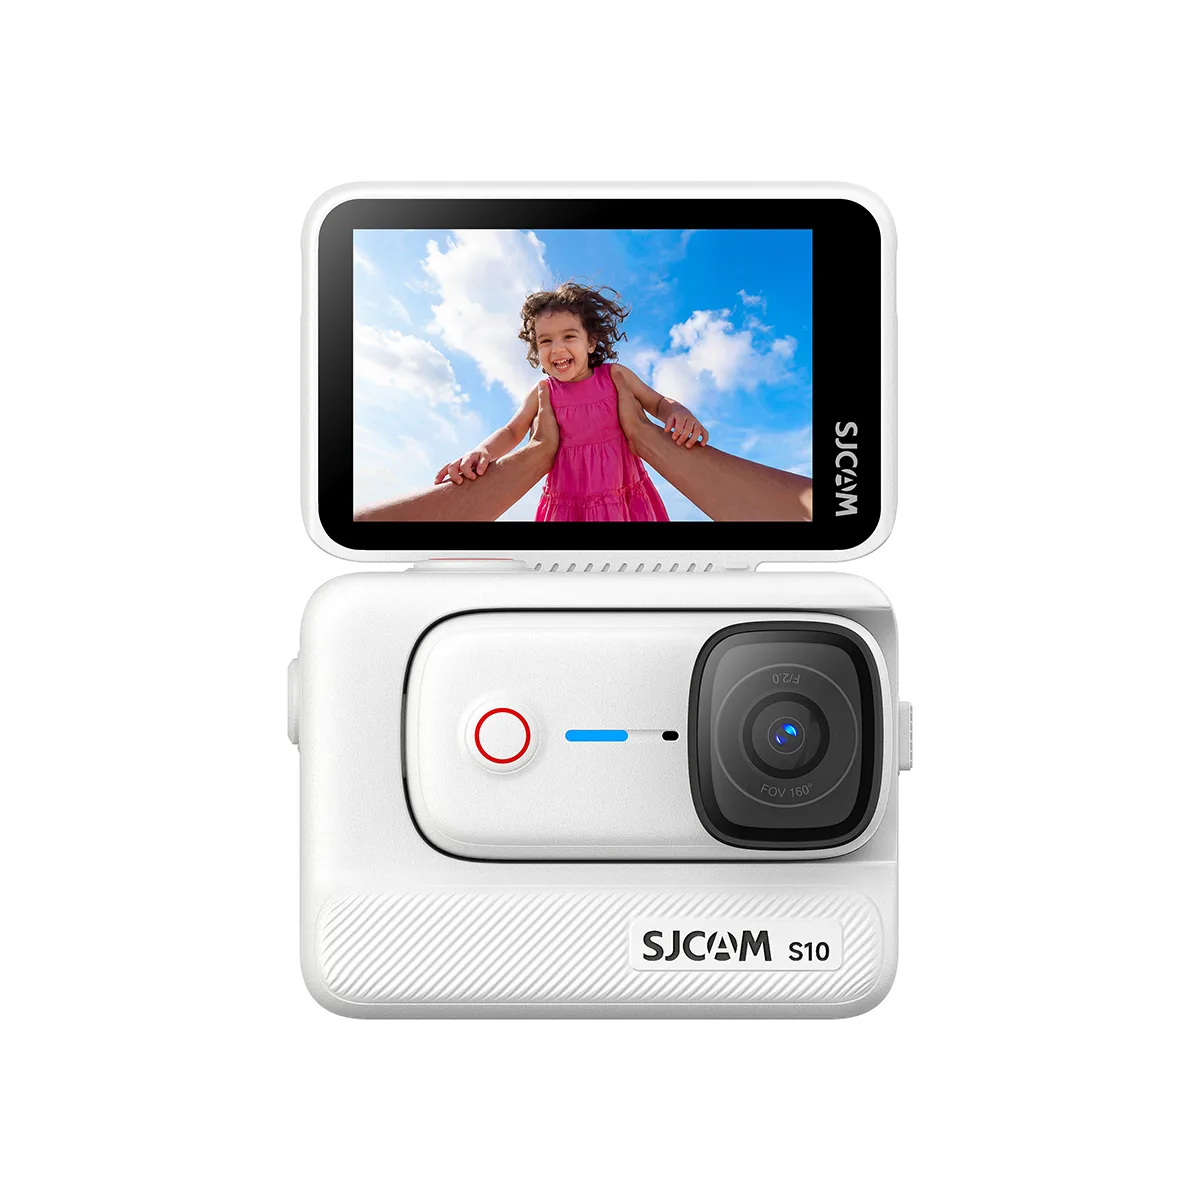
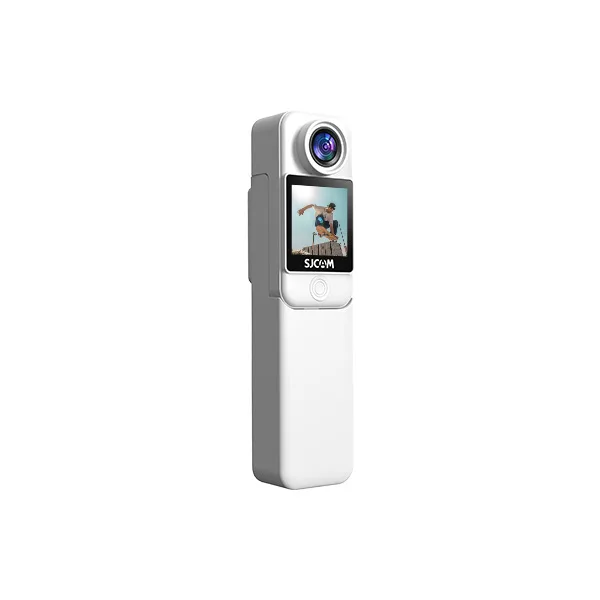
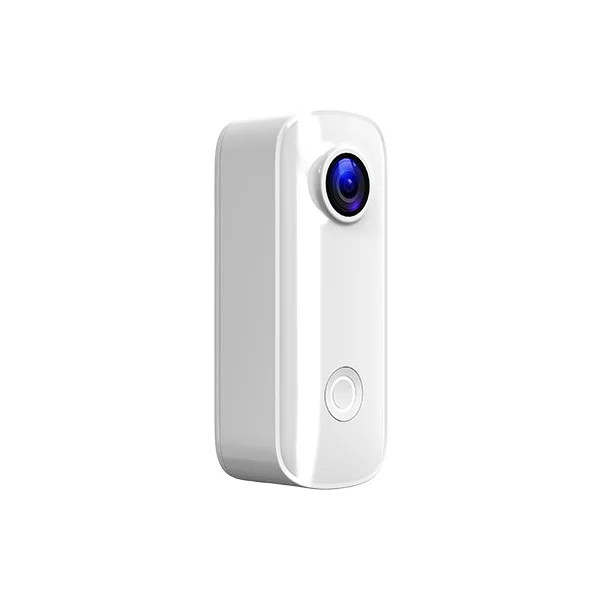
SJCAM S10 – Best Lightweight Wearable Camera for Snowboarding
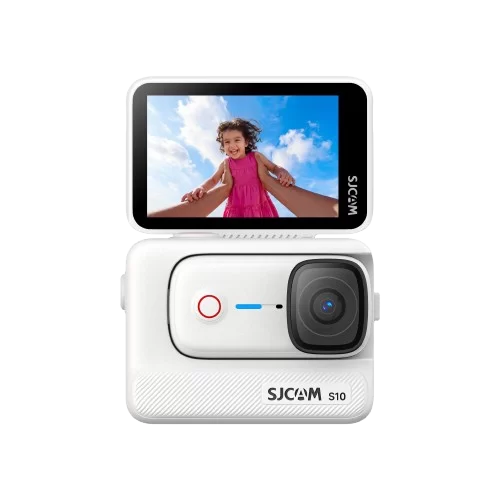
The SJCAM S10 is a compact option for snowboarders who prefer lightweight, hands-free filming.
С10
Weighing just 46 g, the standalone camera adds relatively little bulk to a compatible wearable setup. Its magnetic mounting design makes it convenient to attach to supported body-mounted accessories without carrying a large handheld camera.
The S10 records up to 4K/30fps and features a 150° field of view and SteadyMotion V2.0 stabilization, helping capture wide first-person footage while moving.
Its standalone camera body is rated waterproof to 5 meters, offering protection against wet conditions within the manufacturer’s specified limits. However, the optional Boost Pod is not waterproof and should be protected from snow and moisture.
Препоръчителна настройка: Use a compatible, securely fitted body mount intended for the activity. Do not attach magnetic accessories directly to a protective helmet unless the helmet manufacturer approves that mounting system.
Най-подходящо за: Lightweight snowboarding POV footage, hands-free recording, and riders who prefer a minimal camera setup.
Whichever model you choose, make sure the camera and mounting accessories are compatible. Check the mount’s security before riding, and never adjust your filming equipment while moving.
For more options, explore our SJCAM action cameras for snowboarding or browse action camera mounts and clips to find suitable accessories.
ЧЗВ
It depends on the perspective you want. A compatible, manufacturer-approved helmet mount provides first-person footage, a specialized snowboard mount produces creative low-angle shots, and a selfie stick offers flexible composition when used in suitable conditions.
Yes, if the helmet manufacturer approves the specific attachment and installation method. Never assume a universal adhesive mount is suitable for every helmet.
Only when the snowboard and mounting system manufacturers permit the combination. Board flex, snow, moisture and impacts can affect attachment security.
A helmet mount is more suitable for hands-free first-person footage when approved for the helmet. A selfie stick offers more flexible third-person framing but requires handling and should not be used when it affects safe riding.
A forward-facing view close to your natural line of sight is a useful starting point. Test the framing while stationary, then review footage from a gentle run before making adjustments.
Заключителни мисли
The best action camera mount for snowboarding isn’t necessarily the most elaborate one.
An approved helmet mount can create natural POV footage. A specialized board mount offers creative low-angle shots, while a selfie stick provides flexibility for scenic framing and controlled filming.
Choose your perspective first, then check that the equipment is compatible with your camera and suitable for the conditions.
Good snowboarding footage comes from thoughtful framing, secure equipment and knowing when to put filming aside and enjoy the ride.