





 Anglais
  Chinois (Chine)
  Espagnol
  Allemand
  italien
  Japonais
  coréen
  bulgare
  grec
grec  indonésien
  Chinois (Hong Kong)
  russe
russe  danois
  finlandais
  hongrois
  turc
turc  Néerlandais
  Portugais
  suédois
  roumain
  slovaque
  serbe
serbe  norvégien
  croate
  albanais
  catalan
  tchèque
  estonien
  arménien
  bengali
  Amharique
  polonais
  thaïlandais
  ukrainien
  vietnamien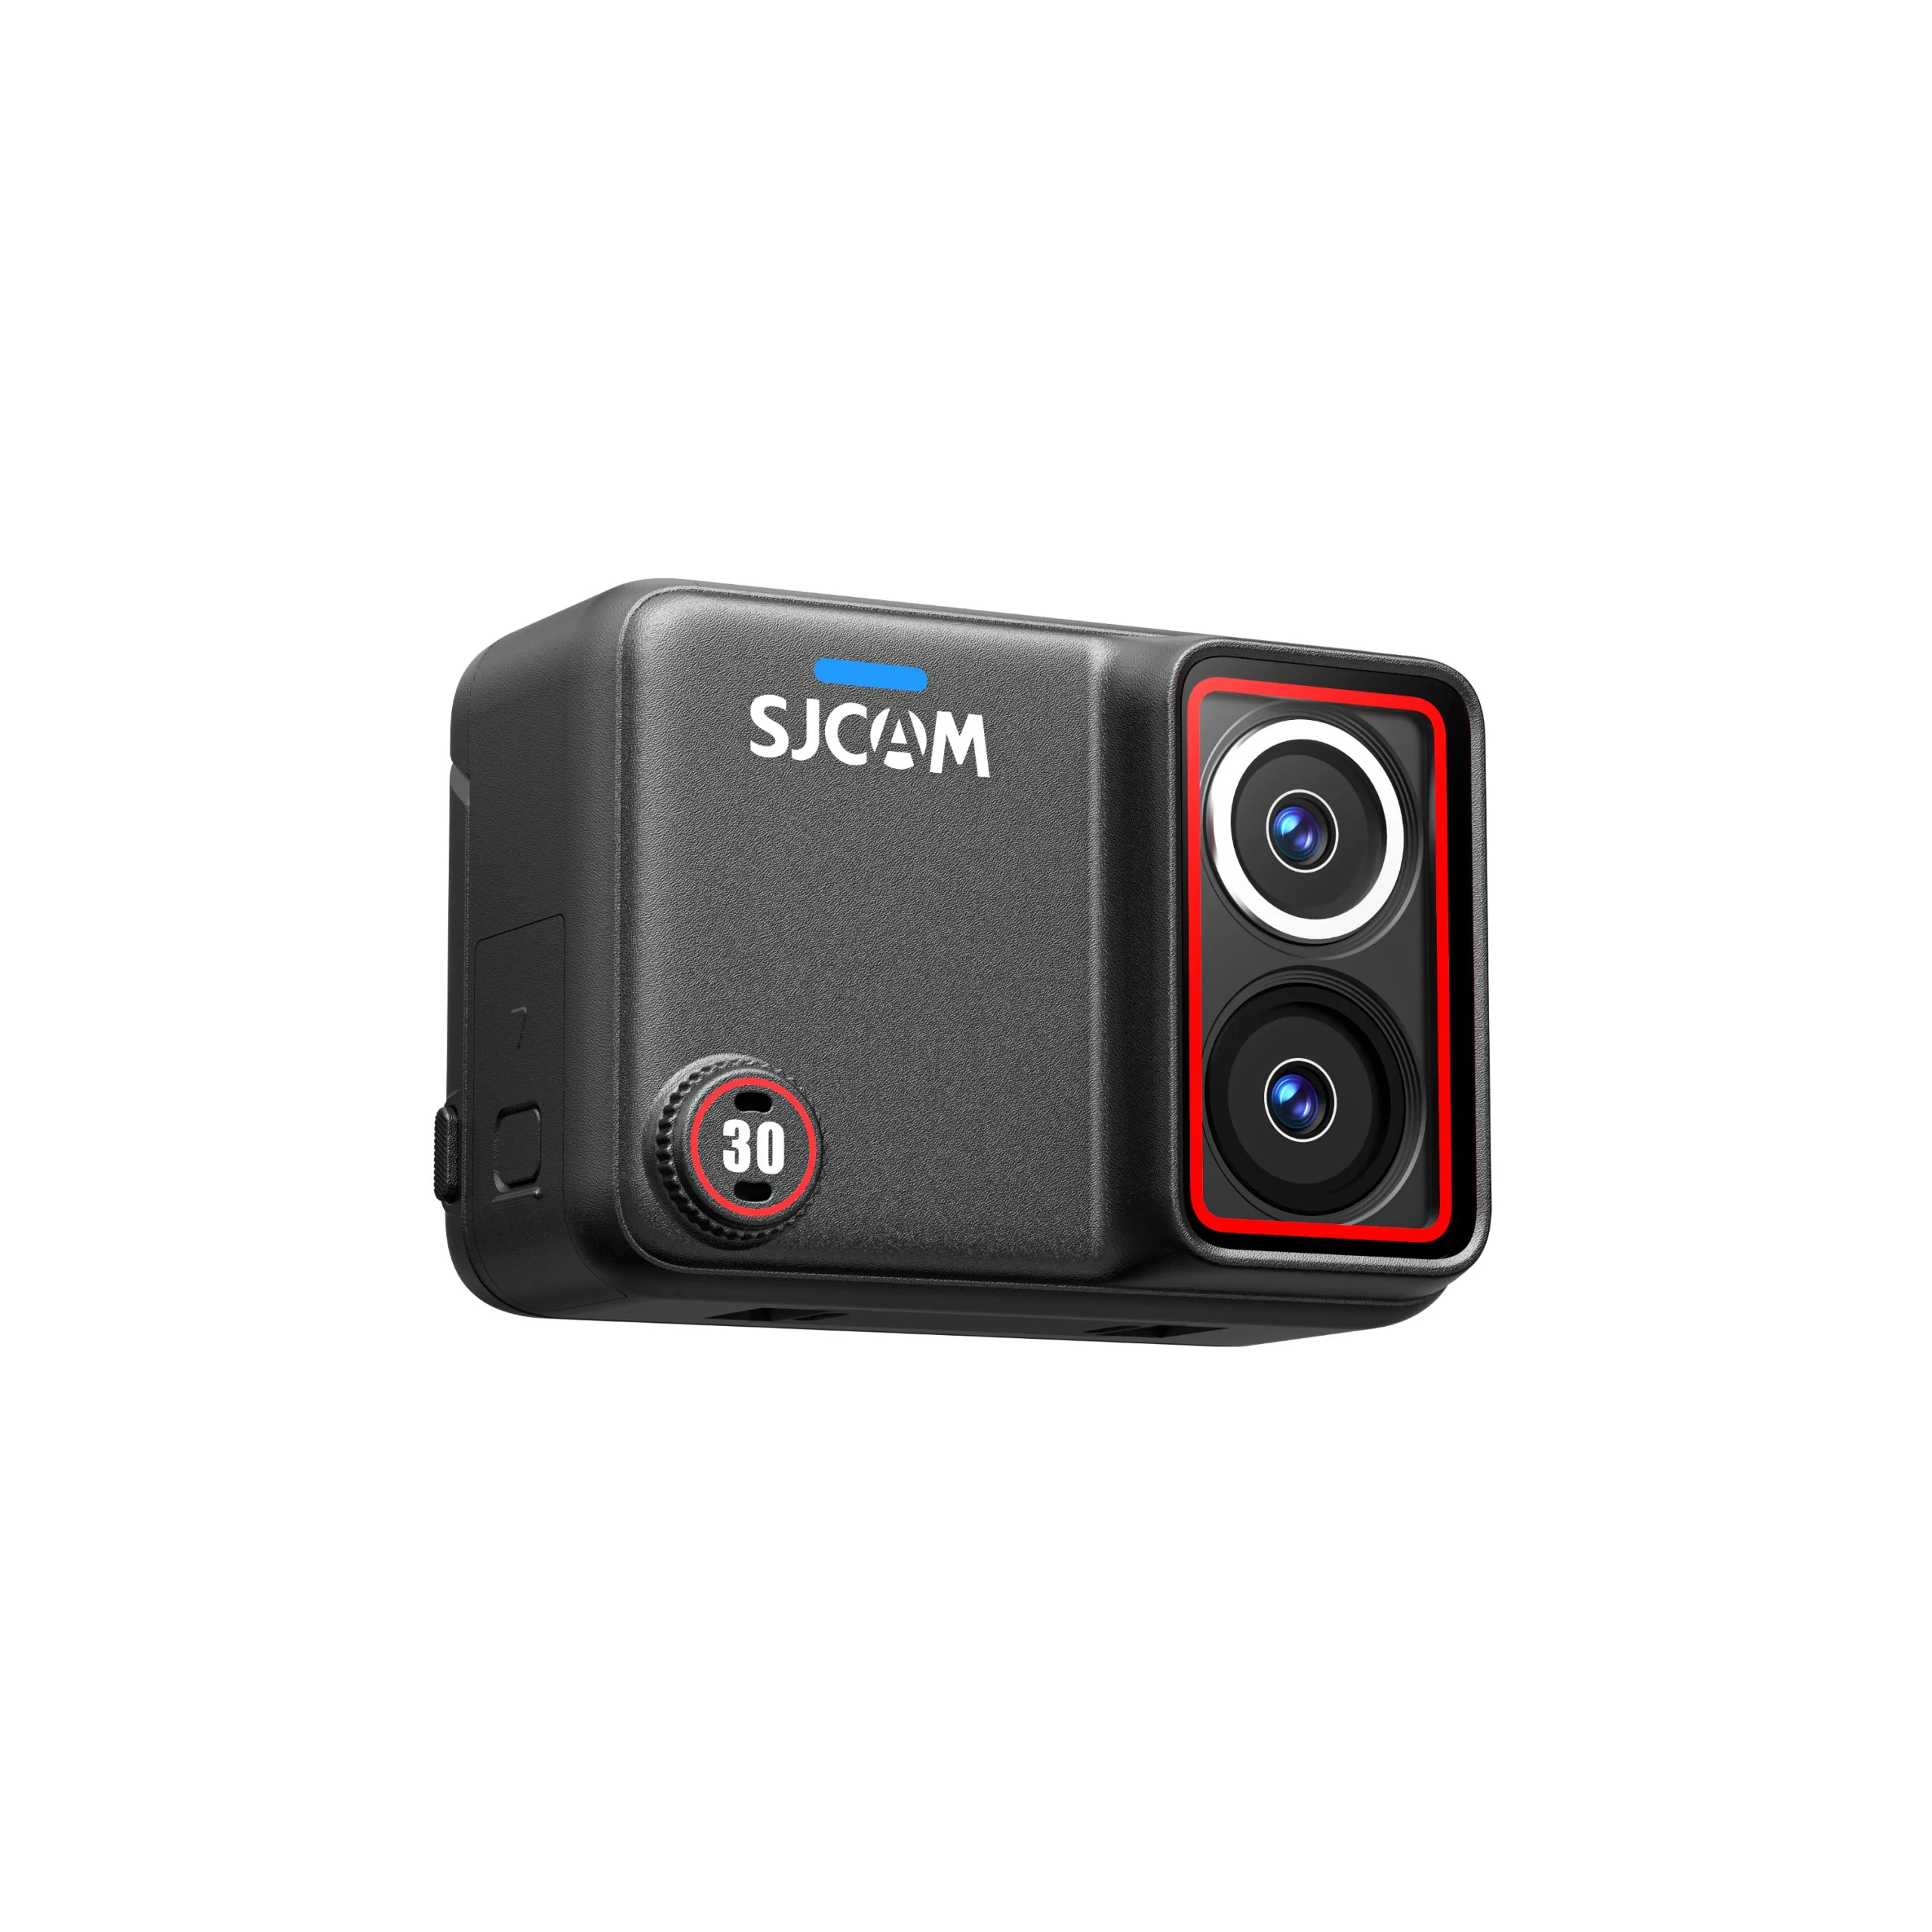
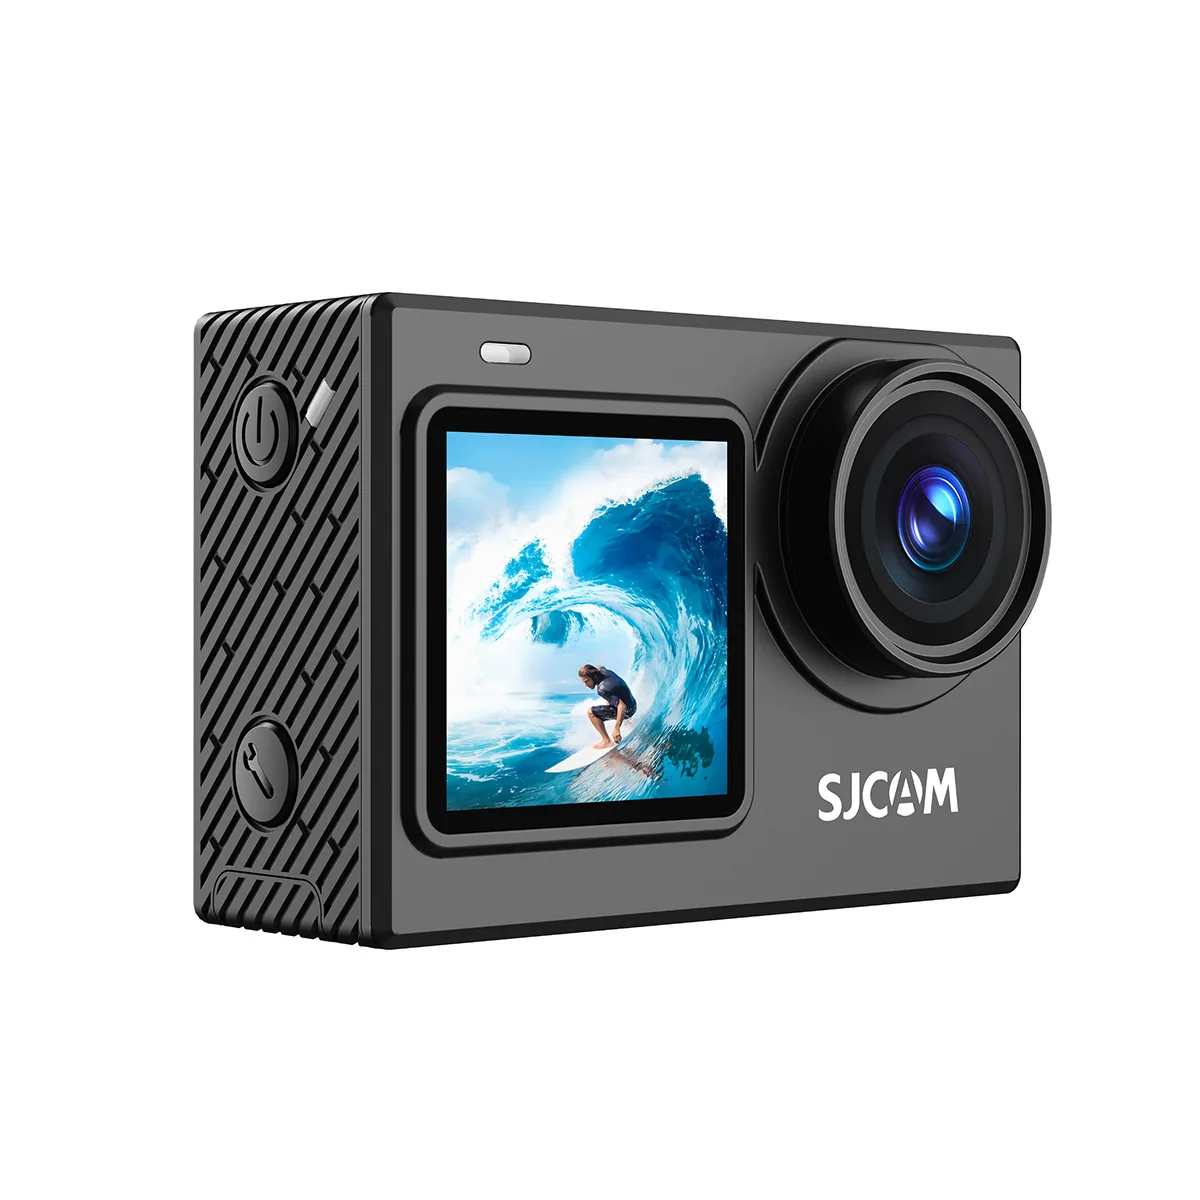
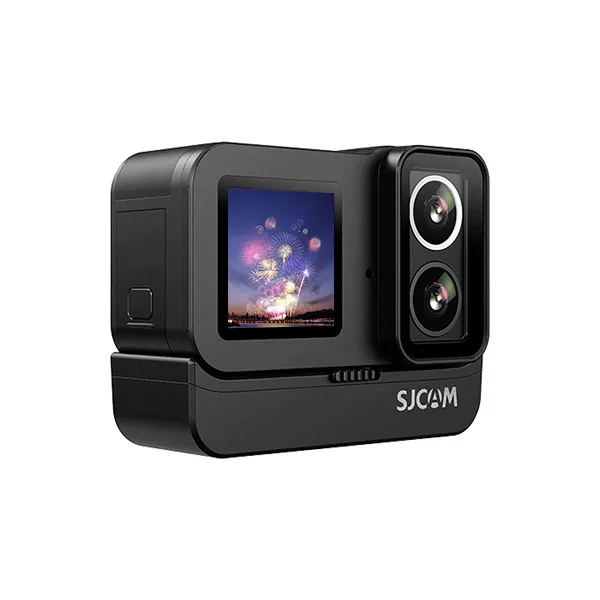
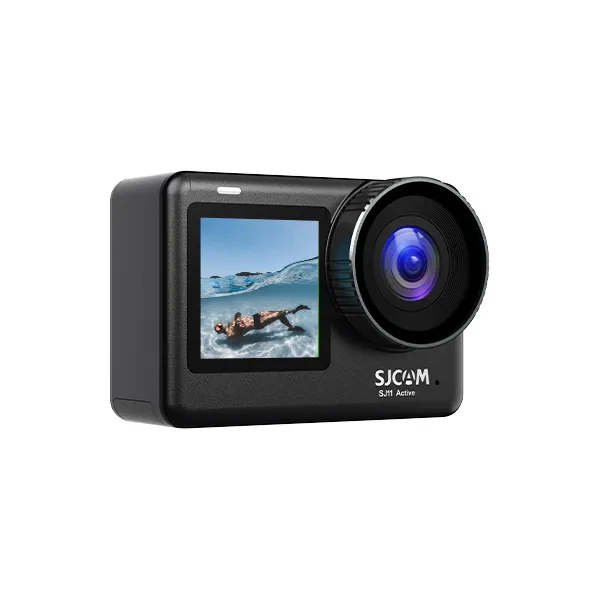
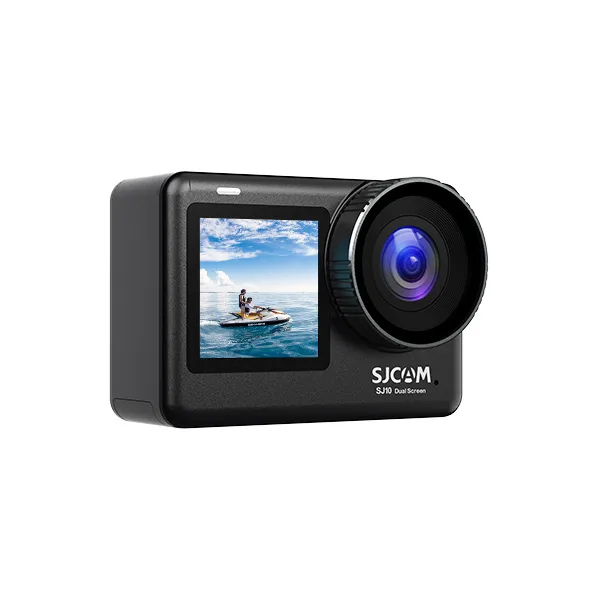
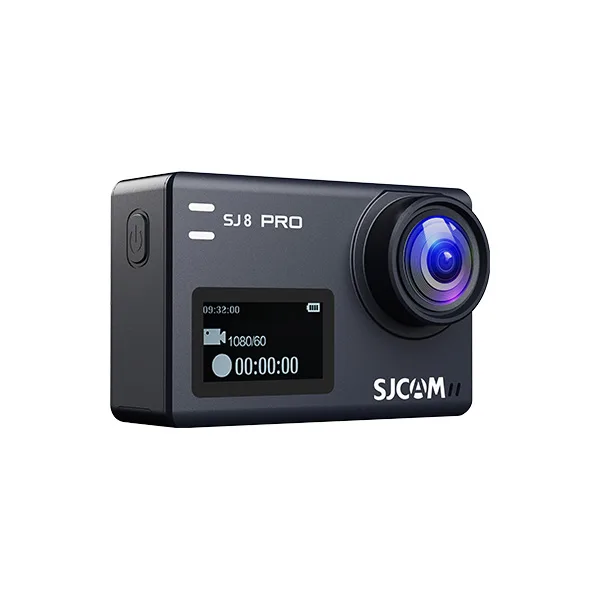
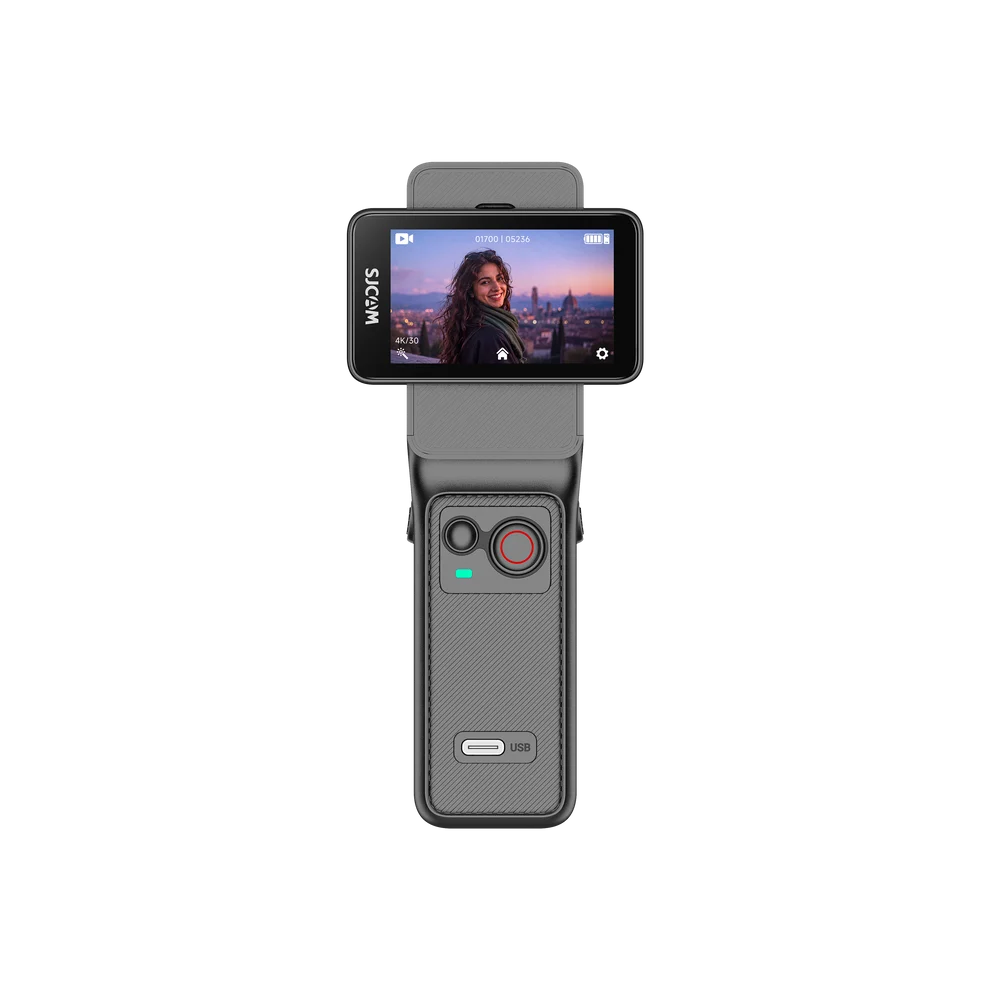
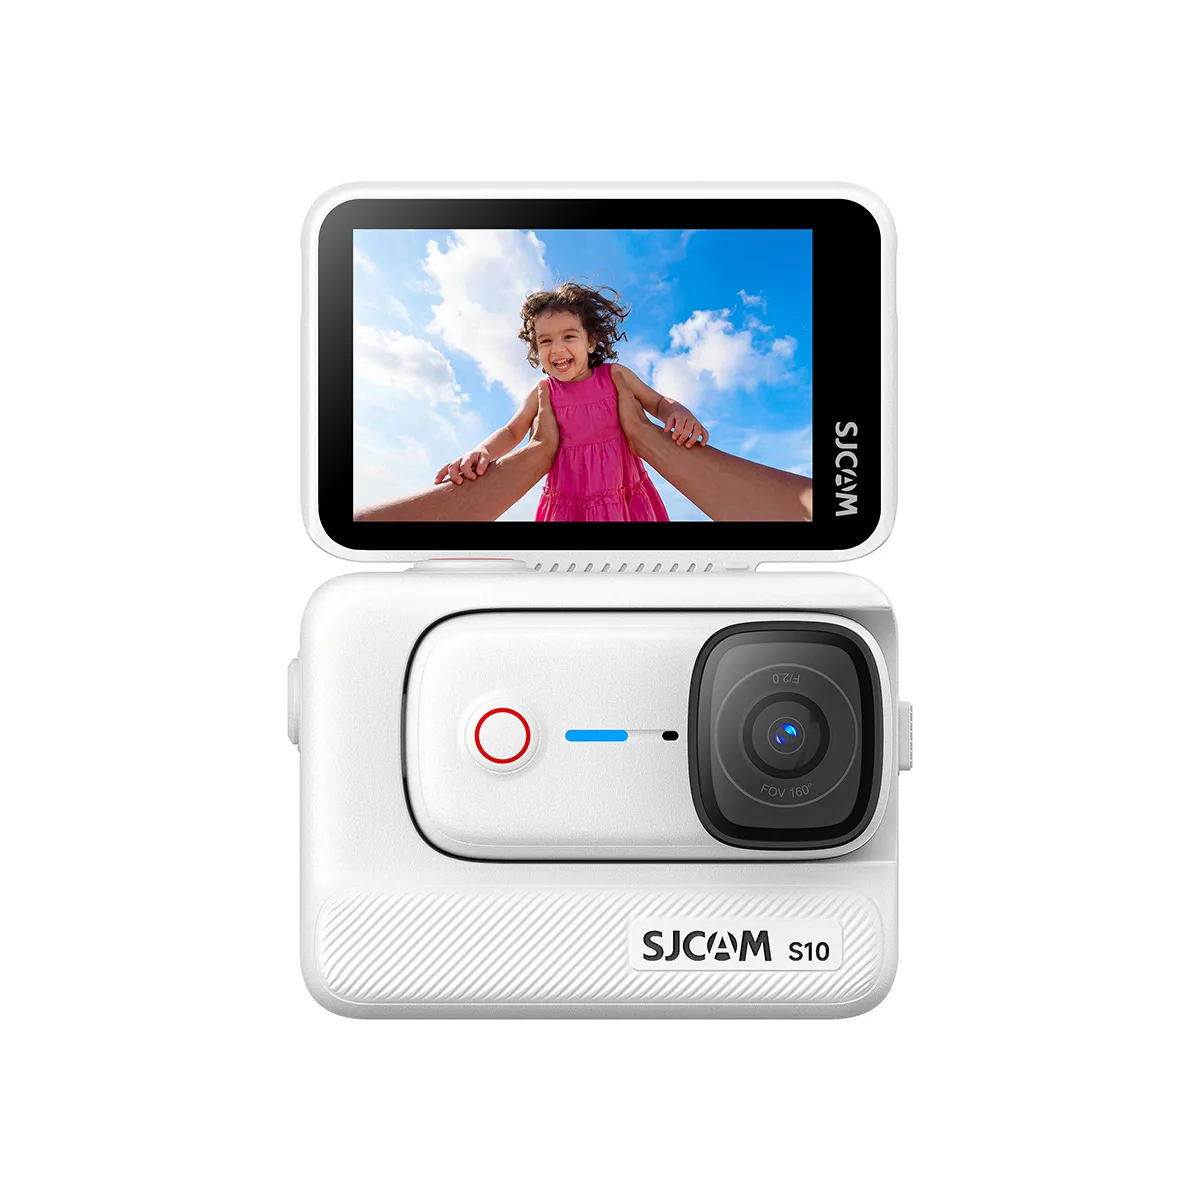
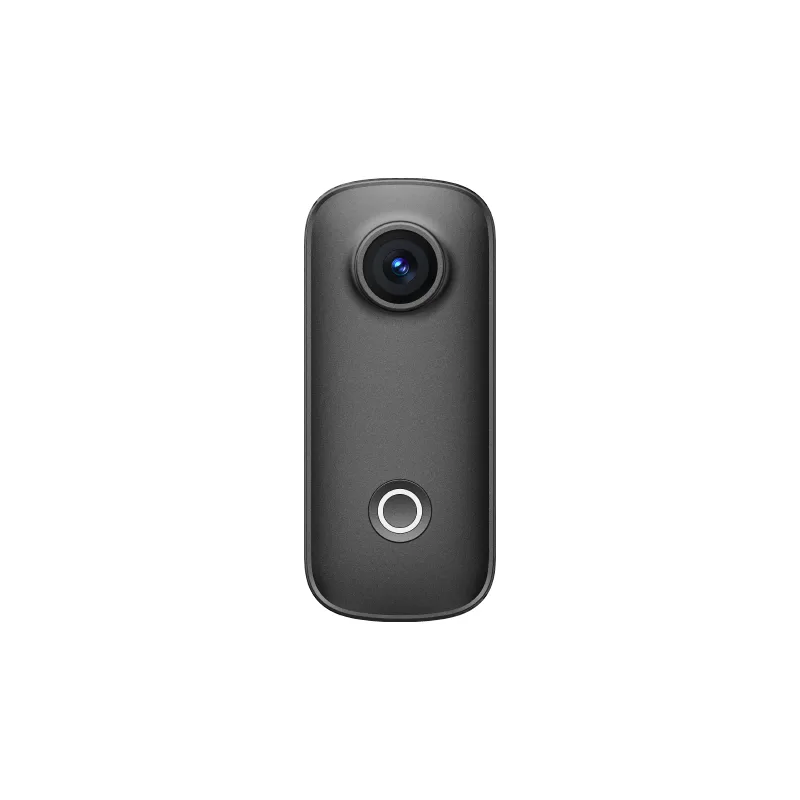
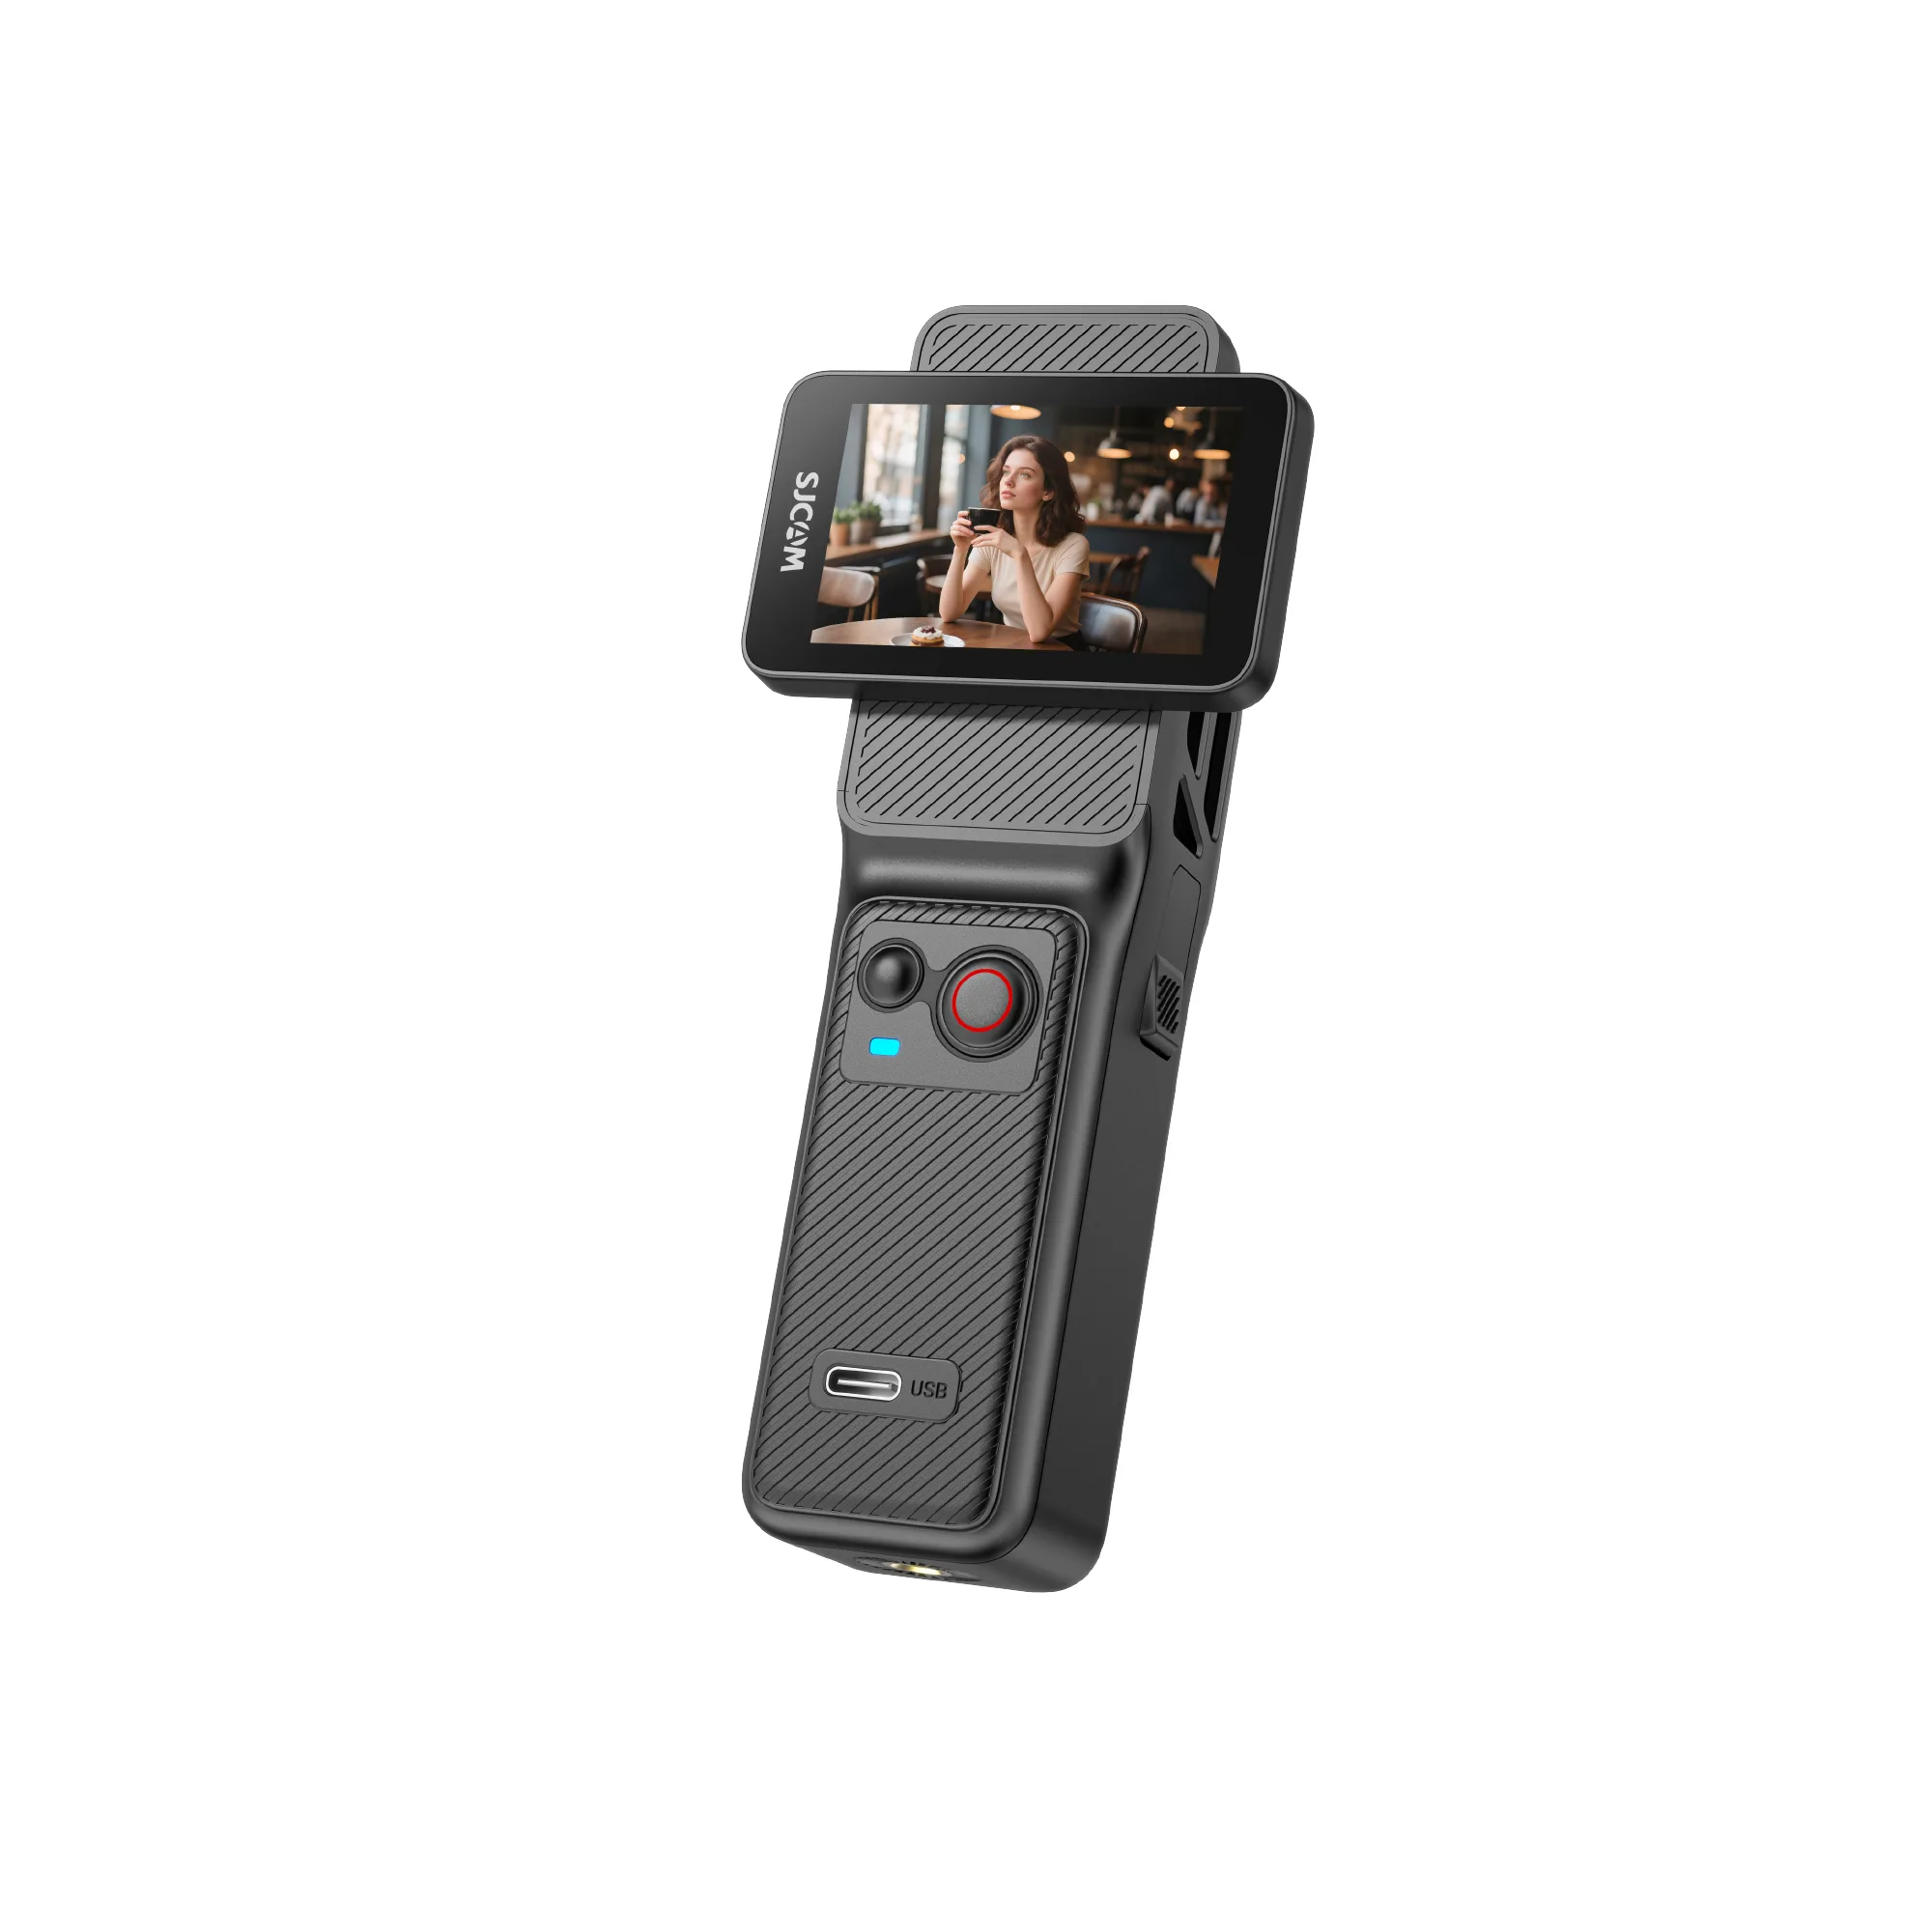
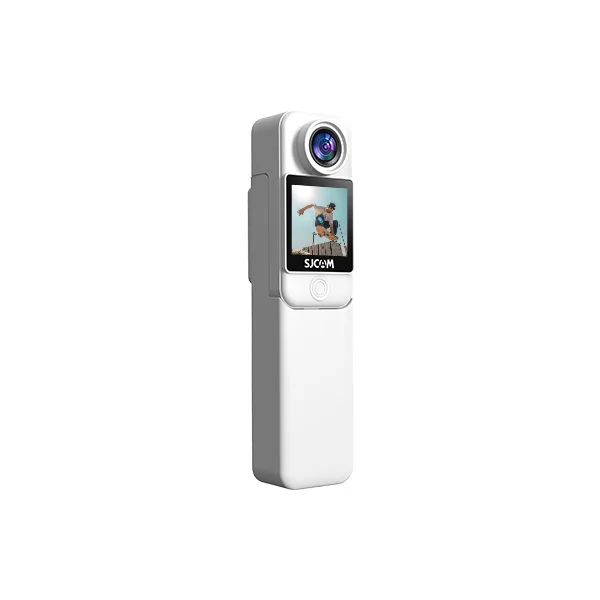
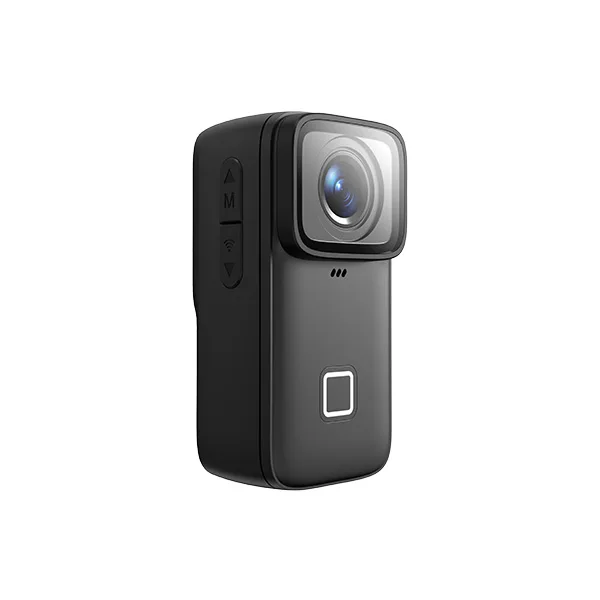
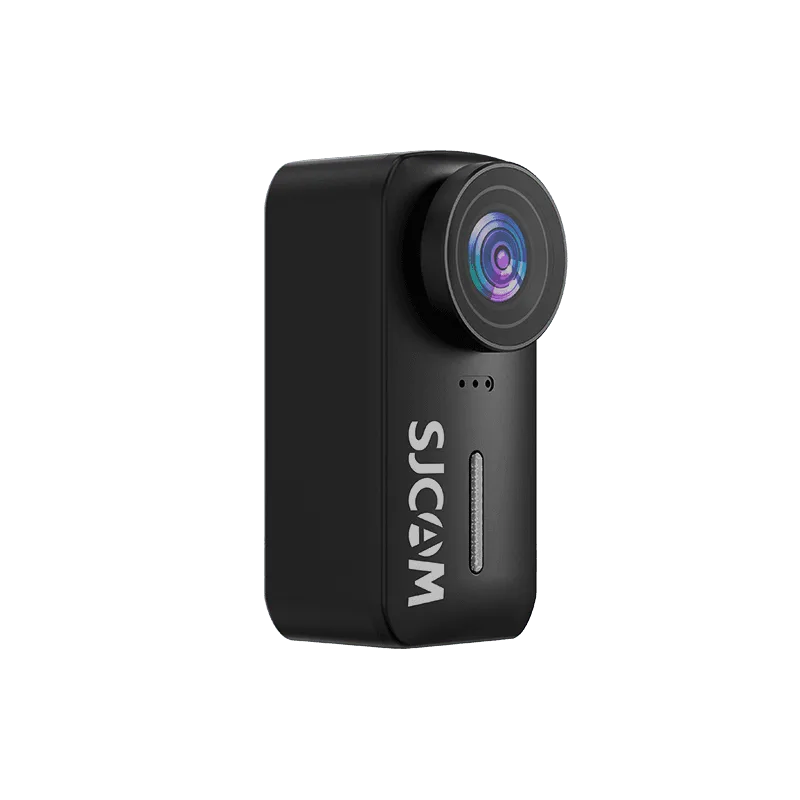
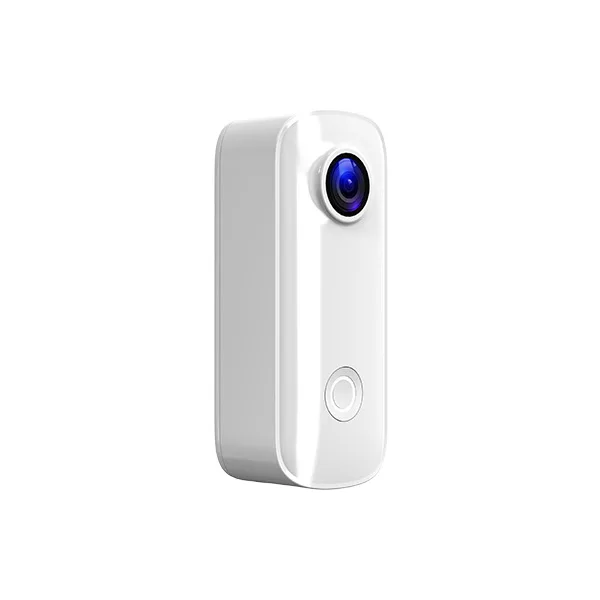
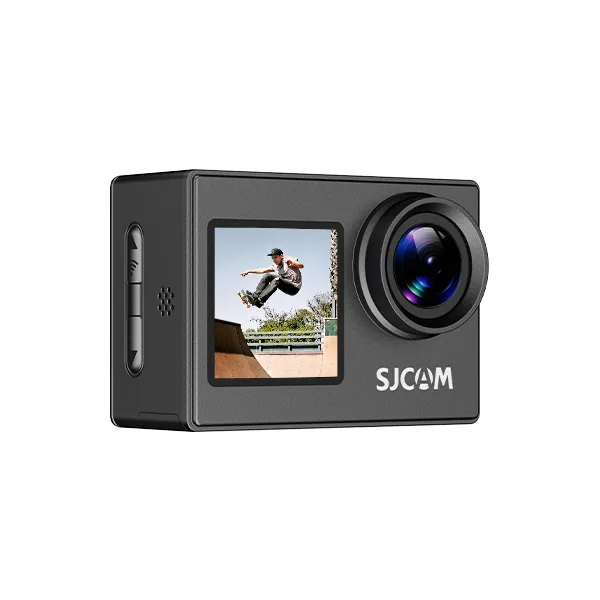
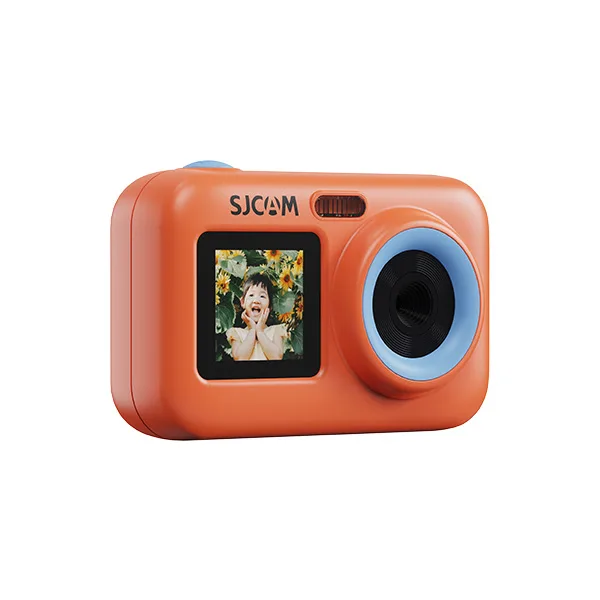
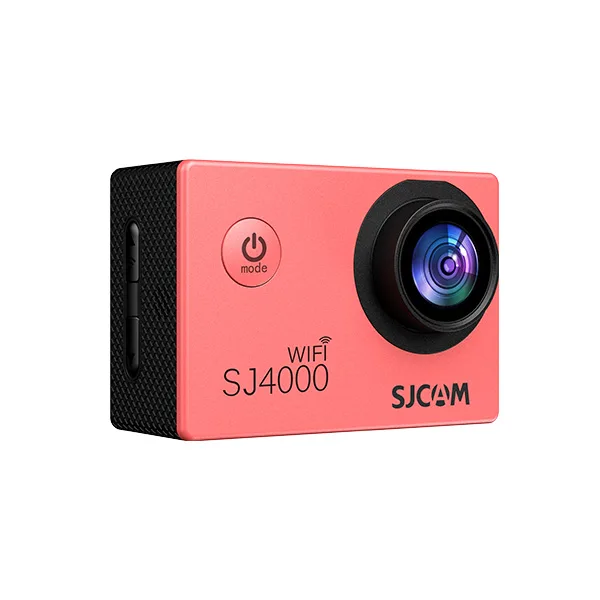
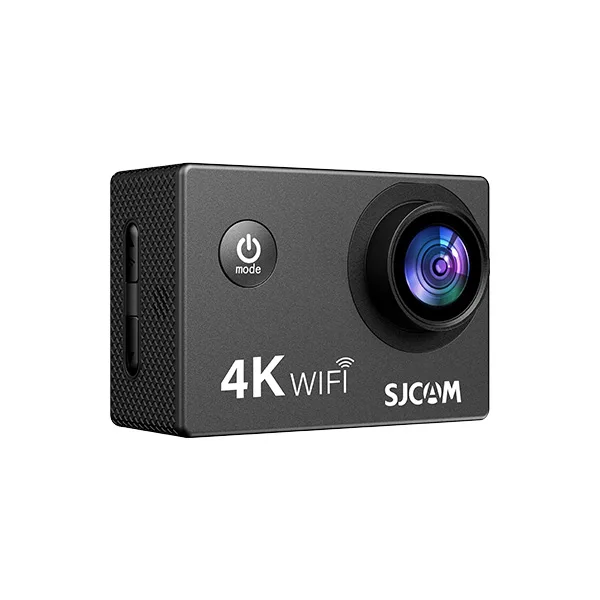
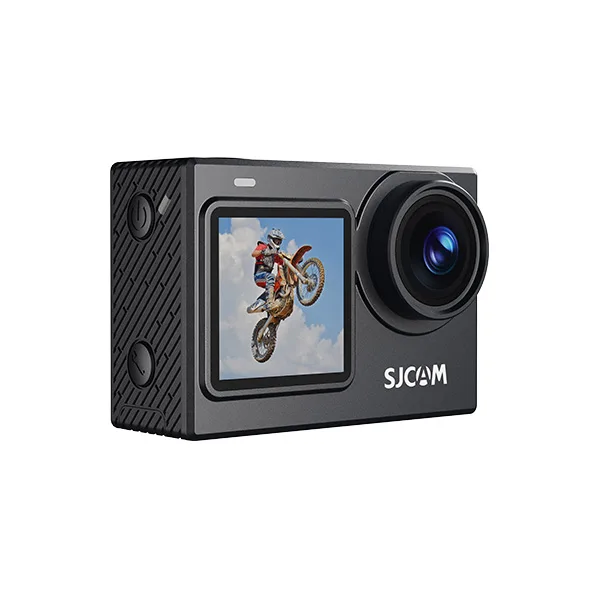
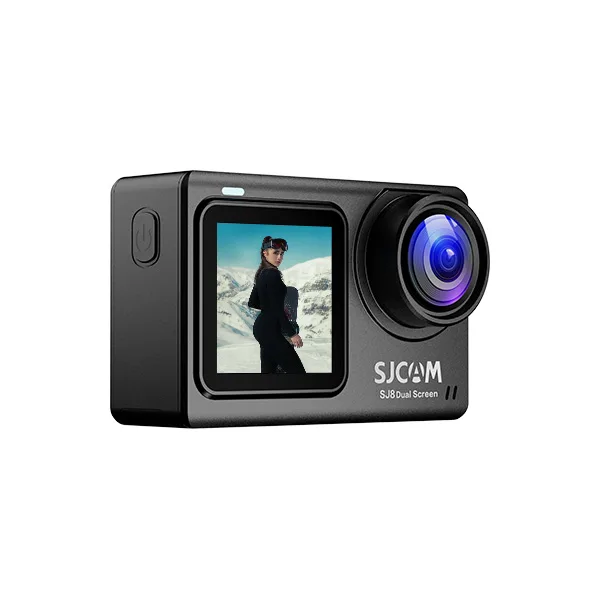
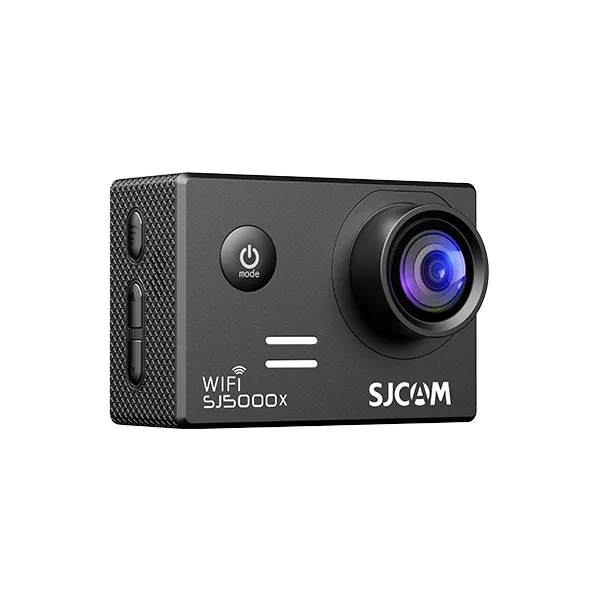
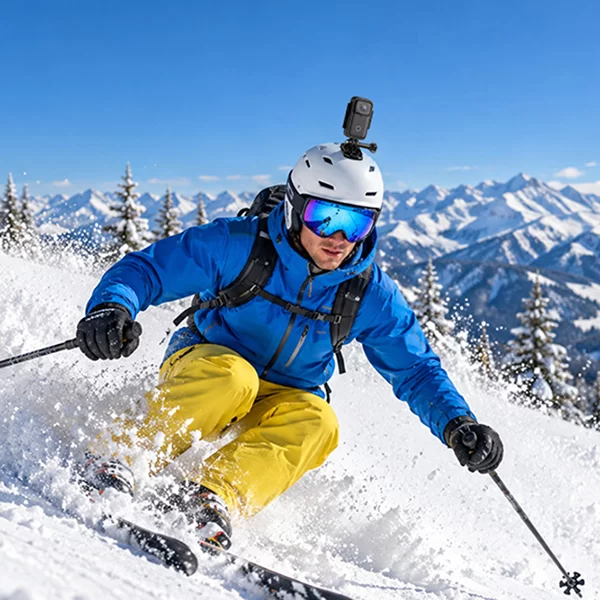

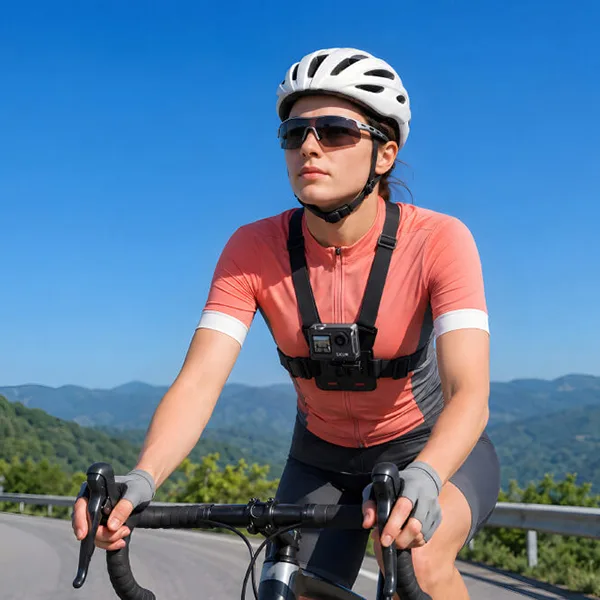

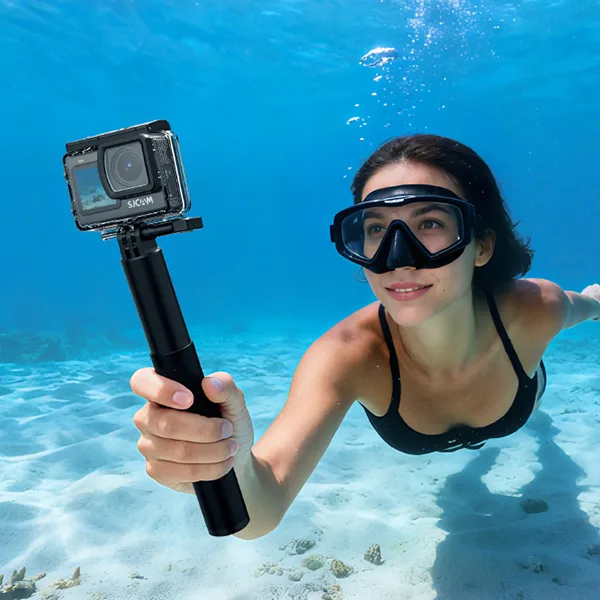
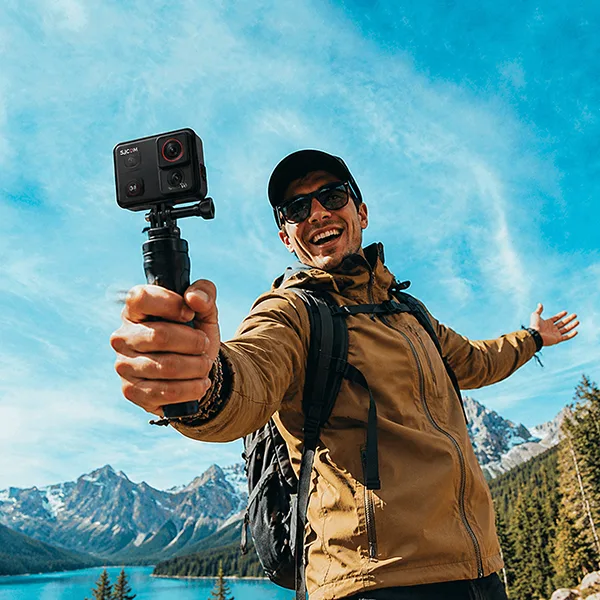
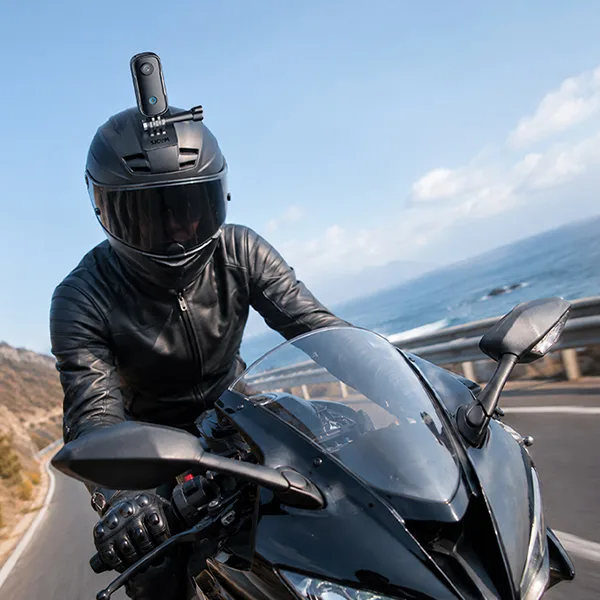
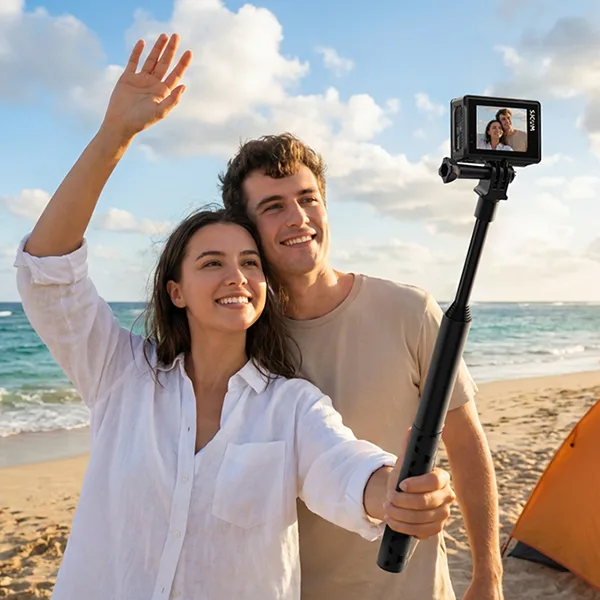
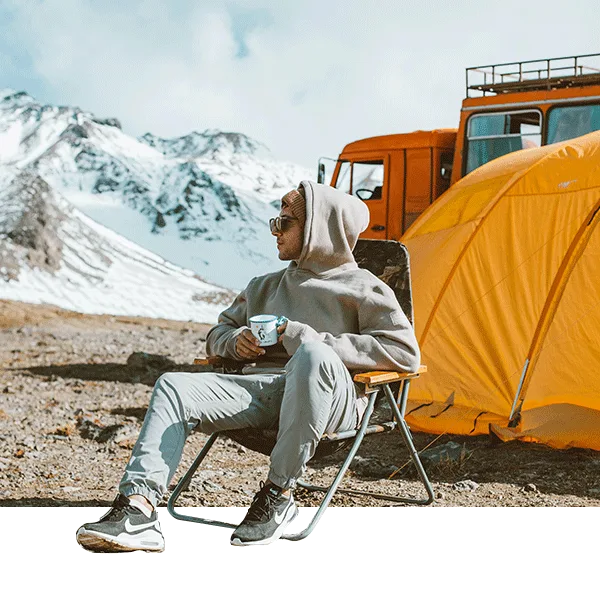
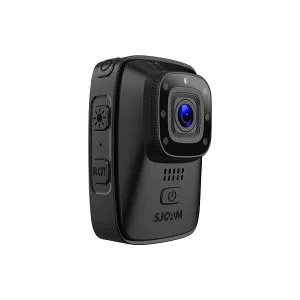
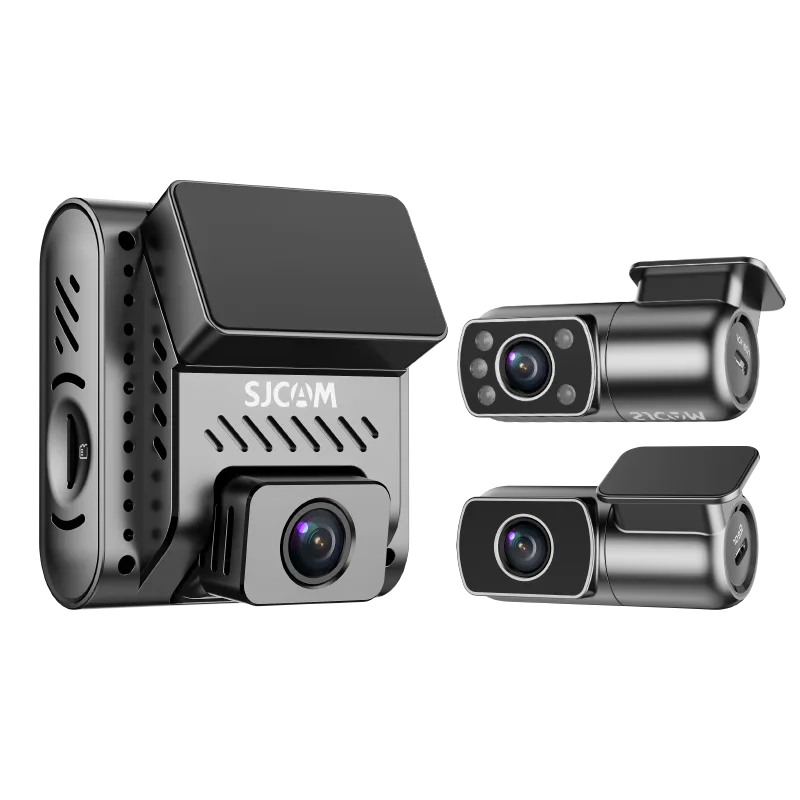
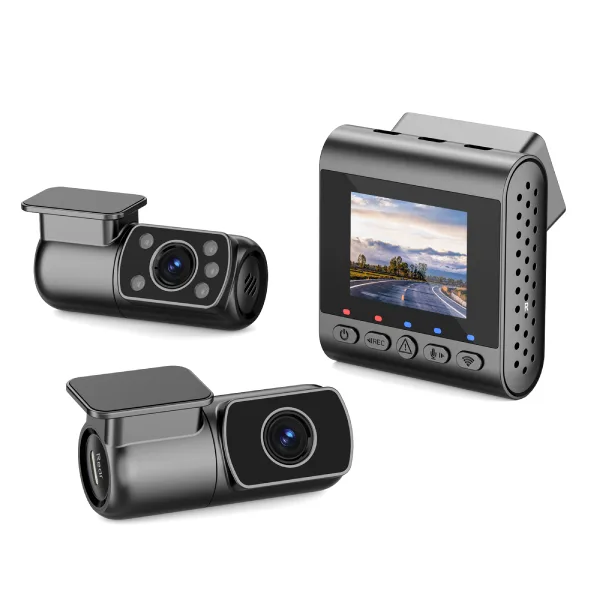
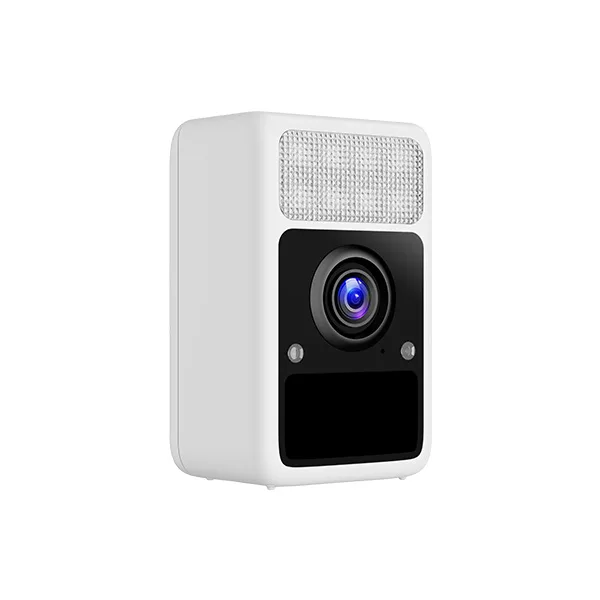
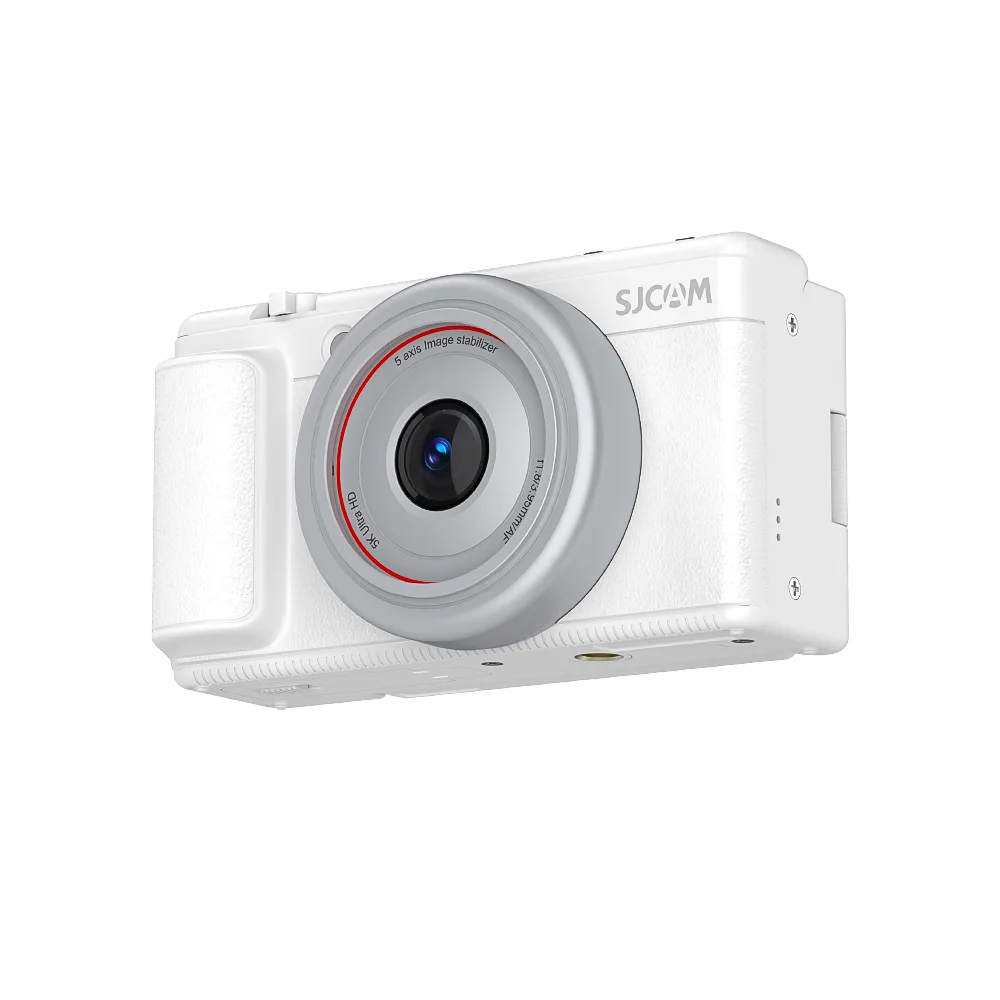
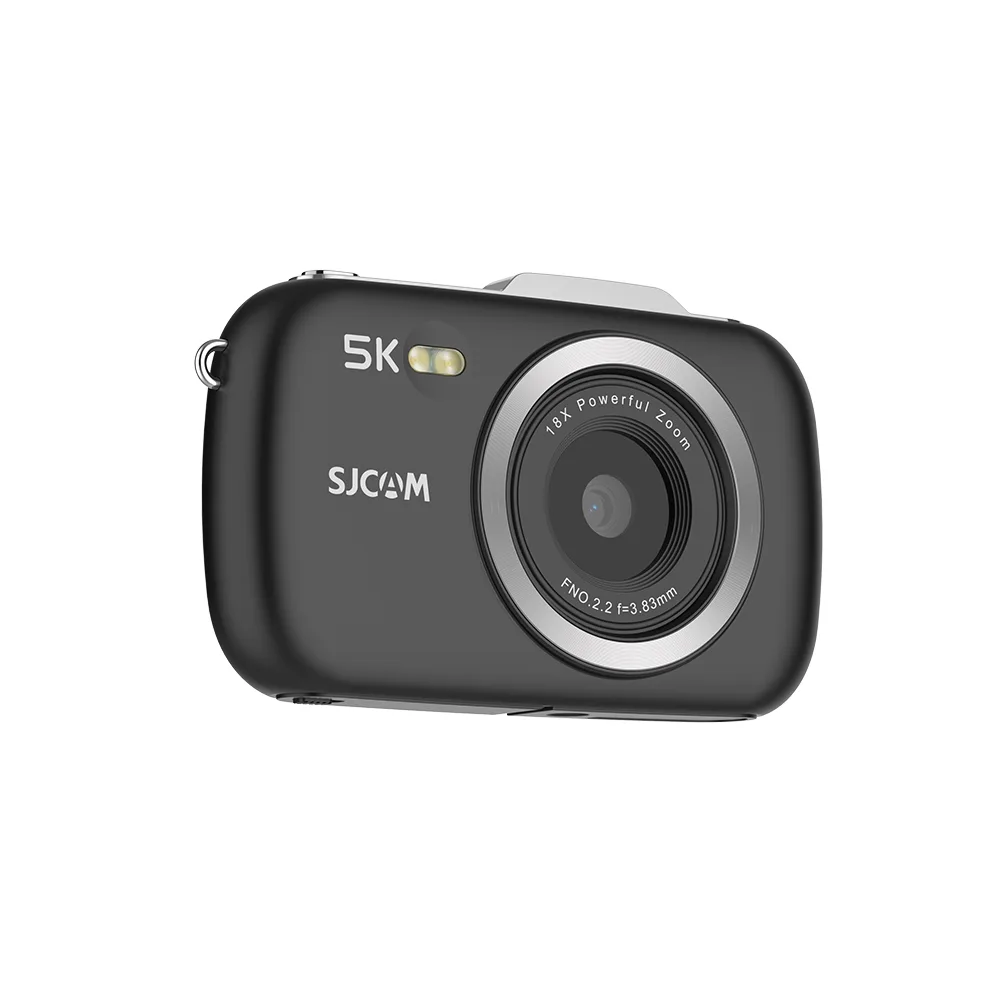

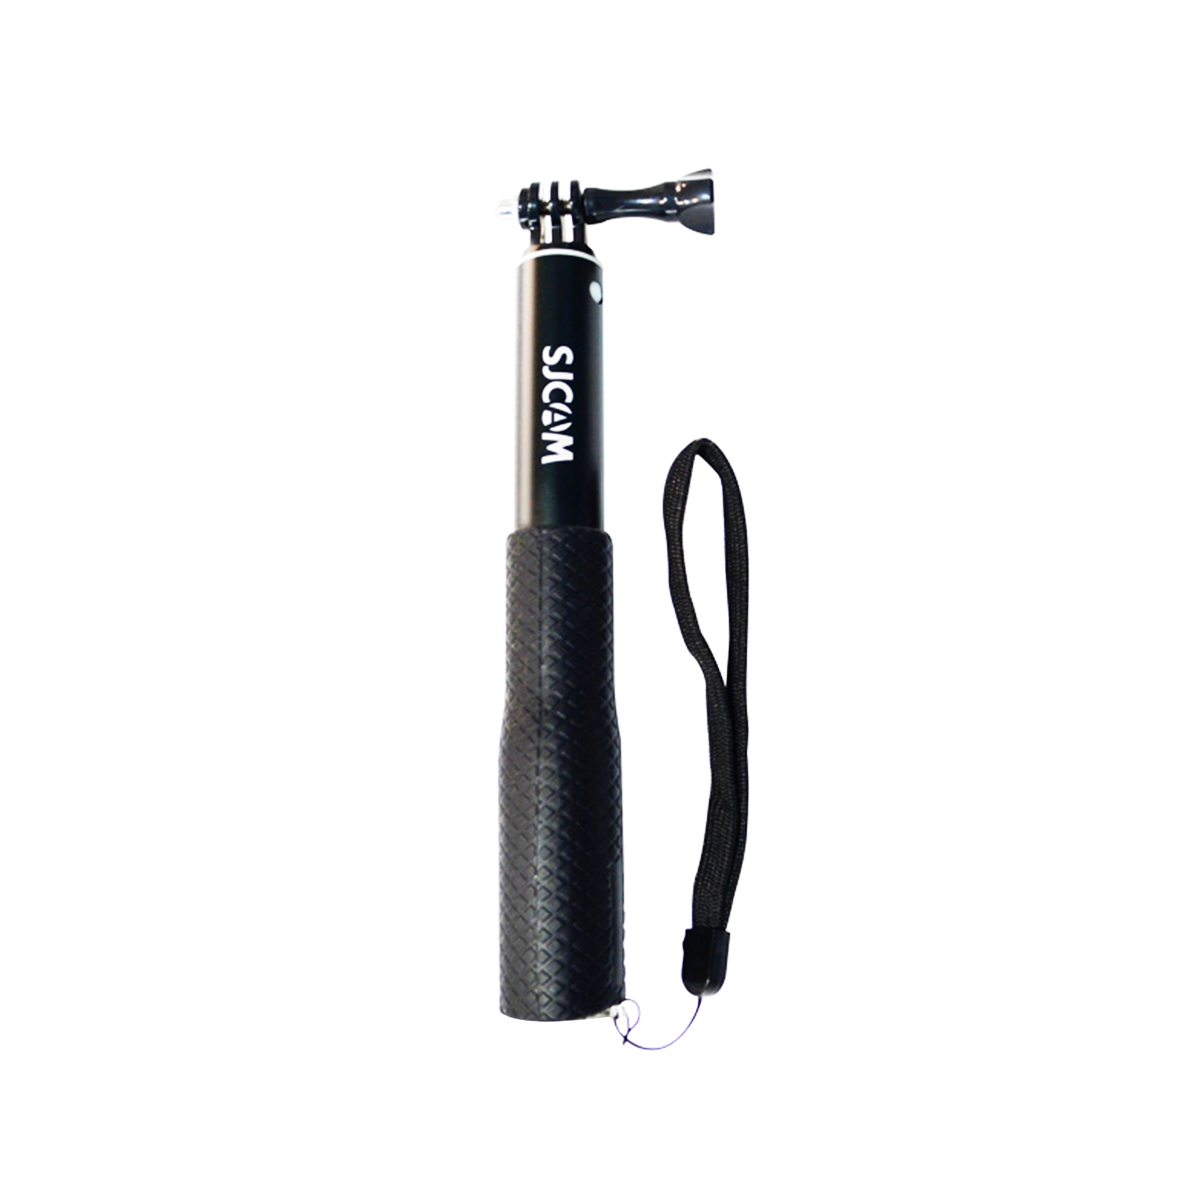

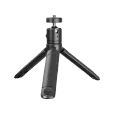
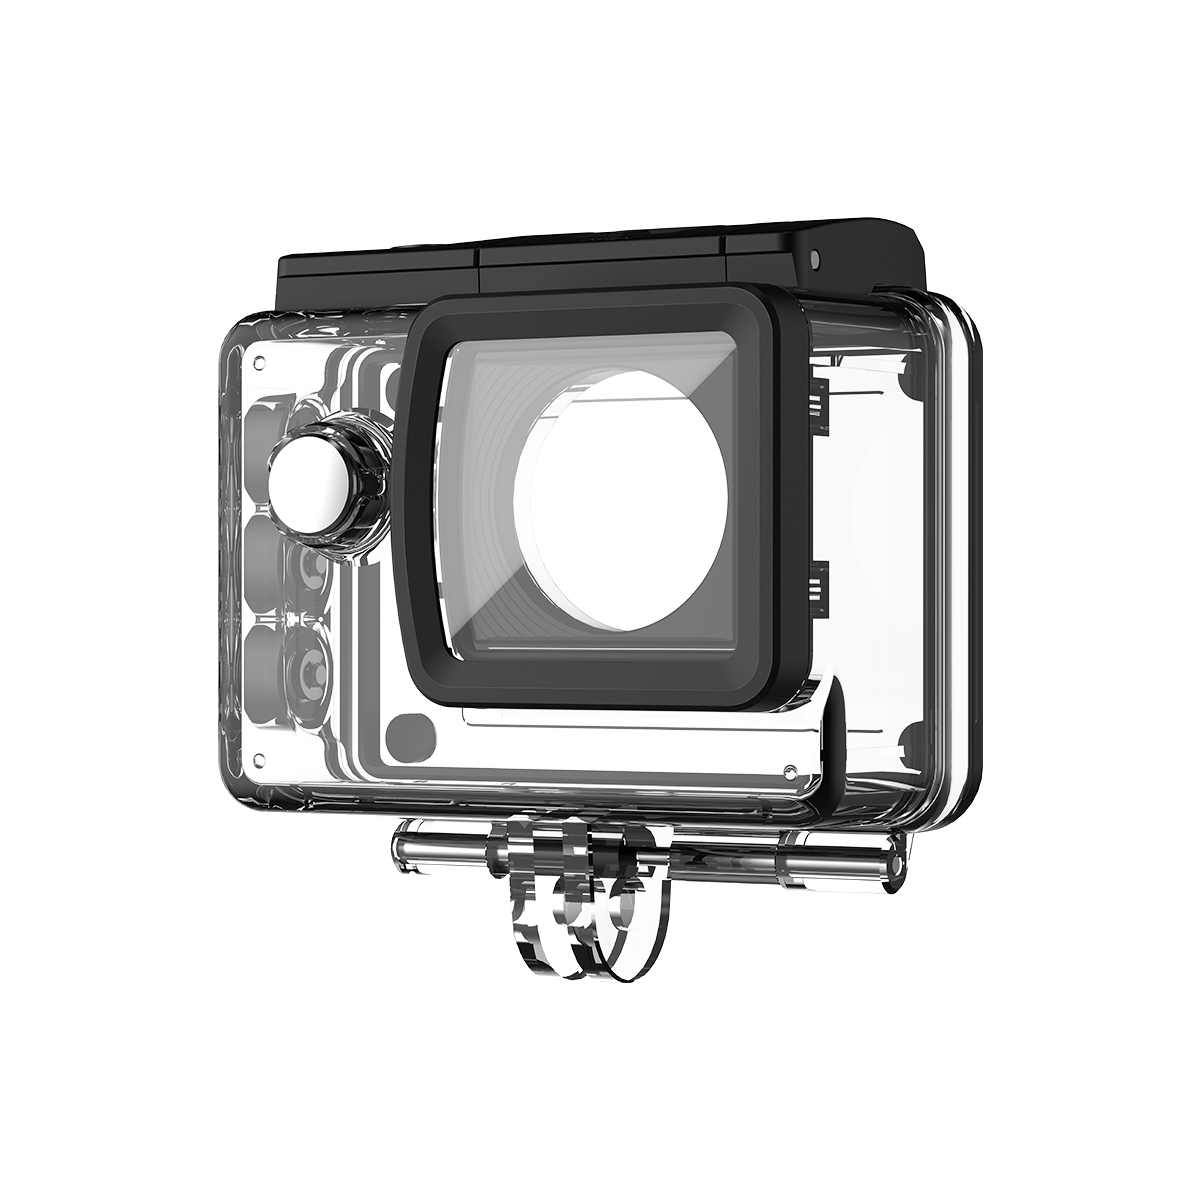
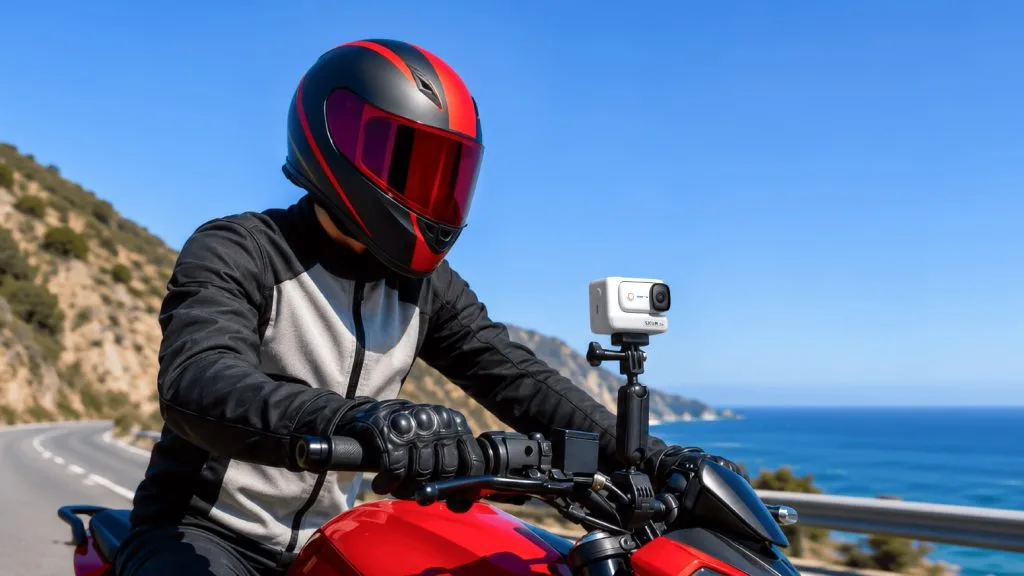
Alliant le plaisir de piloter sa moto et celui d'immortaliser ses virées, le motovlogging est bien plus qu'un simple passe-temps pour beaucoup. Pour les vlogueurs expérimentés, il est difficile de se tromper avec cette activité. Malheureusement, le bruit du vent est un problème récurrent.
Cela rend difficile la capture d'un son de qualité professionnelle sur un vélo en mouvement rapide. caméras d'action pour motos Utilisé par les passionnés de moto-vlogging. Savoir utiliser les barrières physiques, les supports avancés et les bons réglages vous permettra d'obtenir des détails aussi audibles que nets à l'écran.
Comment le bruit de l'air en mouvement perturbe vos vlogs
Les appareils d'enregistrement audio, comme les caméras d'action, captent le bruit du vent lorsque l'air, en se déplaçant à grande vitesse, s'engouffre contre les microphones et leurs ports acoustiques. Ce phénomène sature le système audio, provoquant une distorsion et une saturation importantes du son.
Lorsque vous roulez, le vent s'engouffre violemment autour de votre corps et de votre équipement. C'est ce qu'on appelle le “ buffeting ”. Sans protection adéquate, même les équipements les plus coûteux peuvent s'avérer inefficaces. caméra d'action pour motos Vous ne pourrez pas séparer les sons que vous souhaitez enregistrer du bruit ambiant.
Le rôle de la vitesse
Vous ne serez pas surpris d'apprendre que rouler par temps anormalement venteux ou en cas de fortes tempêtes peut causer ces problèmes.
Cependant, même par temps clément, votre vitesse de conduite influe sur la clarté sonore de votre enregistrement vidéo. Pour un son sans interférences, il est conseillé de rouler à moins de 25 km/h (15 miles par heure).
En 2016, un groupe de spécialistes ORL de Floride, du Michigan et de l'Ohio ont mené une étude Ils ont constaté que le bruit du vent à plus de 24 km/h peut atteindre 85 décibels pondérés A (dBA), une version de l'échelle de décibels ajustée en fonction de la perception auditive. Au-delà de 96 km/h, ce bruit peut atteindre 120 dBA.
Pour contextualiser, cette étude portait sur les cyclistes et la nécessité de protéger leurs oreilles des effets potentiellement traumatisants de ce bruit. Toutefois, ses conclusions sont également importantes pour le vlogging à vélo, car votre équipement audio, conçu pour imiter l'oreille humaine, sera confronté aux mêmes difficultés à mesure que la vitesse augmente.
Même au-delà de 40 km/h, le microphone interne d'un appareil photo standard atteindra un point de saturation où son diaphragme ne pourra plus se remettre des fluctuations de pression dues aux turbulences de l'air, ce qui entraînera une saturation.
Techniques d'atténuation du bruit du vent
Barrières contre le vent : la première ligne de défense
Le moyen le plus efficace de gérer le vent est de le bloquer avant qu'il n'atteigne le microphone. La solution la plus évidente consiste à utiliser une protection en mousse pour votre matériel, mais celle-ci peut se dégrader avec le temps.
Par ailleurs, les équipements haut de gamme utilisent des barrières physiques qui adoucissent le flux d'air environnant. Cela permet au microphone de capter des sons plus nets tout en éliminant les bruits parasites qui, autrement, gâcheraient l'enregistrement.
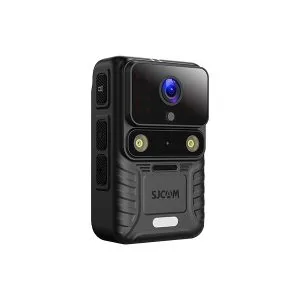
C'est exactement ce que le SJCAM SJ30 Grâce à ses protections anti-vent amovibles, elle offre un son naturel et clair même à grande vitesse. L'un des principaux avantages des caméras d'action dotées de cette conception est qu'elles permettent aux utilisateurs d'éviter les solutions de fortune encombrantes ou peu fiables.
De plus, cette approche permet de rester discrète en garantissant l'aérodynamisme et la sécurité de la caméra, assurant ainsi des performances GO fiables, que vous circuliez en ville ou sur un sentier.
Où vous placez l'équipement
Une autre façon de limiter le bruit du vent et les turbulences consiste à bien choisir l'endroit où vous fixez la caméra pendant l'enregistrement, car cela déterminera son exposition aux particules d'air en mouvement.
En déplaçant votre microphone cravate ou micro-cravate à l'intérieur de la doublure du casque, vous pouvez isoler l'appareil du flux d'air à grande vitesse afin d'enregistrer vos commentaires, les sons de l'environnement et les tonalités authentiques de l'échappement sans aucune interférence.
En fixant le micro à l'écart de la direction de votre respiration, généralement derrière la joue, vous pouvez réduire les turbulences du vent et les bruits parasites du moteur et obtenir un son de qualité studio même à grande vitesse.
Lors du passage des câbles, veillez toujours à les dissimuler soigneusement derrière le rembourrage afin qu'ils ne s'accrochent pas aux fermetures du casque ni n'interfèrent avec les dispositifs de sécurité. Fixer vos câbles protège votre équipement audio et garantit le bon fonctionnement et la sécurité de votre équipement moto au quotidien.
Réglage de vos logiciels et paramètres
La dernière méthode pour limiter le bruit du vent consiste à effectuer quelques réglages numériques sur votre équipement de vlogging.
Par exemple, lorsque vous activez la réduction du bruit de votre appareil photo, le processeur détecte et élimine les bruits parasites de basse fréquence. De même, le réglage du gain du microphone permet d'éviter les distorsions dues aux vitesses élevées.
Voici un aperçu des paramètres que vous pouvez ajuster pour obtenir un enregistrement vidéo au son plus clair.
| Paramètre | Recommandation | But |
| Réduction du bruit du vent | Activé (Haute sensibilité) | Filtre les basses fréquences du vent |
| Gain du micro | -6 dB à -12 dB | Empêche le clipping à grande vitesse |
| Fréquence d'échantillonnage | 48 kHz | Le réglage standard pour un son clair |
Choisir les meilleurs supports de caméra pour un son sans bruit
Comme nous venons de le souligner, l'emplacement où vous fixez votre appareil n'affecte pas seulement ce qu'il voit. Il l'expose également aux intempéries, soit à distance, soit au centre.
Les supports de guidon et de réservoir sont très appréciés car ils offrent d'excellents angles de prise de vue. Cependant, leur position accentue le problème du bruit excessif. De ce fait, la caméra peut capter les vibrations du moteur, à moins d'ajouter des amortisseurs en caoutchouc.
En revanche, un support de mentonnière pour votre casque maintient votre caméra dans une position plus protégée et aérodynamique.
Pour gagner du temps et de l'argent, choisissez une marque qui inclut supports de moto Dans le même emballage que l'appareil photo. Les fabricants haut de gamme comme SJCAM fournissent des kits de montage polyvalents prêts à l'emploi. Vous gagnez ainsi du temps et de l'argent en évitant de chercher séparément des accessoires compatibles pour votre appareil.
En résumé
Si vous avez des difficultés avec les bruits ambiants dans vos enregistrements, sachez qu'il est tout à fait possible de résoudre le problème sous-jacent.
Ajuster physiquement votre installation et peaufiner les réglages numériques vous aidera à éliminer le bruit du vent. Pour que votre voyage soit aussi immersif et agréable pour vos spectateurs que pour vous, pensez à vérifier régulièrement votre liste de contrôle audio.
- Votre déflecteur de vent amovible est en place.
- Vous avez testé les câbles du microphone interne ou externe pour vérifier leur confort d'utilisation, et
- Vous avez effectué un test sonore rapide pour éviter la saturation lors de l'accélération.
Si vous êtes prêt à améliorer votre équipement de moto, découvrez le SJCAM SJ30 et ses fonctionnalités respectueuses du son, telles que les protections contre le vent amovibles, pour des vlogs plus nets et sans bruit de vent.
FAQ
Oui. De nombreux modèles de SJCAM peuvent être connectés à un microphone compatible pour une meilleure qualité audio.
Placez le microphone au niveau du menton, légèrement excentré pour éviter qu'il ne soit influencé par votre respiration. Glissez-le juste derrière la joue pour isoler votre voix du bruit du vent lors de l'enregistrement.
Cela est dû à un réglage trop élevé du gain de vos microphones. Diminuez le gain dans les paramètres de la caméra et assurez-vous que le microphone ne frotte pas contre la doublure du casque.