





 англійська
  Китайська (Китай)
  Іспанська
  Німецький
  французька
  італійська
  Японський
  корейська
  Болгарська
  грецька
  індонезійська
  Китайська (Гонконг)
  російський
  датська
  фінська
  угорська
  турецька
  голландська
  португальська
  шведська
  румунська
  словацький
  сербська
  норвезька
  Хорватська
  албанець
  каталонська
  чеська
  Естонська
  вірменський
  Бенгальська
  амхарська
  польський
  тайська
  в'єтнамська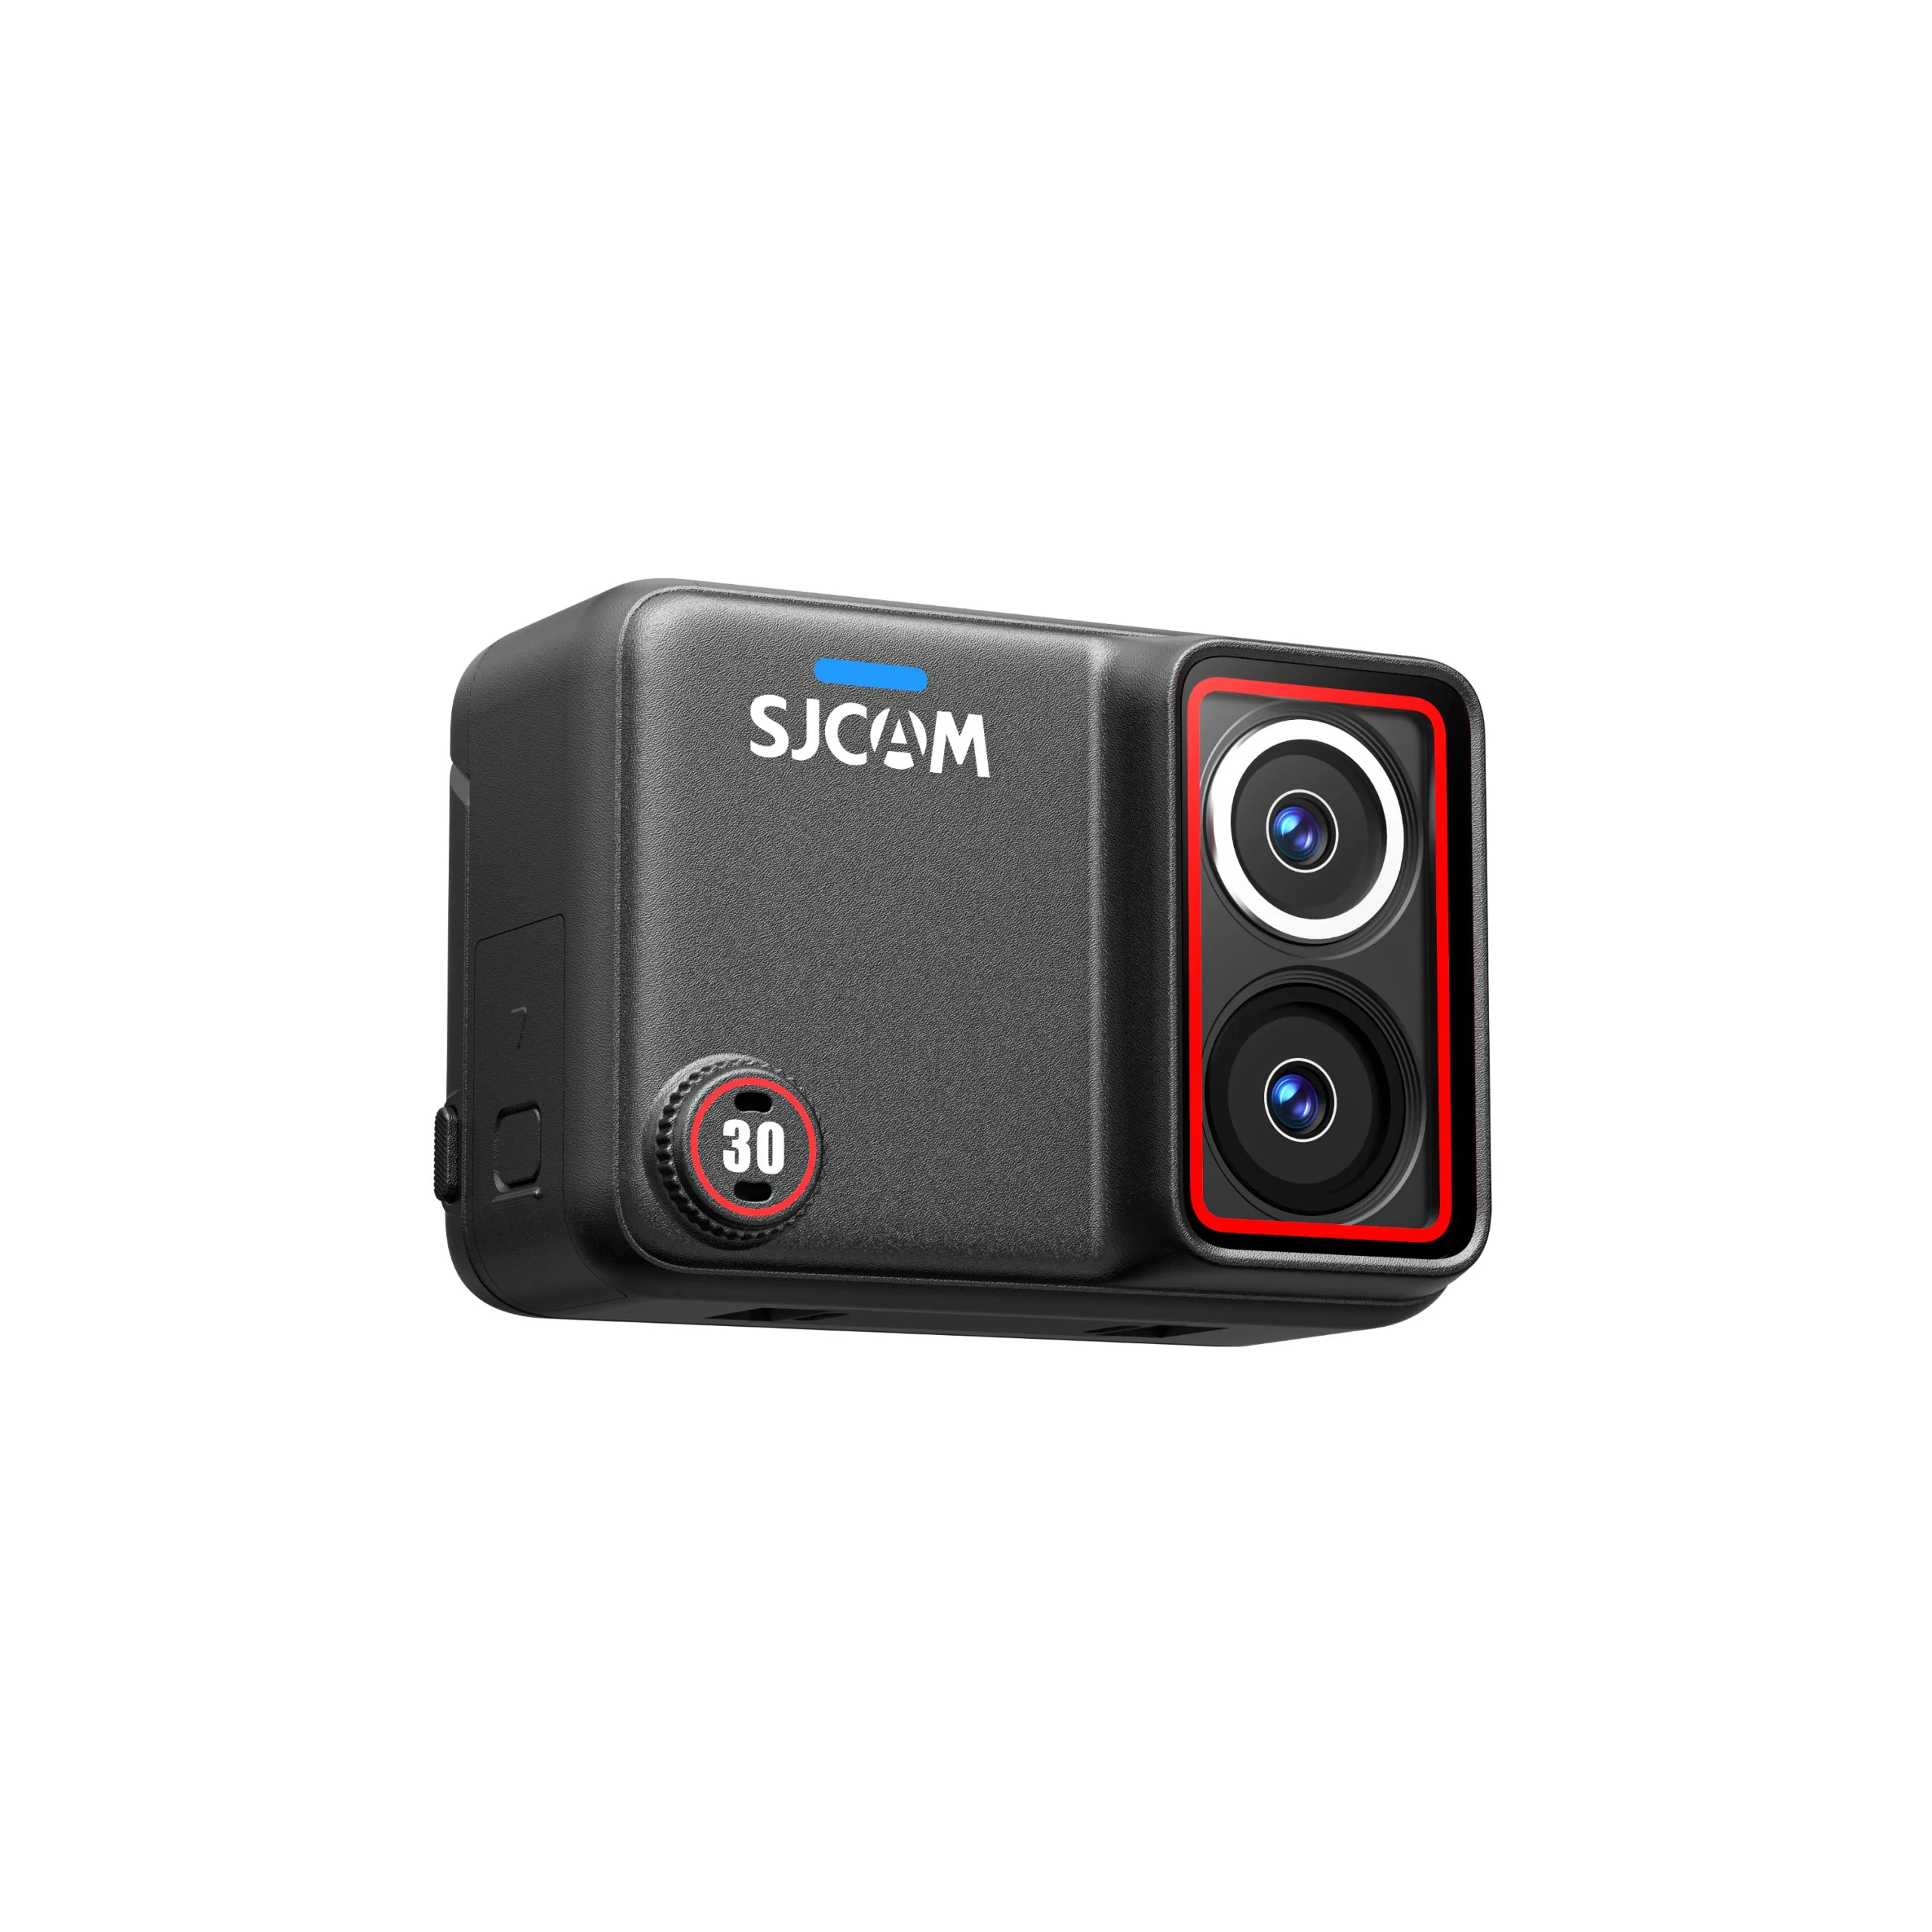
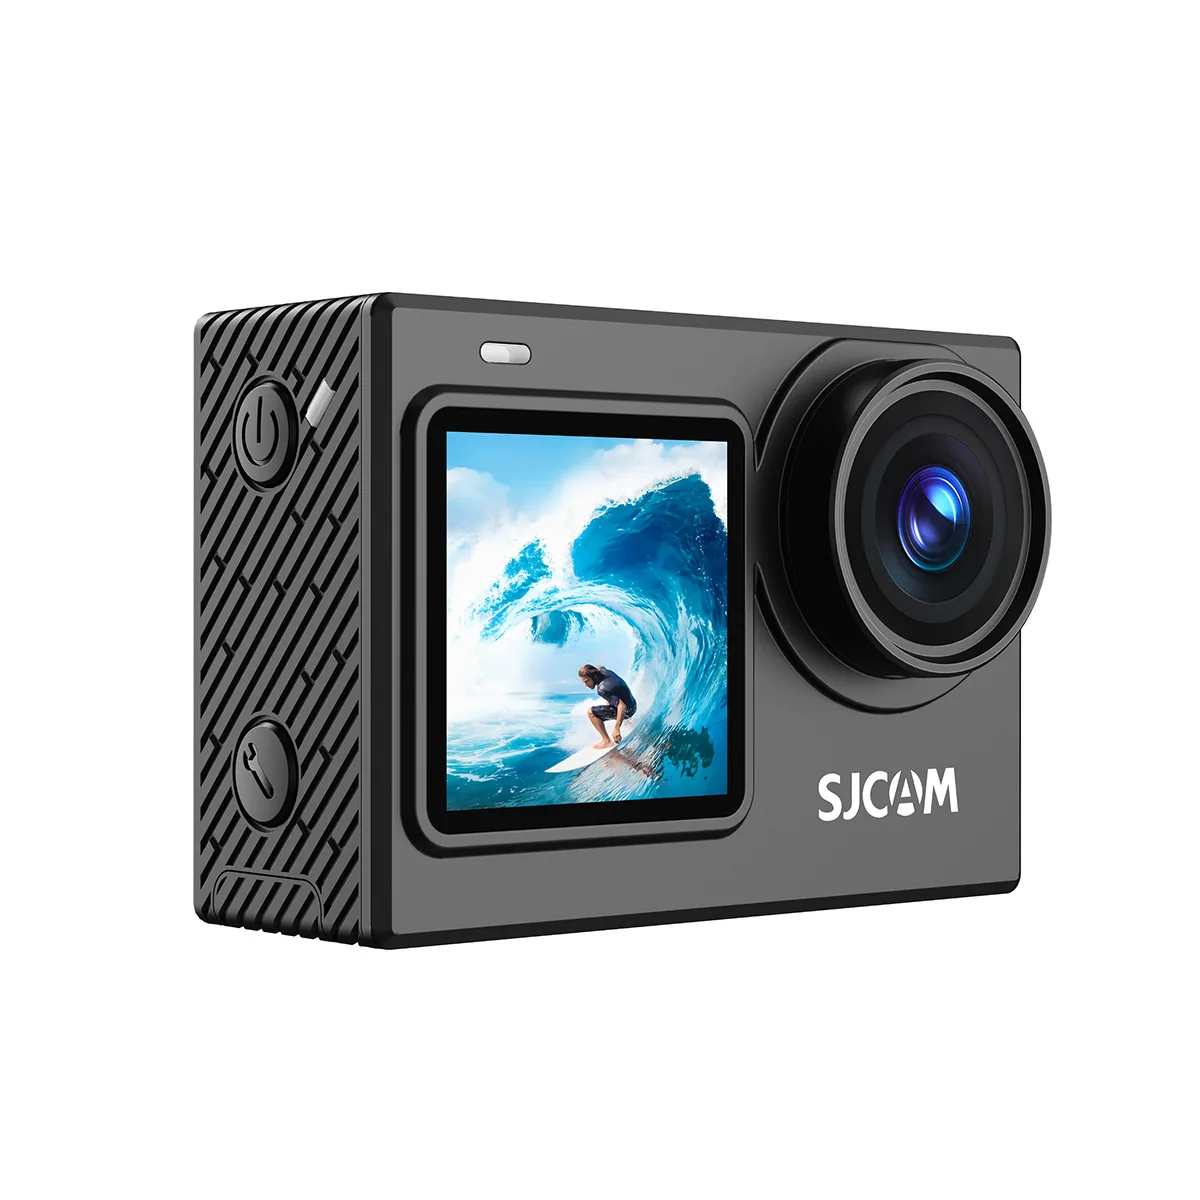
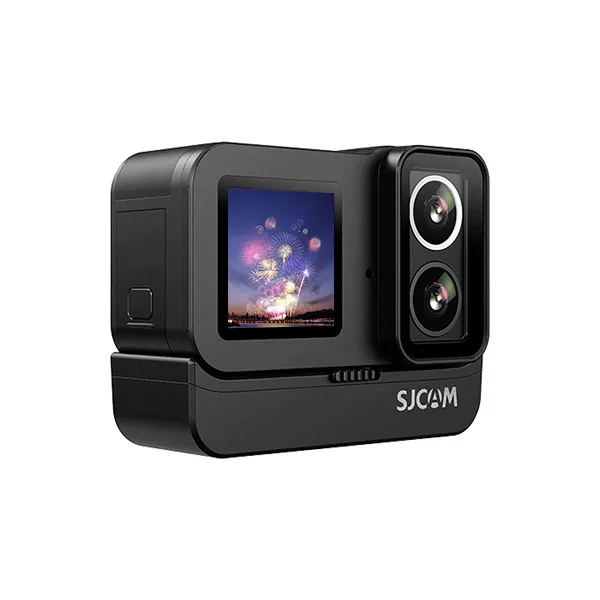
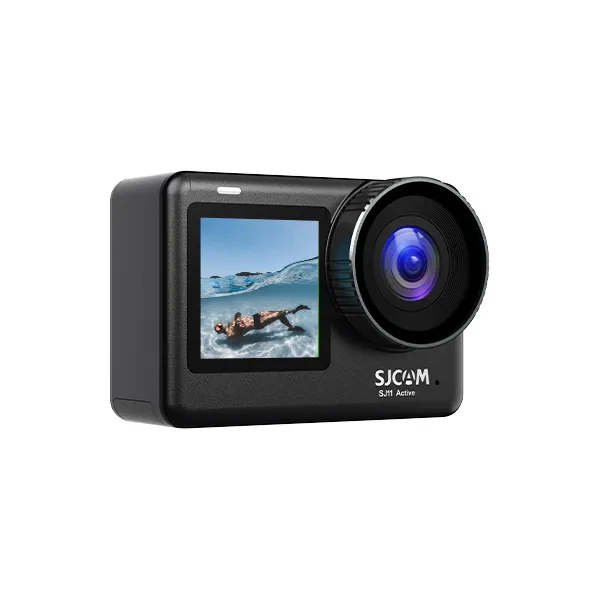
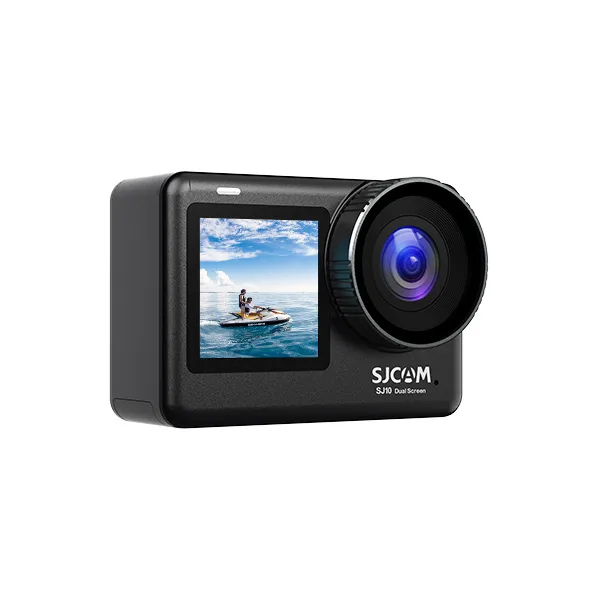
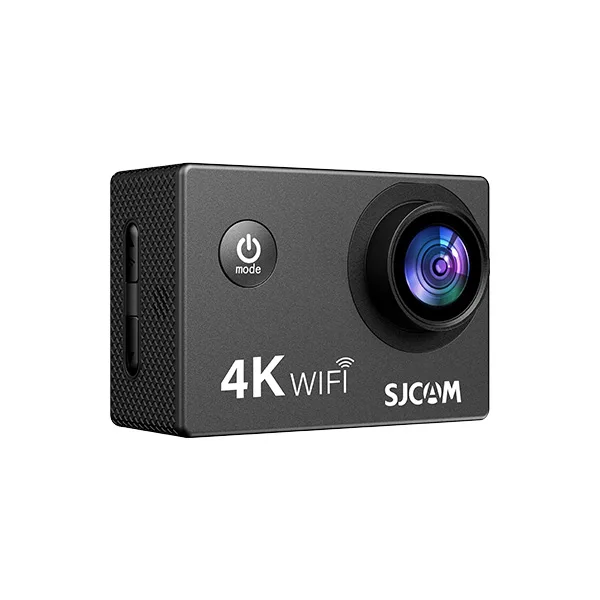
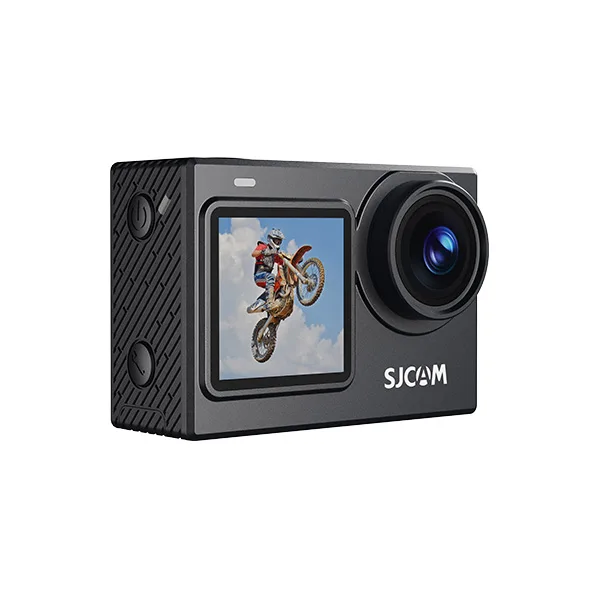
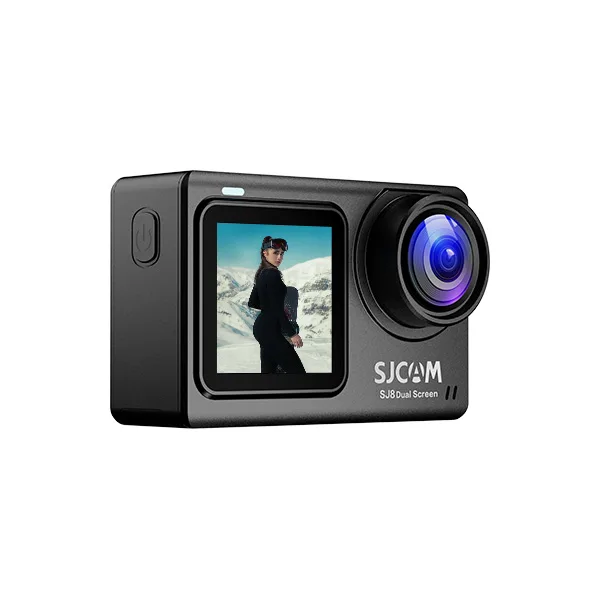
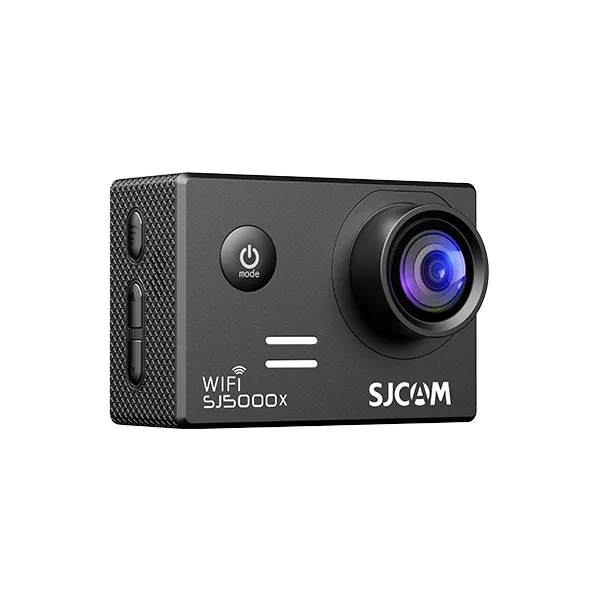
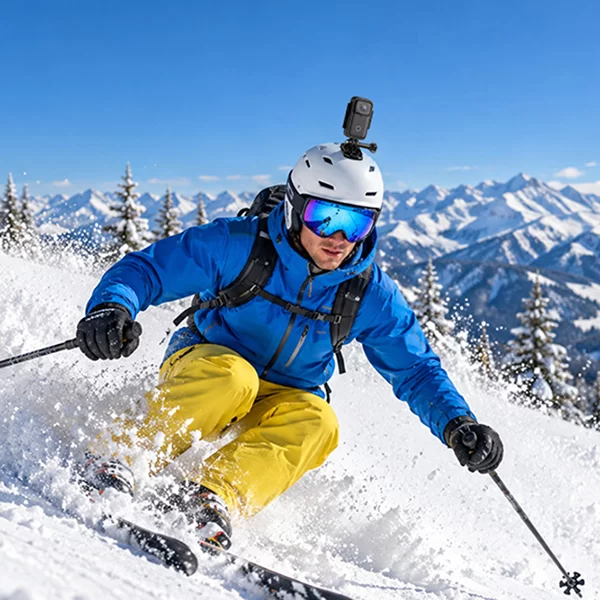

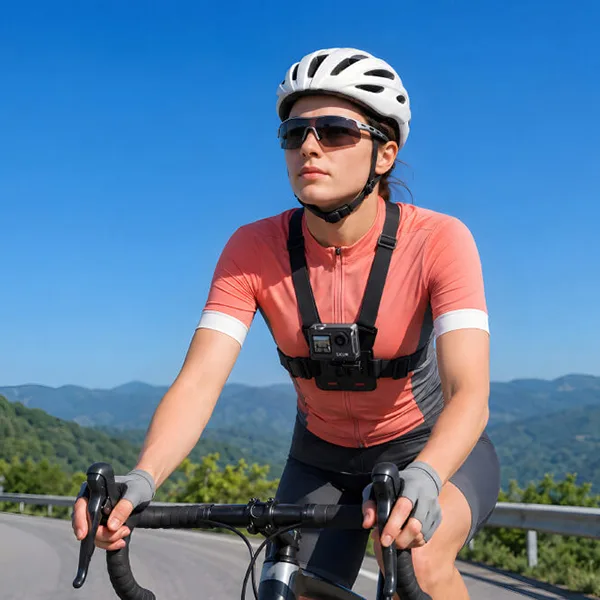
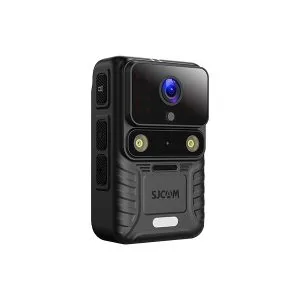
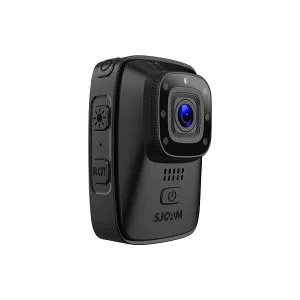



Вибір правильного кріплення для екшн-камери може суттєво вплинути на якість ваших велосипедних відео. Положення камери впливає на те, що відображається в кадрі, скільки руху фіксується та наскільки комфортною є техніка під час їзди.
У цьому посібнику ми порівнюємо кріплення на груди, шолом та кермо на основі стабільності, перспективи, комфорту, налаштування та різних умов їзди на велосипеді, щоб ви могли вибрати варіант, який відповідає вашому стилю їзди та цілям зйомки.
Швидка відповідь: яке кріплення для камери найкраще підходить для їзди на велосипеді?
Для більшості гірських велосипедистів кріплення на груди є надійним універсальним вибором для стабільних, захопливих відео. Кріплення на шолом ідеально підходить, якщо вам потрібна пряма точка зору від першої особи, тоді як кріплення на кермо добре підходить для відеозйомки вперед на дорогах та рівніших поверхнях. Найкращий варіант залежить від вашої місцевості, стилю їзди та цілей зйомки.
Технічні стежки та захопливий погляд — Кріплення для шолома
Кріплення на шолом добре підходить, коли вам потрібна пряма перспектива від першої особи. Оскільки камера слідкує за рухами вашої голови, вона може фіксувати напрямок вашого погляду, що робить її особливо корисною для технічних трас та захопливих відео зйомки їзди.
Гірський велосипед та гравій —Кріплення на грудях
Нагрудне кріплення – це надійний універсальний вибір для гірського велосипеда та їзди по гравію. Його нижнє розташування забезпечує стабільний огляд, який може включати кермо та стежку попереду, водночас тримаючи камеру прикріпленою до вашого тіла, а не до велосипеда.
Шосельні поїздки на велосипеді та щоденні поїздки на роботу — Кріплення на кермо
Кріплення на кермо – це зручний варіант для шосейних велосипедів, туристичних поїздок та щоденних поїздок на роботу. Воно забезпечує прямий огляд у напрямку руху та легкодоступне, хоча шорсткіші поверхні можуть створювати більше вібрації.
Короткий огляд порівняння
| Положення кріплення | Стабільність | Перспектива | Простота використання | Найкраще для | Основний недолік |
| Кріплення для шолома | Добре | Вид на рівні очей | Помірний | Захопливий погляд та розбивка ліній | Додає ваги шолому |
| Кріплення на грудях | Загалом стабільний | Природний вигляд на рівні тіла | Середній | Плавні, кінематографічні кадри стежки | Нижній кут камери; ремінь безпеки може тиснути або нагріватися |
| Кріплення на кермо | Справедливо. Значно залежить від місцевості | Прямий кадр дороги або стежки попереду | Високий | Огляд дороги вперед та поїздки на роботу | Передає прямі вібрації на камеру |
Шукаєте більше варіантів велосипедних камер?
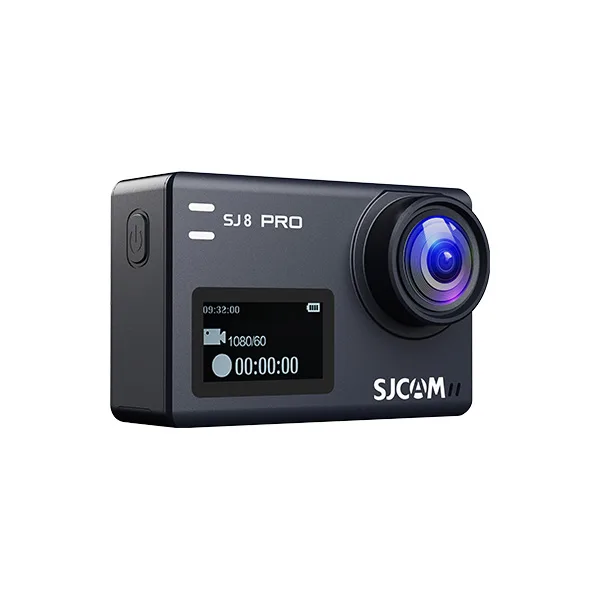
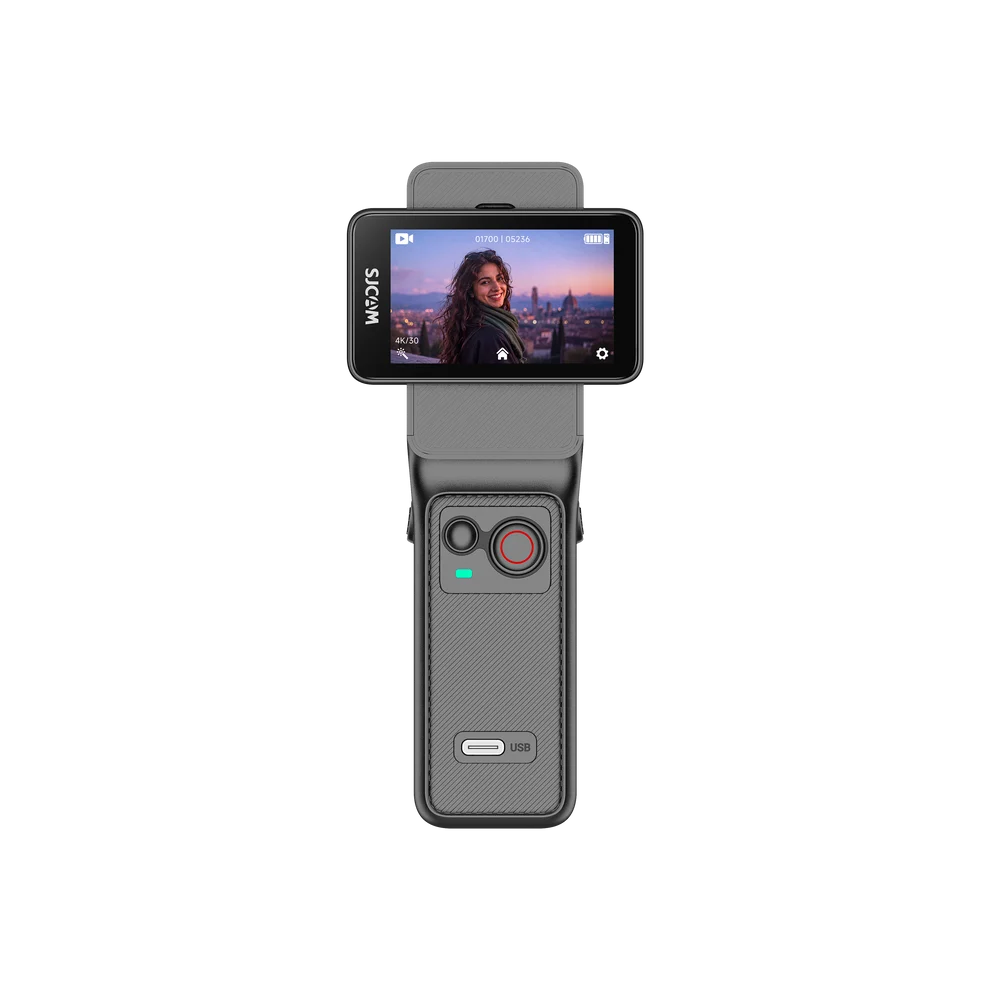
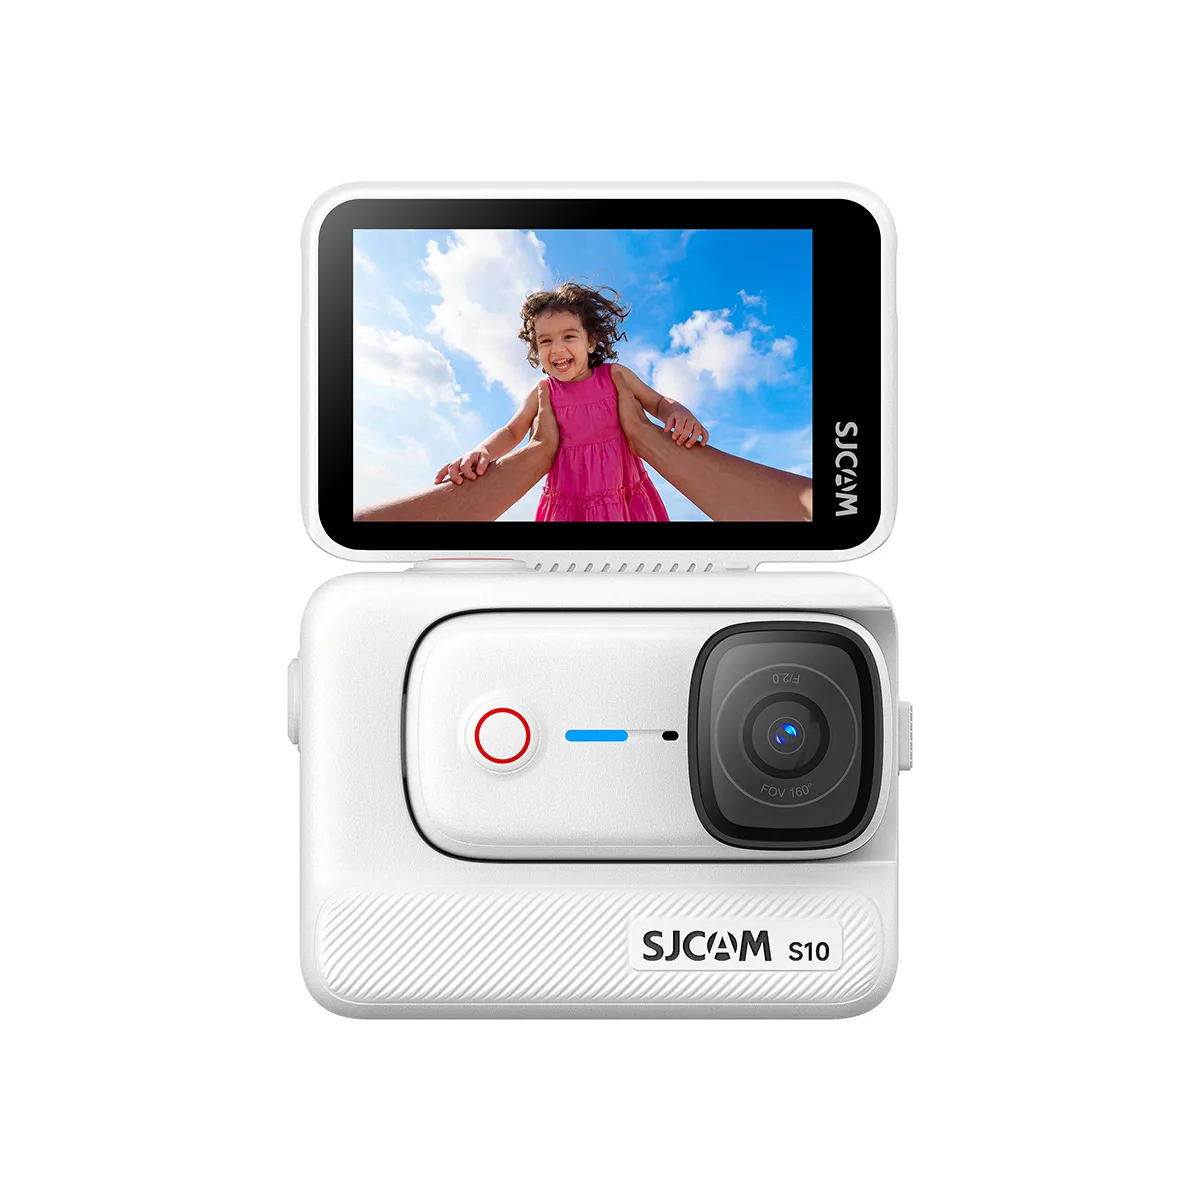
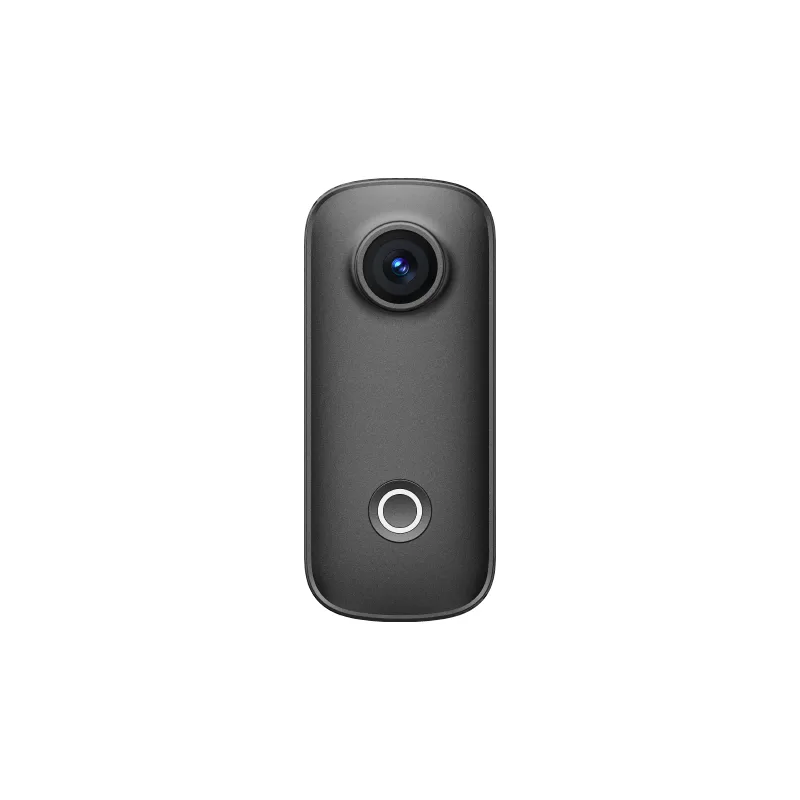
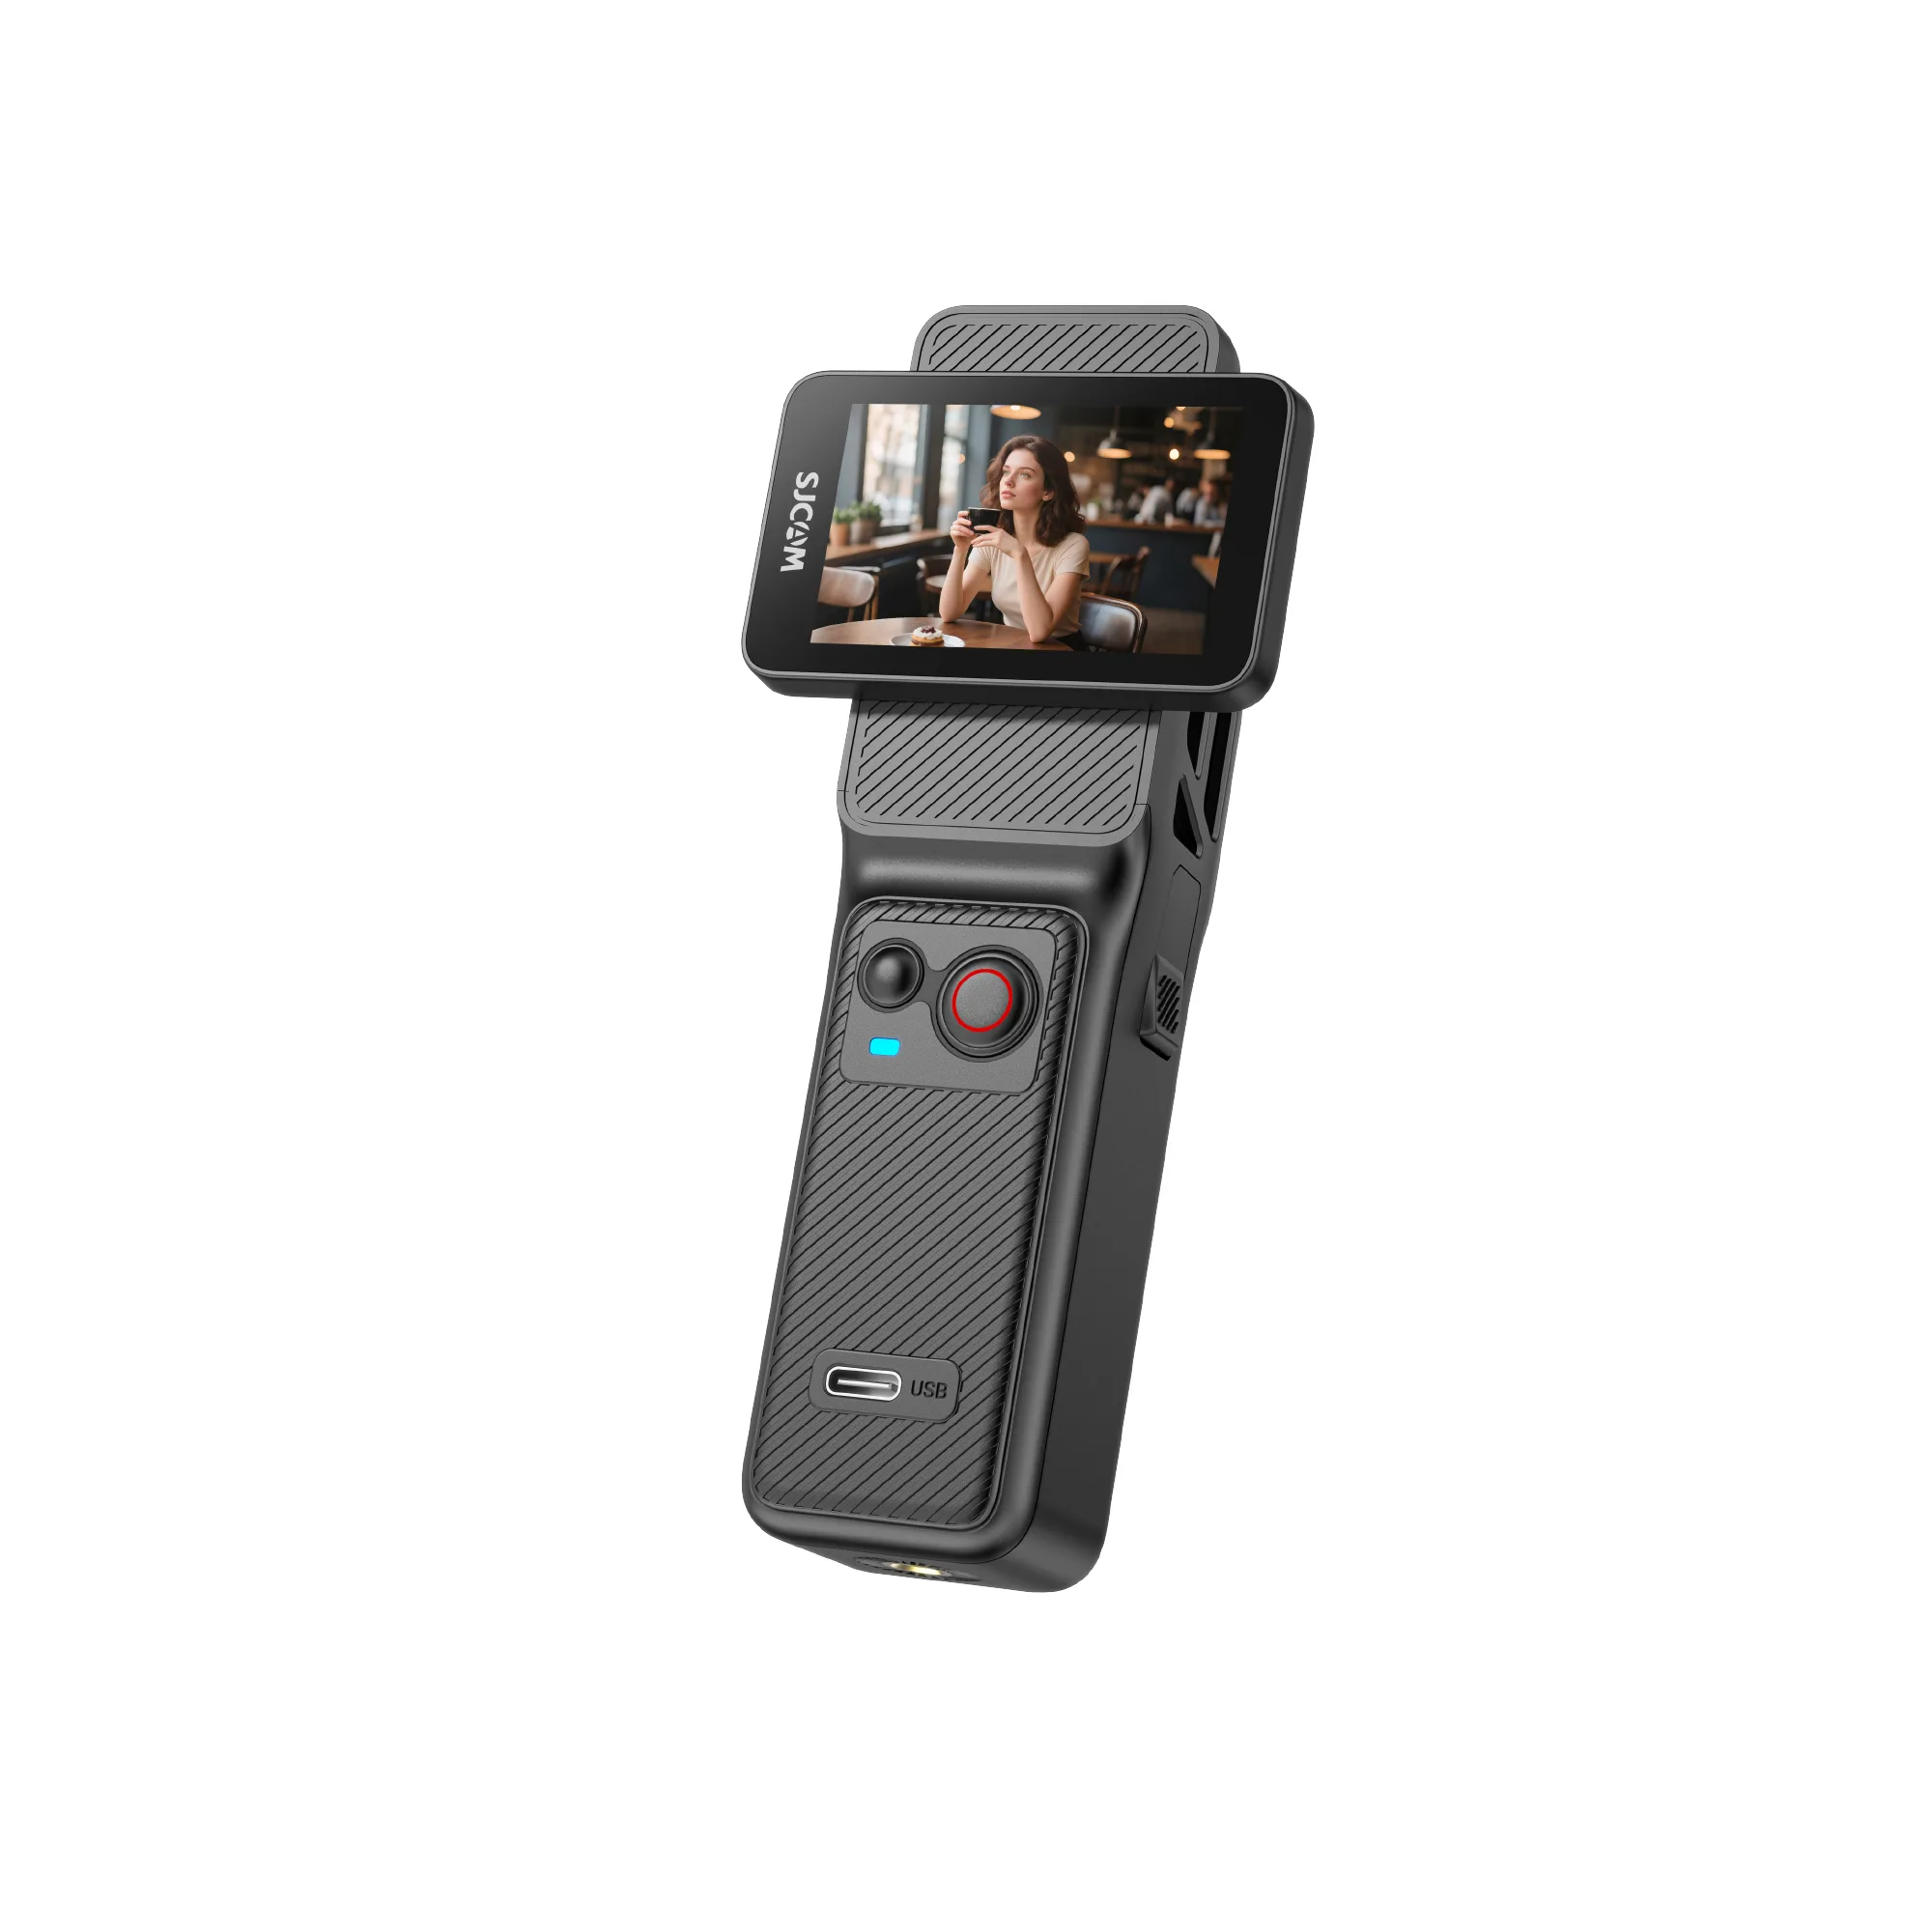
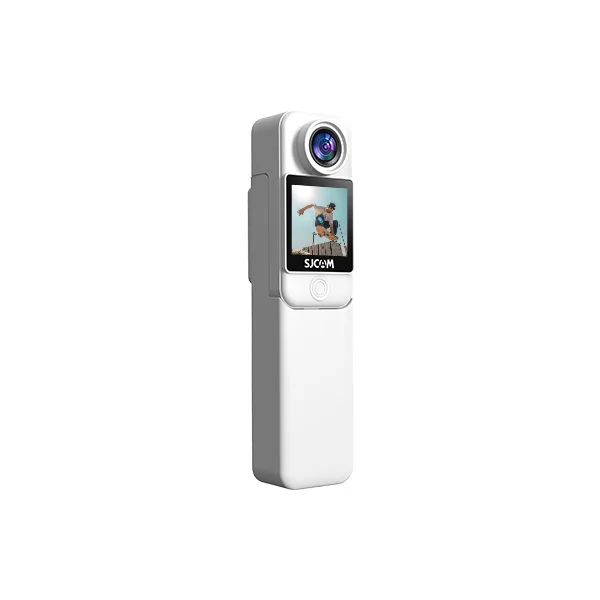
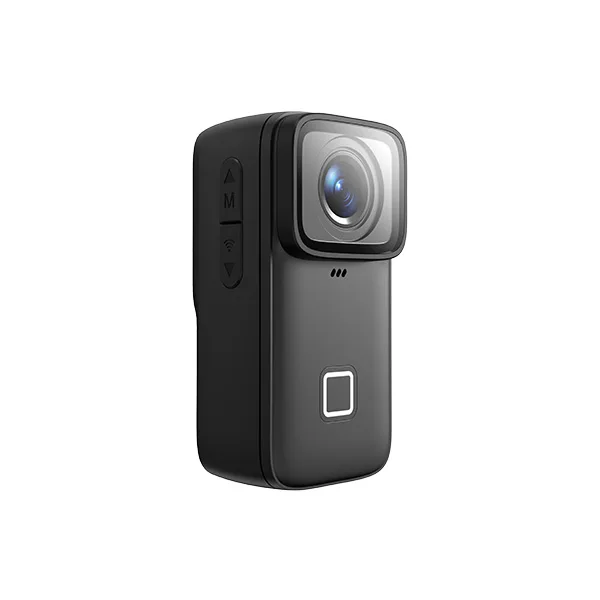
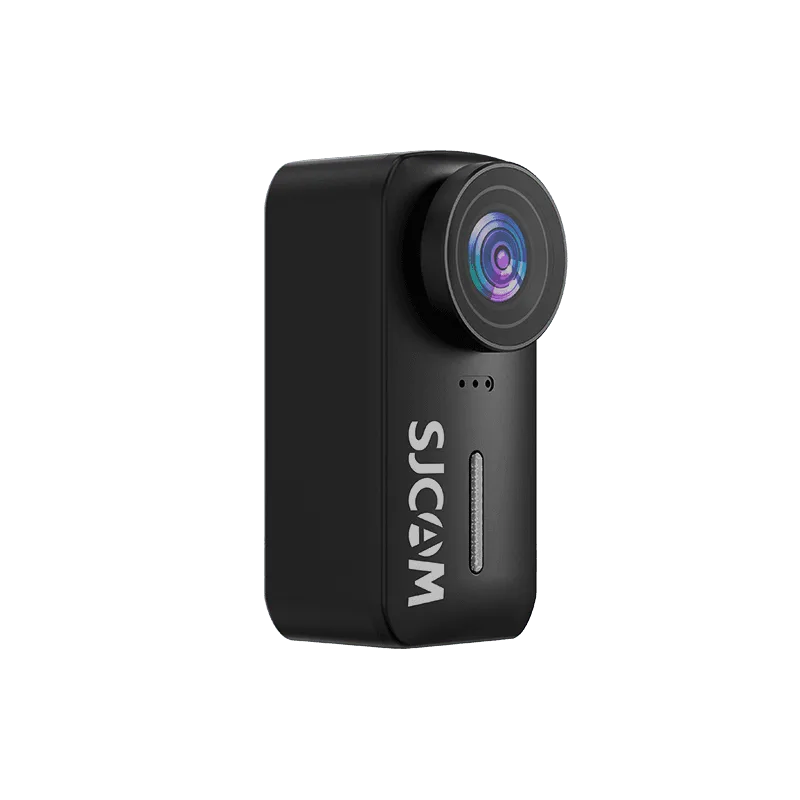
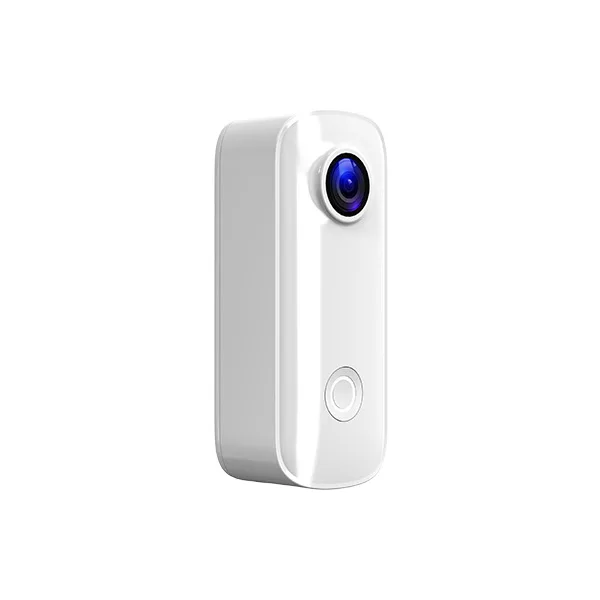
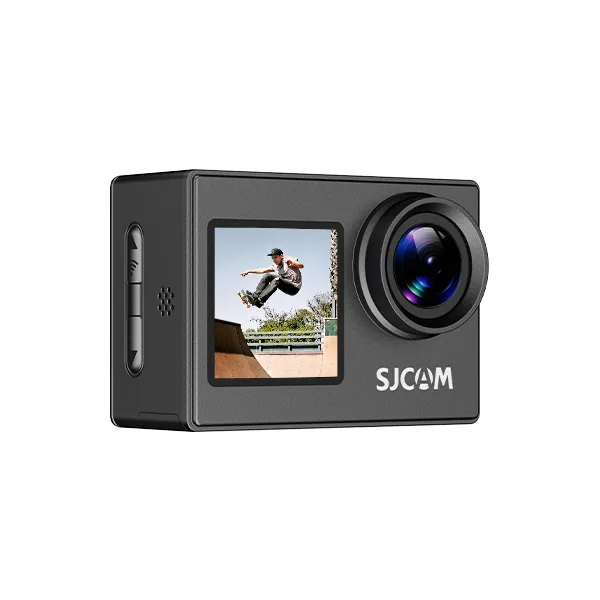
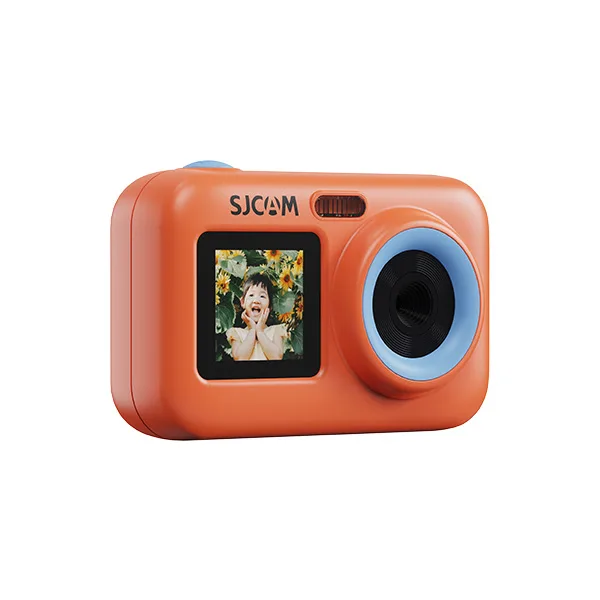
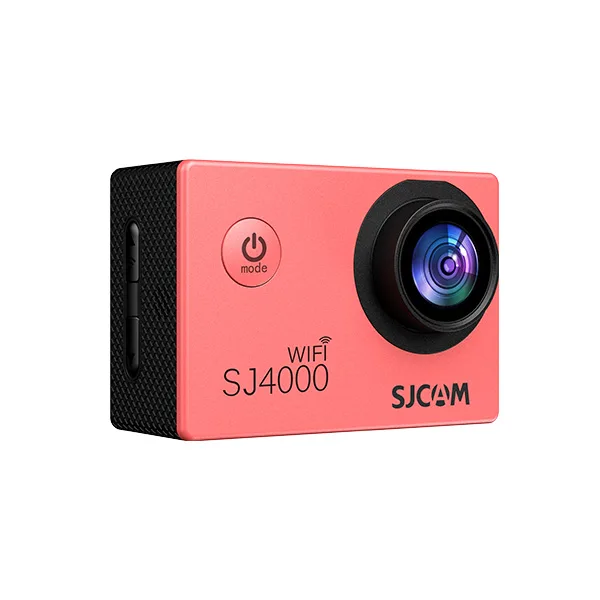
Ознайомтеся з SJCAM екшн-камери для велосипедистів щоб знайти камери та варіанти кріплення, призначені для їзди на велосипеді, гірського велосипеда та пригод на природі.
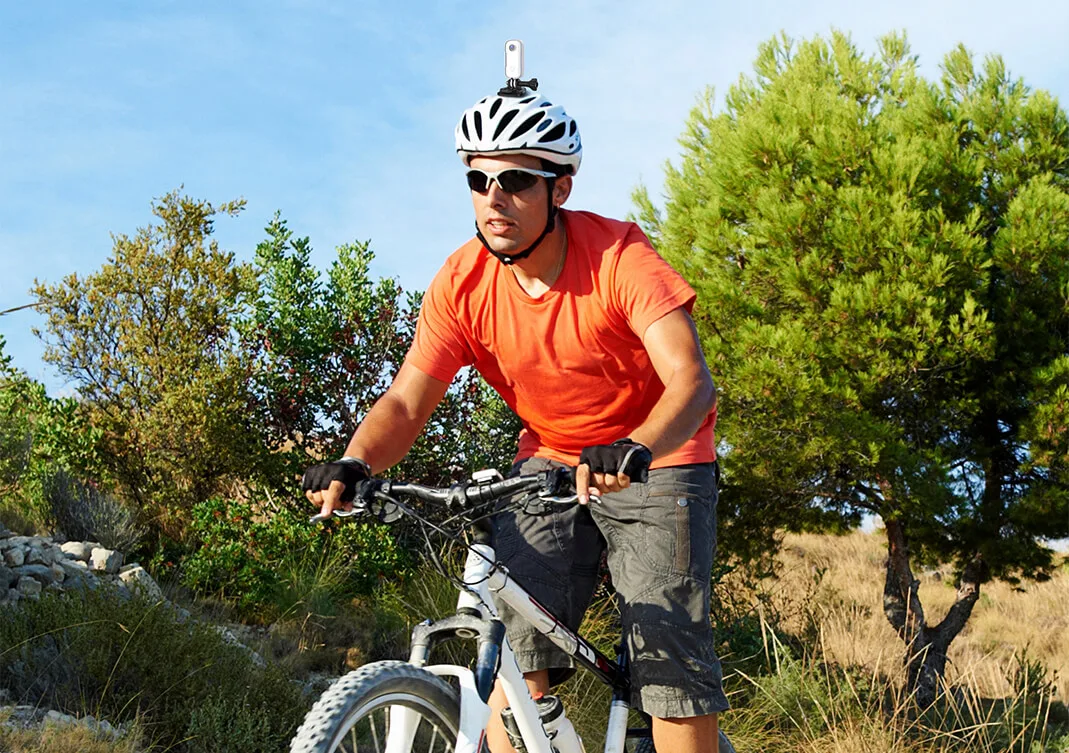
Кріплення для шоломів
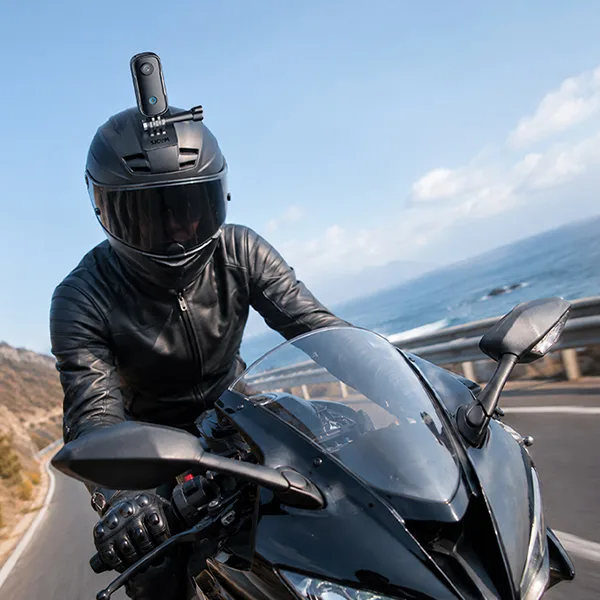
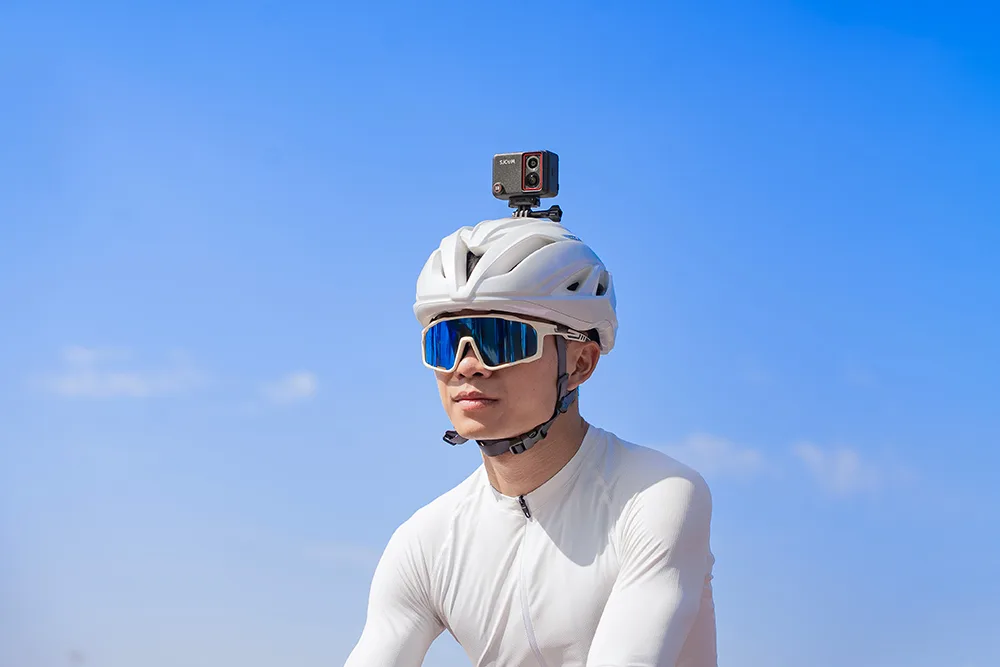
Кріплення для шолома кріпиться до верхнього вентиляційного отвору шолома або до клейкої основи, розміщуючи об'єктив у вигідному місці, що відповідає зросту мотоцикліста.
Результати
Ремонт екшн-камери до вашого шолома дозволяє йому фіксувати саме те, на що ви дивитеся з тієї ж висоти, з якої ви б бачили речі. Це ідеальна установка для зйомки з точки зору точки зору для документування вашого оточення, а також віддалених об'єктів, які пропустила б камера, розташована нижче.
Перевага кріплень для шоломів
Надійно закріплена камера зазвичай відстежує рух шолома, хоча вібрація та швидкі рухи голови все ще можуть впливати на якість відеозапису.
Оскільки корпус фактично утворює основу для кріплення записуючого обладнання, ваші відео з меншою ймовірністю будуть вловлювати дрібні, відволікаючі вібрації.
Обмеження: Зручність використання та невдача з кадрами
Недоліки кріплень для шоломів можна розділити на дві основні категорії.
Знижений комфорт
Камера та кріплення додають додаткової ваги вашому шолому, що може стати помітним під час тривалих поїздок. Компактна та легка конструкція може допомогти зменшити дискомфорт, особливо під час тривалої їзди.
Ускладнення у використанні
Кріплення на шоломі фіксують те, що ви бачите, саме так, як ви це бачите. Але не всі рухи голови є навмисними, від швидких перевірок плечей, нахилів чи поглядів вниз. Камера, встановлена на шоломі, записуватиме всі ці небажані рухи.
Також існує проблема з тим, щоб бути уважним до низько звисаючих гілок дерев або знаків, які можуть зачепити або змістити встановлену зверху камеру з місця, де ви її не бачите.
Заходи безпеки для камер шолома
Завжди використовуйте легкі знімні кріплення або затискачі для тросів під час кріплення пристрою до камери.
Не свердліть, не ріжте та не модифікуйте шолом іншим чином, якщо це спеціально не дозволено виробником шолома. Модифікації можуть вплинути на структуру шолома або його захисні характеристики.
Переконайтеся, що камера та кріплення не заважають кріпленню шолома, його ремінцям, вентиляції чи захисним функціям.
Якщо ваш шолом використовує MIPS або іншу систему обертального удару, дотримуйтесь інструкцій виробника шолома щодо сумісних аксесуарів та положень кріплення.
Управління ключовими проблемами
На щастя, існують деякі рішення проблем, які можуть виникнути у влогерів із кріпленнями для шоломів.
Якщо здається, що верхня камера вашого шолома важка, ви можете
- Встановіть його нижче на підборідній планці, якщо у вас шолом із повним покриттям, або
- Розмістіть його ближче до переднього козирка, щоб зменшити ефект важеля.
За можливості використовуйте більше співвідношення сторін, таке як 4:3 або 8:7, щоб захопити більшу площу зображення. Це дає вам більше гнучкості для перекадрування та стабілізації відзнятого матеріалу під час редагування.
Ідеальні ситуації для використання кріплення на шолом
- Технічний одиночний трек: Вони пропонують чіткі знімки з точки зору глядача, щоб показати глядачам, як ви орієнтуєтесь у альпінаріях та пробираєтеся трасами на крутих серпантинах.
- Групові поїздки: Ви можете знімати своїх партнерів по їзді, просто повернувши голову до них.
- Щоденні поїздки на роботу: Кріплення для шоломів – це просте рішення для запису взаємодії водія та дорожнього руху на перехрестях з точки зору імерсивного зображення.
Кріплення на грудях
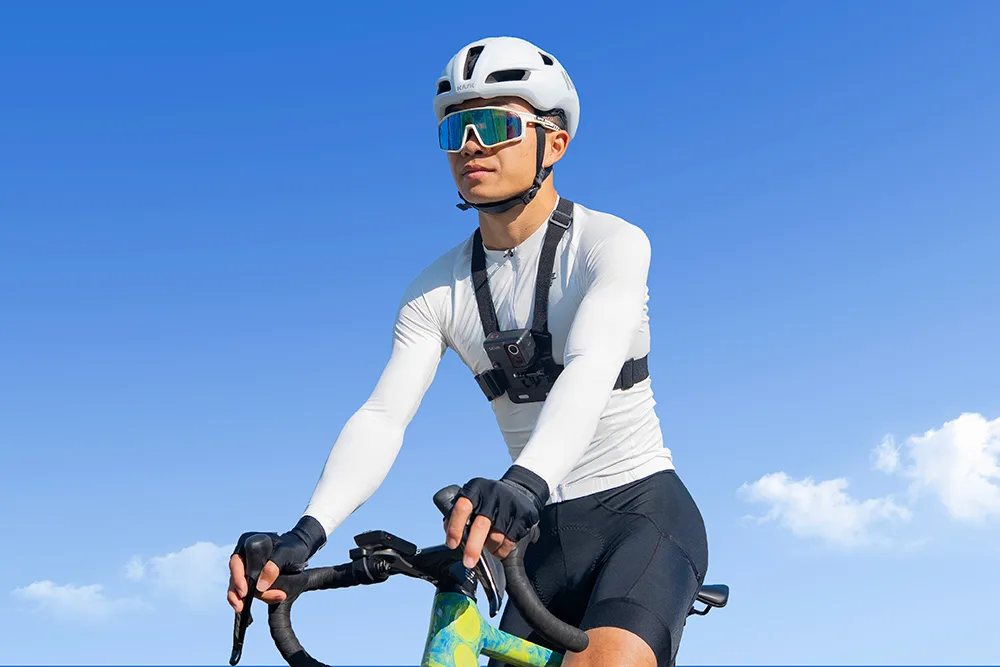
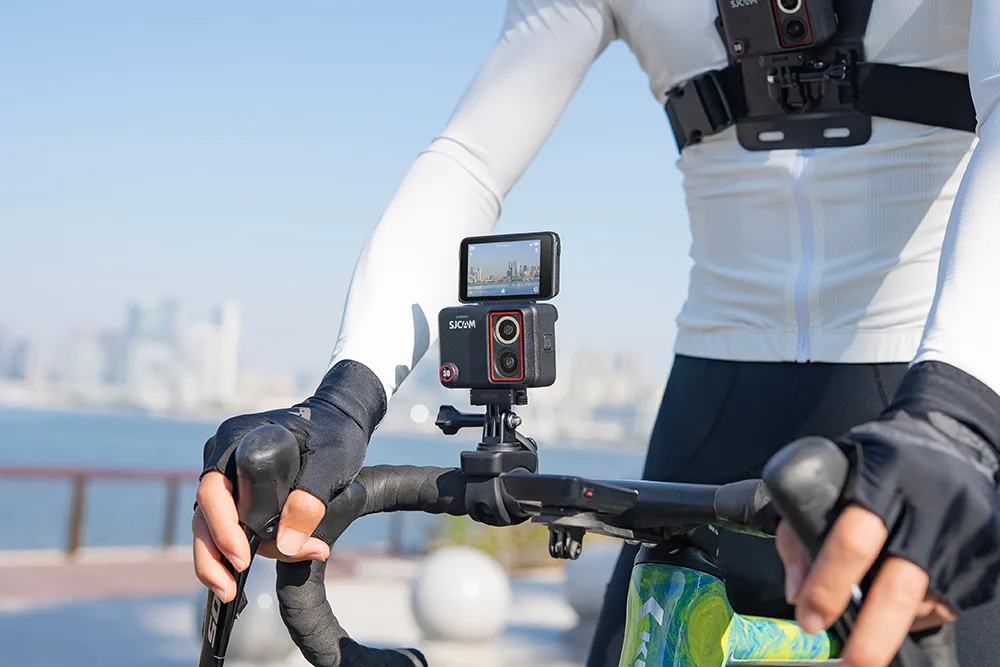
Нагрудні кріплення закріплюють камеру прямо над грудиною за допомогою 4-точкового еластичного ременя. Камера розташована нижче, ніж камера, що кріпиться на шоломі, створюючи точку зору на рівні тіла.
Результати
Зйомка з нижчого ракурсу робить пейзажі більш кінематографічними, а об'єкти — більш вражаючими та сміливими.
Знімаючи рухи керма, вилки та рук на передньому плані, коли повз проноситься доріжка чи стежка, глядачі отримують більш захоплюючий досвід. Нижній кут також тримає камеру ближче до землі, створюючи відчуття швидкості.
Ключова перевага: стабільність та контроль
З'єднання з тулубом велосипедиста, який, можливо, є найміцнішою платформою на всьому велосипеді, робить нагрудні кріплення найстабільнішим варіантом для зйомки фільмів. Зігнуті лікті та коліна в правильному положенні, ваше тіло поглинатиме будь-які сильні удари або постійні вібрації, перш ніж вони досягнуть ваших грудей.
У цьому положенні пристрій знаходиться ближче до вашої досяжності та менш вразливий до навколишніх перешкод.
Обмеження: обмеження руху та різноманітність відеоматеріалів
Нещільно закріплене нагрудне кріплення може вдаряти об грудину на кам'янистій ділянці стежки, впливаючи на комфорт та якість зйомки. Щоб закріпити його, потрібно потягнути чотири еластичні ремені, поки вони не стануть досить щільними.
На крутих, тривалих підйомах, де потрібна повна ємність легень, туго затягнутий нагрудний ремінь безпеки може задушити. Кріпильна пластина, прикріплена до грудей, також затримує тепло та піт.
Виправлення проблем
Коли ви нахиляєтеся вперед, приймаючи агресивну позицію для їзди, вертикальна камера буде спрямована прямо вниз на вашу верхню трубу. Закріпіть камеру догори дном на J-подібному гачку підвісної системи. Отриманий нахил дозволить вам залишатися в кадрі.
Щоб забезпечити щільне прилягання, відрегулюйте ремені страхувального ремня, доки нагрудна пластина не прилягатиме щільно до грудини без провисання, переконавшись, що ви все ще можете просунути два пальці під гумку. Це дозволить камері залишатися нерухомою, не тиснучи занадто сильно на груди під час крутих підйомів. Страва має бути надійно закріплена, не обмежуючи нормального дихання чи рухів.
Ідеальні ситуації для використання нагрудного кріплення
- Гірський велоспорт з даунхілом та ендуро: Нагрудний кулачок краще підійде для фіксації динамічних рухів та стиснення вилки під час грубих ударів.
- Гравійний велоспорт: Забезпечує плавність відео на багатокілометровій місцевості, схожій на пральну дошку.
- Швидкі спуски стежками: Низька перспектива покращує сприйняття швидкості для створення більш захопливих кадрів.
Кріплення для керма
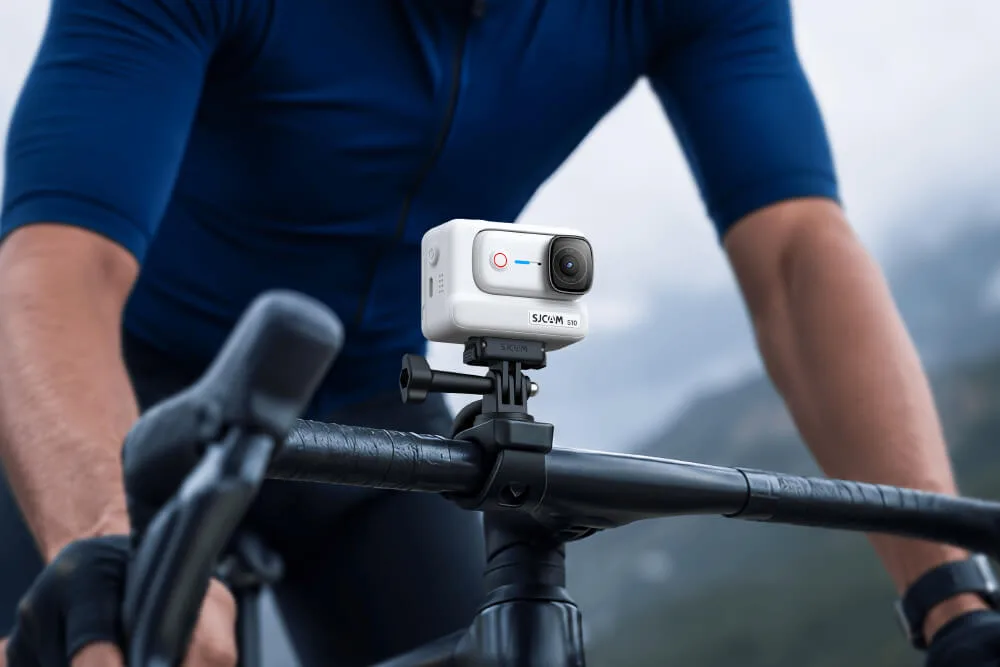
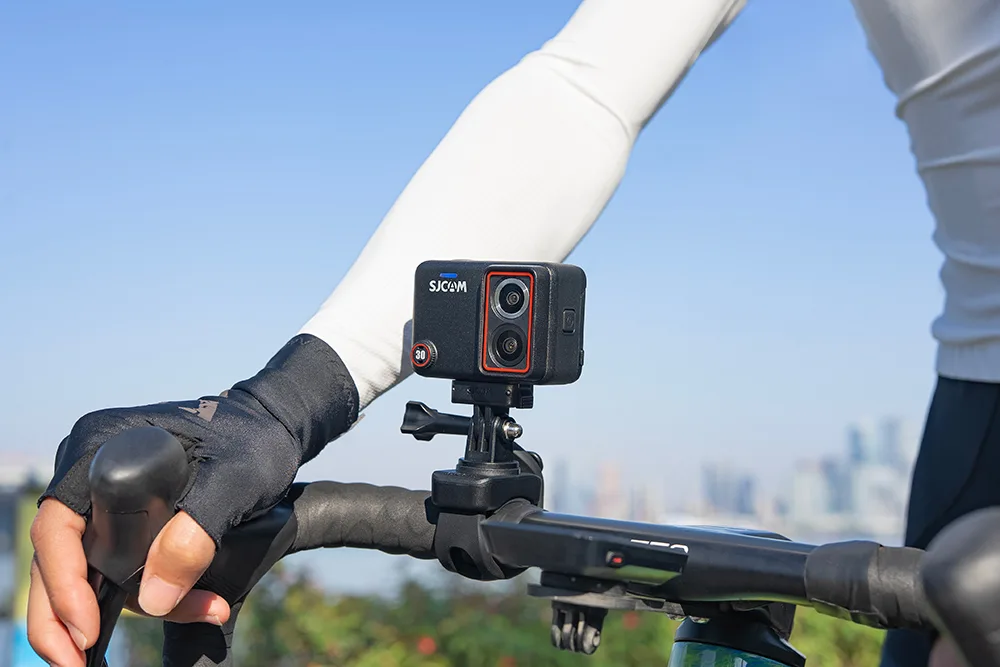
Вони кріпляться безпосередньо до керма за допомогою алюмінієвих або міцних кронштейнів на полімерній основі. Розташована нижче, ніж кріплення на грудях або шоломі, ця система, спрямована вперед, працює незалежно від рухів вашого тіла.
Результати
Фронтальна установка забезпечує повний та безперешкодний огляд шляху попереду, без жодної частини вашого тіла чи шолома. Камера спрямована туди, куди повертається ваше переднє колесо.
Найбільший виклик: стабільність
На відміну від кріплень на грудях або шоломі, затискач керма кріпиться до міцної рами, яка чудово передає удар порівняно з м’якими людськими тканинами. Високочастотні коливання від шини, обода та вилки передаються безпосередньо в корпус камери, створюючи тремтячі відео на грубому асфальті або гравії.
Встановлення та безпека
Кріплення на кермо зазвичай швидко встановлюються, хоча точні кріплення та інструменти залежать від системи кріплення. Не потрібні тугі ремені безпеки чи ненадійні липкі прокладки.
Також, оскільки камера розташована прямо перед вами, ви можете легко перевірити час роботи батареї, побачити індикатори запису, внести зміни та натиснути кнопки.
Зменшення тремтіння кріплень керма
Легкі пластикові затискачі будуть прогинатися під навантаженням і посилювати вібрації. Ось що вам потрібно зробити.
Використовуйте жорстке, сумісне з камерою кріплення на кермо та закріпіть його відповідно до інструкцій виробника кріплення. Уникайте нещільно закріплених або гнучких компонентів, які можуть призвести до додаткового руху.
Сумісна вставка, що гасить вібрацію, може допомогти зменшити небажані рухи на шорстких поверхнях.
Ідеальні умови для кріплення на кермо
Далекі тури: Зручний варіант, коли вам потрібна фронтальна камера без кріплення ременя безпеки.
Міські поїздки на роботу: проста передня камера для документування вашого маршруту та навколишнього руху.
Плавні поїздки: Знімає чіткі кадри на рівних асфальтованих дорогах без додаткового спорядження.
Найкраще кріплення для екшн-камери для різних видів велоспорту
Ідеальний вибір залежить від виду діяльності, в якій ви берете участь, відео, яке ви знімаєте, та перешкод, з якими ви, ймовірно, зіткнетеся. У наступній таблиці наведено рекомендовані кріплення, а також додаткові варіанти, якщо вони виявляться більш практичними або кращими.
| Активність | Найкраще кріплення |
|---|---|
| Гірський велосипед | Кріплення на грудях |
| Технічний гірський велосипед | Кріплення для шолома |
| Шосейний велоспорт | Кріплення на кермо |
| Їзда по гравію | Кріплення на грудях |
| Міські поїздки на роботу | Кріплення на кермо |
| Далекі тури | Кріплення на кермо |
| Верхова їзда від першої особи | Кріплення для шолома |
Використання кількох кріплень
Використання різних ракурсів камери чудово підходить для того, щоб глядачі залишалися зосередженими під час насиченої динамікою поїздки або під час проїзду крізь спільні простори.
Популярна конфігурація поєднує основне кріплення на груди, спрямоване вперед, з кріпленням на кермі або підсідельному штирі, спрямованим назад, для бездоганного та професійного монтажу.
Для звичайних велосипедистів, які віддають перевагу швидкому та простому робочому процесу, одну камеру зі швидкознімною кріпильною пряжкою можна зняти з нагрудного ременя безпеки. Система швидкознімного кріплення може полегшити переміщення камери між сумісними кріпленнями.
Одна камера, кілька варіантів кріплення
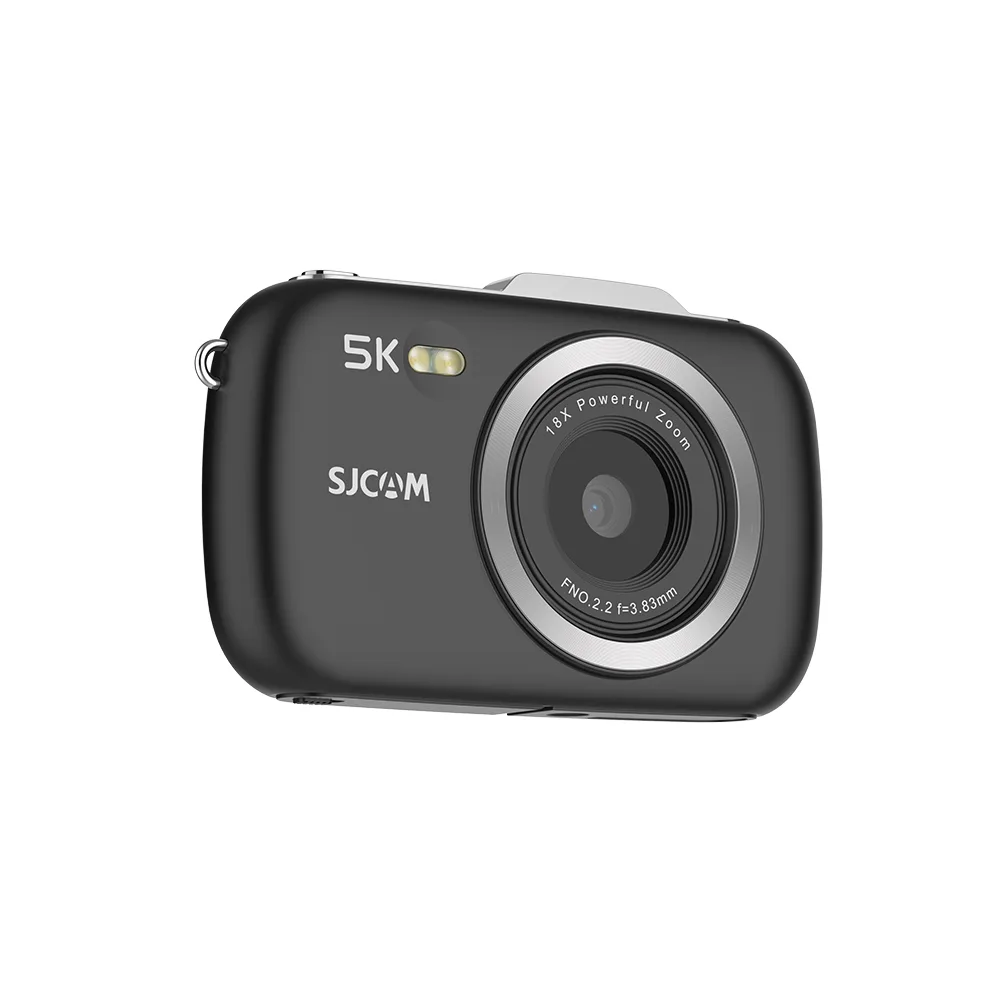
The SJCAM SJ30 можна поєднувати з різними варіантами кріплення залежно від вашого стилю їзди. Використовуйте нагрудне кріплення для нижчого, захопливого огляду, кріплення на шоломі для зйомки з точки зору прямого відображення або кріплення на кермі для зйомки дороги та поїздок на роботу з роботи, скерованих вперед. Це спрощує адаптацію однієї й тієї ж камери до різних велосипедних сценаріїв.
Поради щодо покращення відео з велосипедних прогулянок
Використовуйте запобіжні ремені
Подумайте про те, щоб закріпити камеру за допомогою додаткового страхувального шнура або шнурка, прикріпленого до рами велосипеда або ремінця шолома. Таким чином, навіть якщо пластикова кліпса зламається під час аварії або вдариться об гілку дерева, сама камера залишиться прикріпленою.
Перевірте монтажне обладнання
Перед поїздкою переконайтеся, що кріплення надійно затягнуте, але уникайте надмірного затягування. Надмірне зусилля може пошкодити гвинти або компоненти кріплення, особливо пластикові гвинти з накатаною головкою. За наявності дотримуйтесь інструкцій щодо затягування, наданих виробником кріплення.
Виберіть правильну роздільну здатність і частоту кадрів
Використовуйте 4K, коли вам потрібна більша деталізація або ви плануєте обрізати відеоматеріал під час редагування. Вища частота кадрів, така як 60 кадрів/с, може бути корисною для швидкознімних сцен або уповільненого відтворення, тоді як 30 кадрів/с може бути достатньо для щоденних відео їзди на велосипеді.
Налаштування витримки для розмиття руху
Використовуйте автоматичний затвор для звичайної їзди або додайте нейтральний фільтр (ND) за яскравого сонячного світла, щоб створити природне та естетично приємне розмиття руху вздовж землі, зберігаючи при цьому чіткість центру кадру.
Для початківців автоматичний затвор зазвичай є найпростішим варіантом. Ручні налаштування затвора корисніші, коли потрібно отримати стабільне розмиття руху за контрольованого освітлення.
Увімкнути стабілізацію
Увімкніть електронну стабілізацію, коли це доречно для вашої камери та режиму зйомки. Якщо ваша камера підтримує вирівнювання горизонту або фіксацію горизонту, використовуйте її, коли хочете, щоб кадр залишався більш рівним під час поворотів та рухів тіла.
Найчастіші запитання
Нагрудне кріплення часто є гарним вибором для гірського велоспорту, оскільки воно забезпечує стабільний, захопливий огляд, водночас тримаючи камеру близько до тіла. Кріплення на шолом може бути кращим варіантом для технічних трас, коли ви хочете, щоб камера відповідала вашій лінії зору.
Кріплення на кермі кріпляться безпосередньо до рами велосипеда, що передає шум та віск шин від асфальту прямо на датчик камери.
Не обов'язково. Відео з камери, закріпленої на шоломі, можуть бути відносно плавними на невеликих нерівностях, оскільки ваша шия та тіло діють як амортизатори. Однак часті перевірки голови або швидкі рухи можуть призвести до нахилу.
Так. Тризубчасті кріпильні пряжки – це швидкознімні інструменти, які дозволяють легко перемикатися між кріпленнями на корпусі, шоломі та кермі.
Як оцінити кріплення для велосипедної камери?
Ми порівнюємо кріплення на основі стабільності, перспективи, комфорту, встановлення, безпеки камери та придатності для різних умов їзди.
- Стрес-тестування в реальних умовах: Тестування різних кріплень на кам'янистих спусках, ґрунтових гравійних дорогах, міських вулицях та гладкому асфальті допомагає порівняти їхню ефективність на різних місцевостях та на різних швидкостях.
- Аналіз вібрації: Покадрова оцінка відзнятого матеріалу може допомогти виявити високочастотні коливання, дрейф горизонту та спотворення, спричинені рухомим затвором, на різних монтуваннях.
- Аудит ергономіки та безпеки: Вимірювання втоми шиї є важливим для вибору ідеального кріплення для 2-годинних сеансів їзди. Також гарантується, що всі конфігурації кріплення відповідають правилам безпеки шолома та велосипеда.
Остаточний вердикт: яке кріплення для велосипедної камери обрати?
Не існує єдиного найкращого кріплення для екшн-камери для кожного велосипедиста. Оберіть кріплення на груди, якщо вам потрібні стабільні, захопливі кадри для гірської їзди на велосипеді та гравійних трасах. Оберіть кріплення на шолом, якщо пріоритетом є пряма точка зору від першої особи, і кріплення на кермо, якщо вам потрібен переважно простий вид вперед для шосейної їзди на велосипеді або поїздок на роботу.
Перед довгою поїздкою протестуйте свою установку на короткому маршруті та перевірте кут огляду камери, стабільність та надійність кріплення.