


騎乘時,胸帶式、安全帽式和把手式耳機哪個最好?
Choosing the right action camera mount can have a significant impact on your cycling footage. The camera’s position affects what appears in the frame, how much movement is captured, and how comfortable the setup feels during a ride.
In this guide, we compare chest, helmet, and handlebar mounts based on stability, perspective, comfort, setup, and different cycling conditions, so you can choose the option that fits your riding style and filming goals.
Quick Answer: Which Camera Mount Is Best for Cycling?
For most mountain bikers, a chest mount is a strong all-around choice for stable, immersive footage. A helmet mount is ideal when you want a direct first-person POV, while a handlebar mount is well suited to forward-facing footage on roads and smoother surfaces. The best option depends on your terrain, riding style, and filming goals.
Mountain Biking & Gravel—Chest Mount
A chest mount is a strong all-around choice for mountain biking and gravel riding. Its lower position provides a stable view that can include the handlebars and trail ahead while keeping the camera attached to your body rather than the bike.
Technical Trails & Immersive POV — Helmet Mount
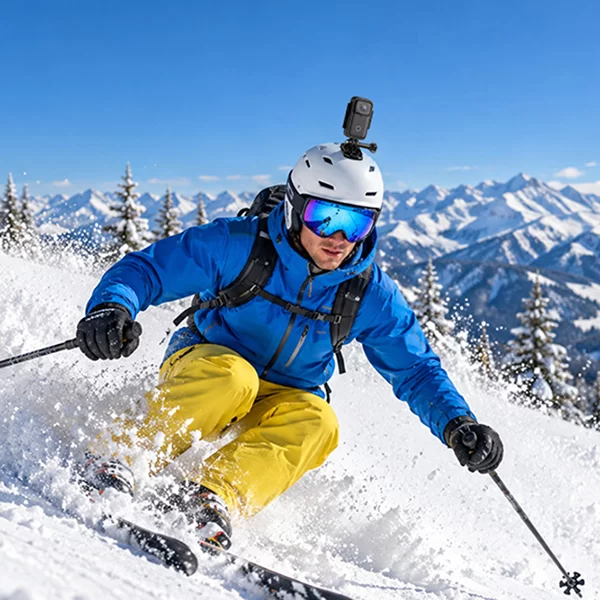
A helmet mount works well when you want a direct first-person perspective. Because the camera follows your head movement, it can capture where you’re looking, making it particularly useful for technical trails and immersive riding footage.
Road Cycling & Daily Commuting — Handlebar Mount
A handlebar mount is a convenient option for road cycling, touring, and daily commuting. It provides a straightforward forward-facing view and is easy to access, although rougher surfaces can introduce more vibration.
Quick Comparison Overview
| Mount Position | 穩定 | Perspective | 使用方便 | 最適合 | Main Drawback |
| 頭盔支架 | 好的 | Eye-level view | Moderate | Immersive POV & line breakdowns | Adds weight to the helmet |
| 胸部安裝 | Generally stable | Natural body-level view | 中等的 | Smooth, cinematic trail footage | Lower camera angle; harness can feel restrictive or warm |
| 車把安裝座 | Fair. Depends heavily on the terrain | Direct shot of the road or trail ahead | 高的 | Forward road view & commuting | Transmits direct vibrations to the camera |
頭盔支架
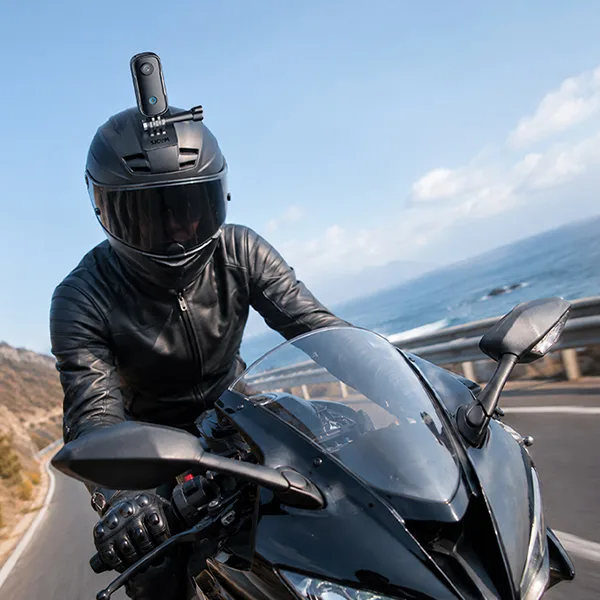
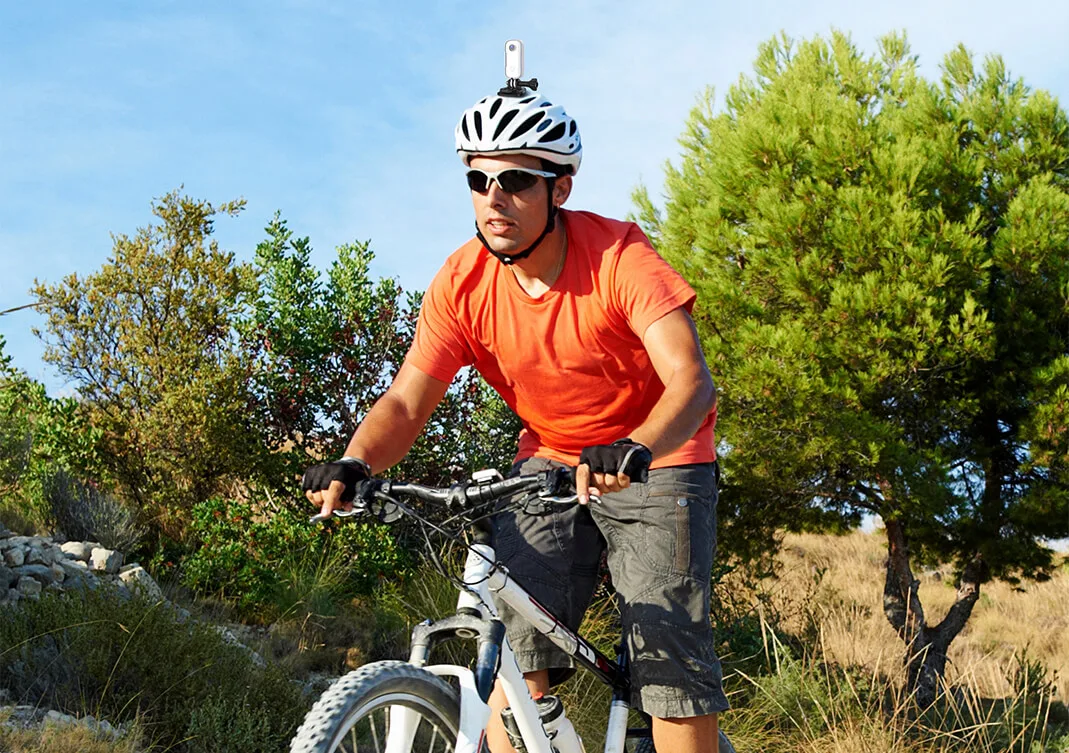
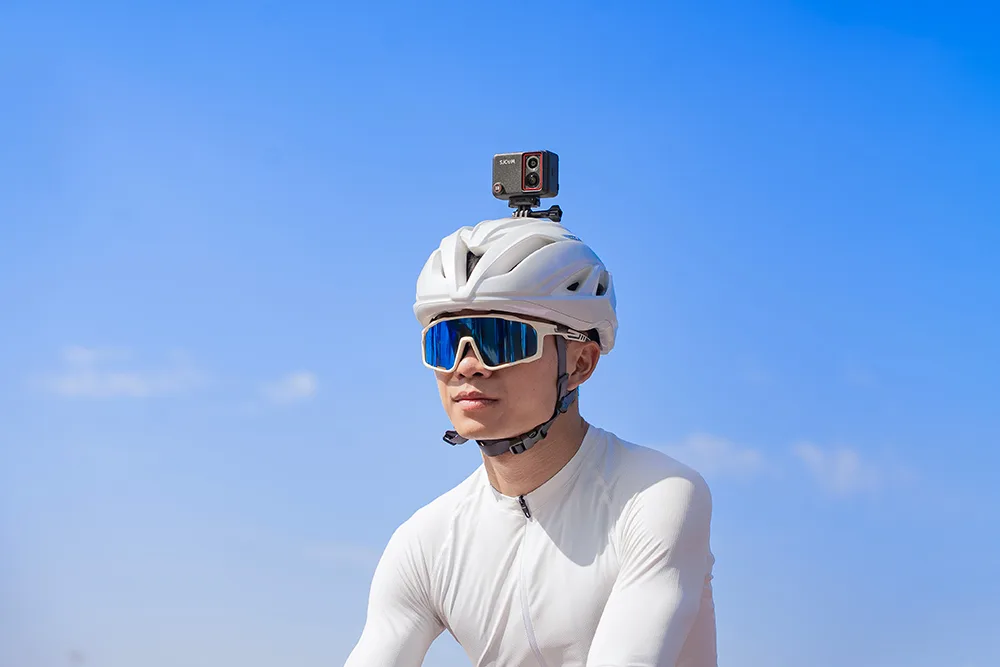
A helmet mount attaches to your helmet’s top air vent or an adhesive base plate, putting the lens at a vantage point that matches the rider’s height.

The Results
Fixing the camera to your helmet allows it to capture exactly what you’re looking at from the same height as you would see things. This makes for an ideal POV-filming setup for documenting your surroundings as well as distant sights that a lower-facing camera would miss.
Benefit of Helmet Mounts
A securely mounted camera generally follows the movement of the helmet, although vibration and rapid head movements can still affect the footage.
As the body effectively forms the base for securing the recording gear, your videos are less likely to pick up fine, distracting vibrations.
Limitations: Usability and Footage Faux Pas
The cons of helmet mounts can be classified in two main categories.
Reduced comfort
Adding a roughly 150-gram camera and mount to a helmet that weighs, say, 300 grams means that you’re adding to the head’s usual burden. While not noticeable immediately or during a short ride, your neck and shoulders may be fatigued after an hour or so.
Complications in usage
Helmet mounts capture what you see, as you see it. But not all head movements are deliberate, from quick shoulder checks, tilts, or downward glances. A head-mounted camera will record all these unwanted movements.
There is also the issue of being aware of low-hanging tree branches or signs that can snag or dislodge a top-mounted camera from where you cannot see it.
Safety Measure for Helmet Cams
Always use lightweight breakaway mounts or tether clips when mounting a device to your camera.
Do not drill into, cut, or otherwise modify a helmet unless the helmet manufacturer specifically allows it. Modifications can affect the helmet’s structure or protective performance.
Make sure the camera and mount do not interfere with the helmet’s fit, straps, ventilation, or protective features.
If your helmet uses MIPS or another rotational-impact system, follow the helmet manufacturer’s guidance on compatible accessories and mounting positions.
Managing Key Problems
Luckily, there are some solutions for the issues vloggers may have with helmet mounts.
If your helmet camera feels top-heavy, you can
- Mount it lower on the chin bar, assuming that yours is a full-face helmet, or
- Place it closer to the front visor to reduce the leverage effect.
When available, use a taller aspect ratio such as 4:3 or 8:7 to capture more image area. This gives you more flexibility to reframe and stabilize the footage during editing.
Ideal Situations for Using a Helmet Mount
- Technical Singletrack: They offer clear POV shots for showing viewers how you navigate rock gardens and pick lines through tight switchbacks.
- Group Rides: You can film your riding partners simply by turning your head toward them.
- Daily Commuting: Helmet mounts are a simple solution for recording driver interactions and traffic at intersections from an immersive perspective.
胸部安裝
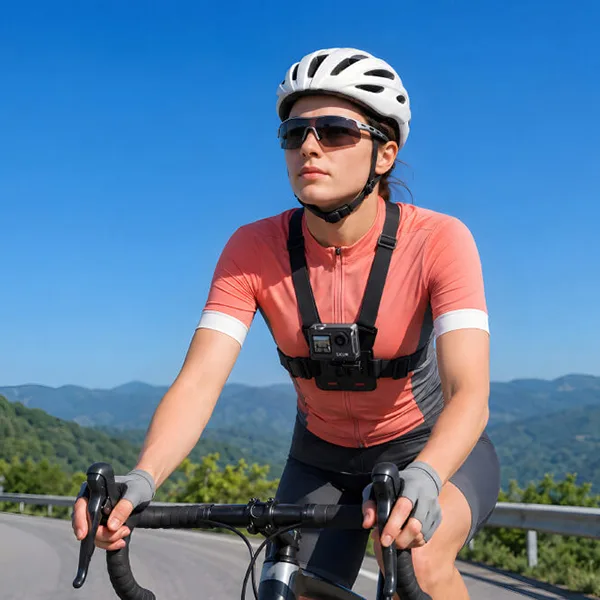
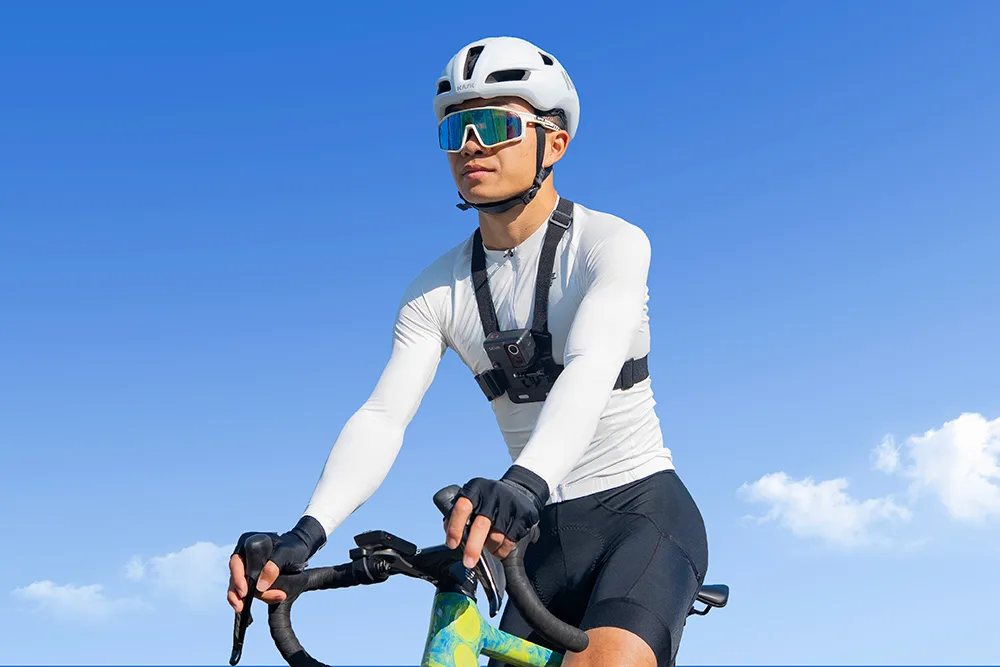
Chest mounts secure the camera right above your sternum using a 4-point elastic harness. The camera sits lower than a helmet-mounted camera, creating a body-level POV.

The Results
Filming from a lower angle makes the scenery appear more cinematic and the subjects more imposing and bold.
By framing your handlebars, stem, and arm movements in the foreground as the path or trail rushes past, viewers get a more immersive experience. The lower angle also keeps the camera closer to the ground, giving a sense of speed.
Key Advantage: Stability and Control
Being connected to the rider’s torso, which is arguably the firmest platform on the entire bicycle, makes chest mounts the most stable filmmaking option. With your elbows and knees bent into position, your body will absorb any heavy impacts or constant vibrations before they reach your chest.
At this position, the device is closer to your reach and less vulnerable to surrounding obstacles.
Limitations: Restricting Movement and Diversifying Footage
A loose chest mount can slap against your sternum on a rocky part of a trail, affecting comfort and footage quality. To fasten it, you need to pull the four elastic harness straps until they’re fairly quite snug.
On steep, sustained climbs where you need your full lung capacity, a tightly strung chest harness can feel suffocating. The mounting plate strapped to your chest also traps heat and sweat.
Fixing the Problems
When you lean forward into an aggressive riding position, an upright camera will end up pointing straight down at your top tube. Mount the camera upside down on the J-hook of the harness. The resulting tilt keeps the trail within the shot.
To manage the snugness, adjust the harness straps until the chest plate rests firmly against your sternum without slack, ensuring you can still slide two fingers flat underneath the elastic. This keeps the camera steady without pressing too hard against your chest during steep climbs. The harness should feel secure without restricting normal breathing or movement.
Ideal Situations for Using a Chest Mount
- Downhill & Enduro Mountain Biking: A chest cam will be better for capturing dynamic movements and fork compression over rough hits.
- Gravel Cycling: Keeps the video smooth over miles of a washboard-like terrain.
- Fast Trail Descents: The low perspective enhances the perception of speed for more exciting footage.
車把安裝座
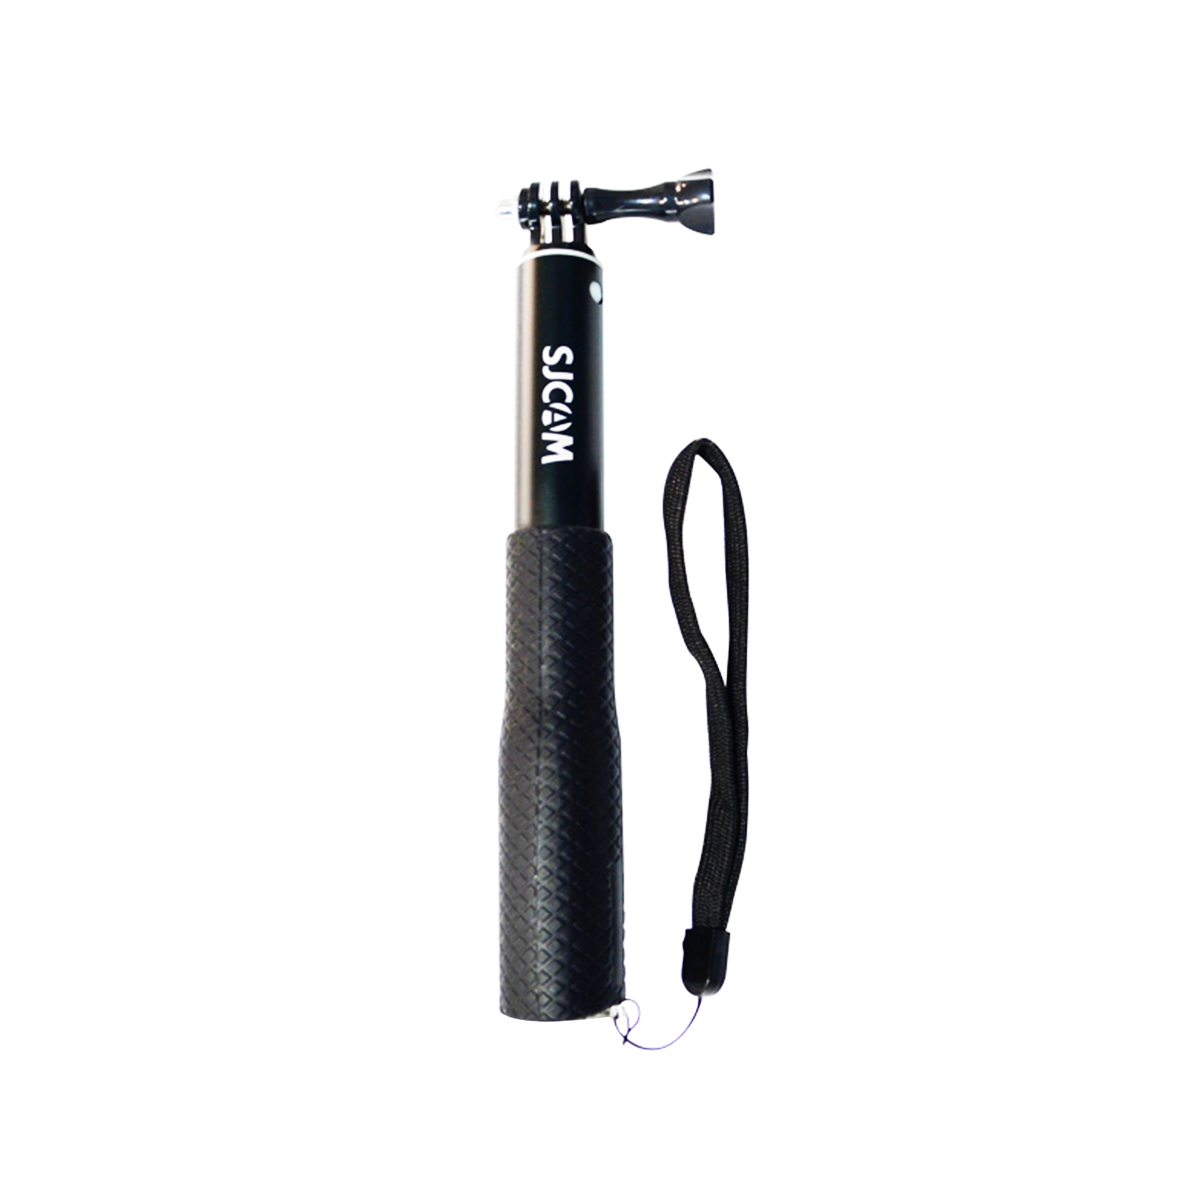
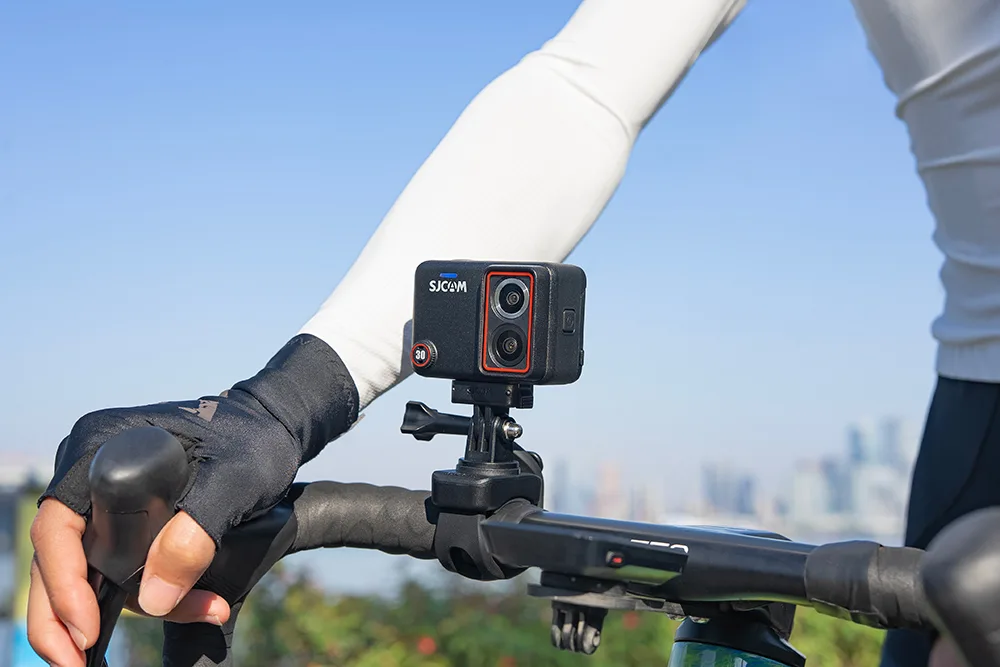
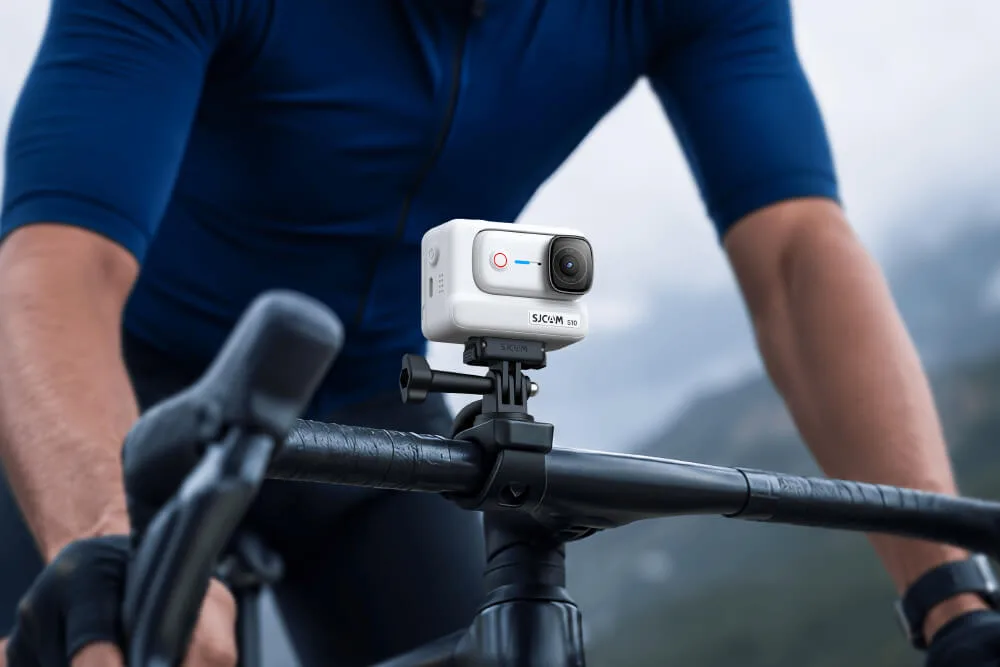
These clamp directly onto the handlebars using aluminum or strong, polymer-based brackets. Positioned lower than chest or helmet mounts, this forward-facing setup operates independently of your body’s movement.

The Results
A front-facing setup gives you a full and unobstructed view of the path ahead without any part of your body or helmet in its way. The camera points wherever your front wheel steers.
The Biggest Challenge: Stability
Unlike chest or helmet mounts, a handlebar clamp is attached to a solid frame that is excellent at transferring impact compared to soft human tissue. High-frequency vibrations from the tire, rim, and fork will pass straight into the camera body, creating shaky videos over coarse pavements or gravel.
Installation and Security
Handlebar mounts are generally quick to install, although the exact hardware and tools depend on the mounting system. No tight harness or unreliable sticky pads is needed.
Also, because the camera sits right in front of you, you can easily check the battery life, see recording lights, make adjustments, and press buttons.
Reducing Shake on Handlebar Mounts
Light plastic clamps will flex under load and make the vibrations worse. Here’s what you need to do.
Use a rigid, camera-compatible handlebar mount and secure it according to the mount manufacturer’s instructions. Avoid loose or flexible components that can introduce additional movement.
A compatible vibration-damping insert can help reduce unwanted movement on rough surfaces.
Ideal Situations for Handlebar Mounts
Long-Distance Touring: A convenient option when you want a forward-facing camera without wearing a body harness.
Urban Commuting: A simple forward-facing setup for documenting your route and surrounding traffic.
Smooth Rides: Captures clean footage on smooth asphalt roads without any extra gear.
Best Action Camera Mount for Different Cycling Activities
The ideal choice depends on the activity you’re taking part in, the video you’re making, and the obstacles you’re likely to face. The following table outlines the recommended mounts, along with secondary options in case they turn out to be more practical or preferable.
| Activity | Best Mount |
|---|---|
| Mountain Biking | 胸部安裝 |
| Technical MTB | 頭盔支架 |
| Road Cycling | 車把安裝座 |
| Gravel Riding | 胸部安裝 |
| Urban Commuting | 車把安裝座 |
| Long-Distance Touring | 車把安裝座 |
| POV Riding | 頭盔支架 |
Using Multiple Mounts
Using different camera angles is great for keeping viewers tuned in during an action-packed ride or when slicing through shared-use spaces.
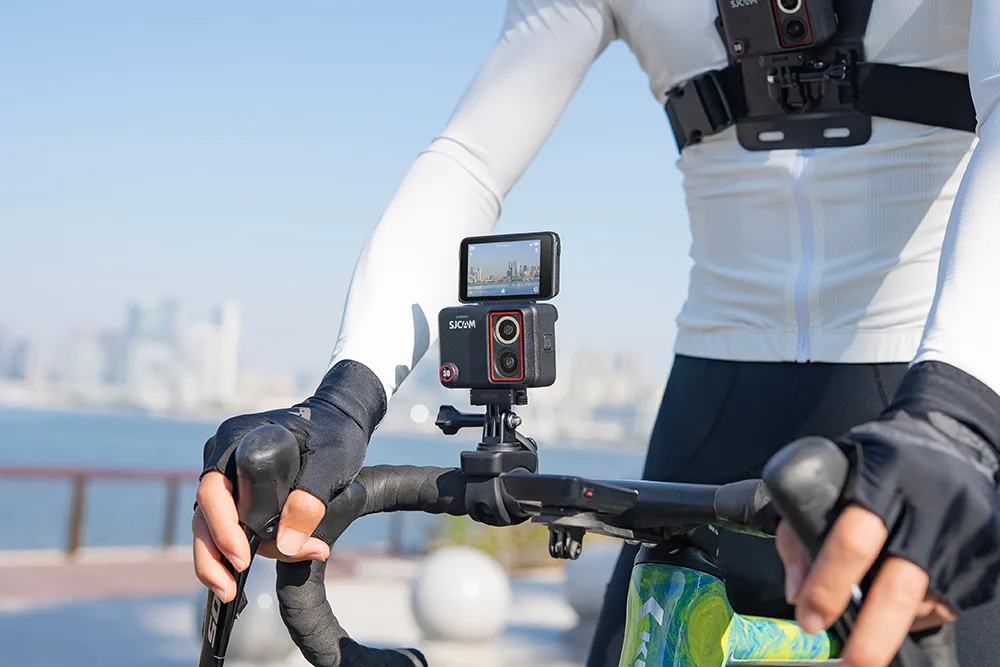
A popular setup pairs a primary forward-facing chest mount with either a handlebar or a seatpost clamp pointing behind you for a polished and professional edit.
For casual riders who prefer a quick and simple workflow, a single camera with a quick-release mounting buckle can be swapped from your chest harness. A quick-release mounting system can make it easier to move the camera between compatible mounts.
Tips for Better Cycling Footage
Use Safety Tethers
Consider securing your camera with a secondary safety tether or lanyard attached to your bike frame or helmet strap. This way, even if a plastic clip snaps during a crash or against a tree branch, the camera itself stays attached.
Check Your Mounting Hardware
Make sure the mount is securely tightened before riding, but avoid overtightening. Excessive force can damage screws or mounting components, especially plastic thumb screws. When available, follow the tightening instructions provided by the mount manufacturer.
Choose the Right Resolution and Frame Rate
Use 4K when you want more detail or plan to crop the footage during editing. A higher frame rate, such as 60 fps, can be useful for fast-moving scenes or slow-motion playback, while 30 fps may be sufficient for everyday cycling footage.
Adjust Shutter Speed for Motion Blur
Use auto shutter for general riding, or add a neutral density (ND) filter in bright sunlight to create a natural and aesthetically pleasing motion blur along the ground while keeping the center of the shot crisp.
For beginners, auto shutter is usually the simplest option. Manual shutter settings are more useful when you want consistent motion blur in controlled lighting.
Enable Stabilization
Enable electronic stabilization when appropriate for your camera and shooting mode. If your camera supports horizon leveling or Horizon Lock, use it when you want the frame to remain more level during turns and body movement.
常問問題
胸帶式相機通常是登山車的理想選擇,因為它能提供穩定、沉浸式的視角,同時讓相機緊貼身體。而頭盔式相機則更適合技術性較強的山路,因為它能讓相機跟著你的視線移動。.
車把支架直接連接到自行車車架上,將瀝青路面的嗡嗡聲和輪胎震動直接傳遞到相機感測器。.
不一定。頭盔攝影機拍攝的影片在遇到輕微顛簸時通常比較平穩,因為頸部和身體可以起到緩衝作用。但是,頻繁地回頭看或快速移動可能會導致畫面傾斜。.
Yes. Three-prong mounting buckles are quick-release tools that allow seamless switching between body, helmet, and handlebar mounts.
How to Evaluate a Cycling Camera Mount?
We compare mounts based on stability, perspective, comfort, installation, camera security, and suitability for different riding conditions.
- Real-World Stress Testing: Testing different mounts across rocky singletrack descents, unpaved gravel roads, city streets, and smooth asphalt helps compare their performance over various terrains and at different speeds.
- Vibration Analysis: A frame-by-frame assessment of the footage can help identify high-frequency chatter, horizon drift, and rolling shutter distortion across different mounts.
- Ergonomics & Safety Audit: Measuring neck fatigue is essential to help pick the ideal mount for 2-hour riding sessions. It is also ensured that all mounting configurations adhere to helmet and bike safety guidelines.
Final Verdict: Which Cycling Camera Mount Should You Choose?
There is no single best action camera mount for every cyclist. Choose a chest mount if you want stable, immersive footage for mountain biking and gravel riding. Choose a helmet mount when a direct first-person POV is the priority, and a handlebar mount when you mainly want a simple forward-facing view for road cycling or commuting.
Before a long ride, test your setup on a short route and check the camera angle, stability, and mount security.