


How to Attach an Action Camera to a Bike Helmet?
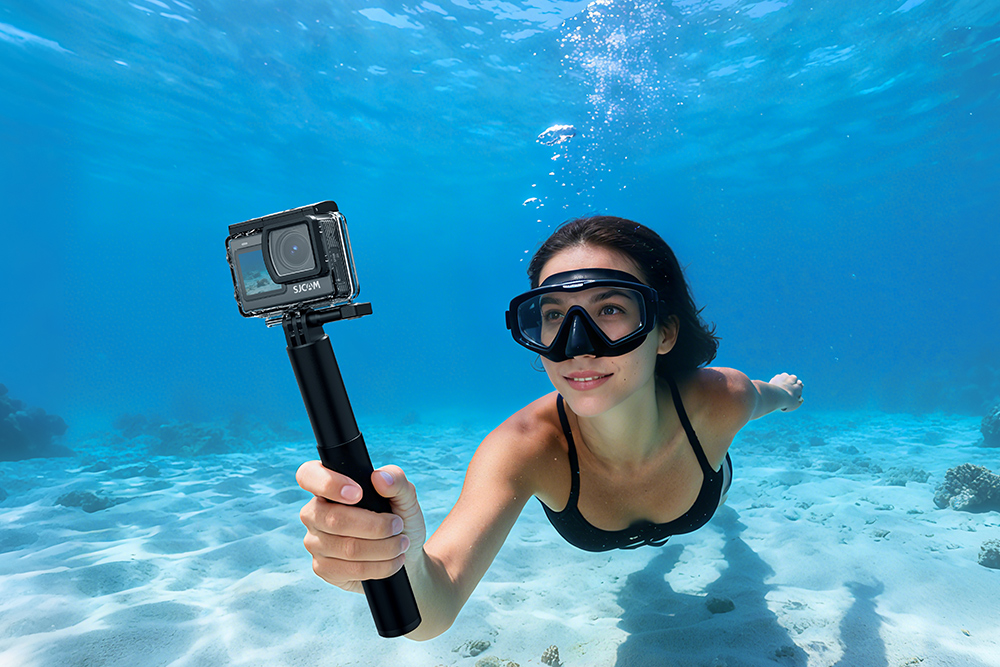
A rider who loves cruising down the bike on adventurous roads always likes to gather memories. Everyone desires to capture interesting moments of life, and bikers often use bike helmet action cameras to record their drives. These recordings exist not only as a reminder of how and where you have ridden your bike. Moreover, these recordings can also act as a testimony or for insurance in case of accidents.
Suppose you’re wondering how to use your bicycle camera best to record your riding with clarity. The helmet is the best place to attach a camera to record any video during biking. Of course, a helmet can capture a clear view after attaching a camera.
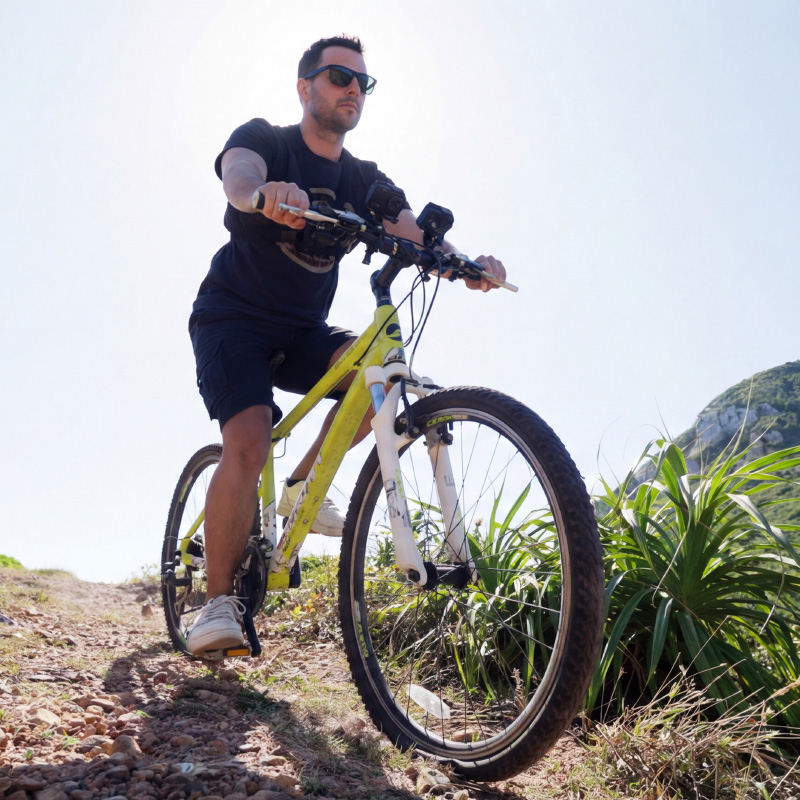
However, there are chances of missing out on cool scenes if you attach a camera on the chest or in front of the bike for recording. The only reason for not capturing those scenes is your hands and elbows, which may interrupt while riding. Therefore, the bike helmet has proven to be the best place to attach a cycling cam.
Let’s learn what methods you can use to attach your cameras to the helmet.
Choosing the Right Action Camera Mount
Helmets do not have ready-made locations to place a camera. This is where multiple camera attachments come in. These attachments ensure that a camera does not fall because of wind pressure or by other means.
Different types of mounts are available
Adhesive Mounts
The adhesive is one of the methods with which you can secure your camera on the helmet. They are easy to use and provide secure attachment. Some adhesive mounts may come loose over time and aren’t perfect, so buy one with a brand guarantee.
Strap Mounts
A strap mount is a popular method many use to attach their camera to helmets. This mount option securely attaches the camera to the helmet while you ride your bike. All you need to do is attach the mount in front of the camera and secure it with the straps. This mount is ideal for recording and easy to attach to.
Clip Mounts
A clip mount is another way to secure the camera to your helmet. Biking helmets have hollow points where you can slide in the clips to secure them to the helmet. They are easy to attach because of their small size and light weight. Bikers prefer to use the clip mounts because they are easily removable and good for adjusting the camera angles.
Considerations for Selecting The Appropriate Mount
Selecting the mounting device is more complex than it looks. Every camera is different from another. Similarly, one mount may not be compatible with multiple cameras. It would help to remember the following when selecting a camera mount.
Helmet Compatibility
The first thing you need to ensure is the mount compatibility with the helmet, as we all know that helmets come in different shapes and designs. Some camera attachments may not fit your helmet, so always check it before buying a mount for the camera.
Secure Attachment
How secure is your camera with the mount? It is the most important point to consider for attaching a camera, or you may experience terrible recording. However, the purpose of using a mount is to secure the helmet camera for smooth recordings.
Adjustability and Angle Options
What is the point of recording if the camera cannot capture what’s necessary? Ensure your mount can change the camera angle according to the circumstances. With an adjustable mount, you can record everything around you when needed.
Preparing the Helmet and Camera
Planting a camera on the helmet sometimes requires good preparations. These preparations are simple but important if you want to secure your camera.
Clean the Helmet Surface
When using an attachment like adhesive, it is necessary to clean the helmet’s surface. The purpose of cleaning is to remove dirt or debris that may weaken the adhesive attachment. Therefore, you may use an alcohol-dipped clean cloth to shine the helmet surface.
Ensure Proper Positioning of The Camera
Once the camera attachment is ready, you only need to position it. The angle positioning of the camera is important because you want to record everything that happens in front of you.
The most essential thing is the camera angle that changes from bike to bike or even with a sitting position. Depending on what bike you are sitting on, you need to adjust the camera’s position so that it may record smoothly.
Adjust camera settings for optimal recording
After positioning the camera, the rest is easy. All you need to do is adjust your camera’s settings for optimal recording. For this, you need to tune your camera to cover the countryside.
Attaching the Action Camera to the Bike Helmet
Bike helmets have hollow points for riders who want to attach their cameras for recording or safety. Now that you have learned about the camera attachment, let’s learn how to use each attachment to mount the action camera properly.
Adhesive Mount Attachment
Bike users attach the adhesive mount on the top or to either side of the helmet. If you are planning an adventure, select the location where you want to attach the camera and press the adhesive on it firmly. It requires some time for the adhesive to properly fix itself to the helmet. After the adhesive bonds successfully, you can attach the camera to it and start recording in any condition.
Strap Mount Attachment
Strap attachment is even simpler than adhesive attachment. Everything is ready-made; you must pass the straps through specific helmet areas and connect them properly. Of course, this is for the strap mounts on the camera’s mouthpiece.
Clip Mount Attachment
When using a clip-mount attachment, look for strong-grip clips. But more than that, ensure these clips are suitable for the helmet. If yes, simply slide the clip onto the helmet edge or vents. After this, all you need to do is ensure the attachment is secure for the camera to be placed on it.
Testing the Mount and Camera Setup
Before truly riding the bike, do a test run with the camera and attachment. Your camera recording may be slightly blurry or dim because of lighting issues. It’s better to do some test runs and ensure no visual issues occur when recording using the right angle of your camera.
With the right angle, your action camera captures everything in its visual range rather than what is far away from you. If the camera angle is incorrect, it cannot properly capture images in front of you.
When riding a bike, there can be times when the road is not smooth, so only look for cameras that have stabilization features. These features ensure that your recordings are as smooth as possible. After all this, retest the camera recording of bickering and adjust the camera settings if there are any issues.
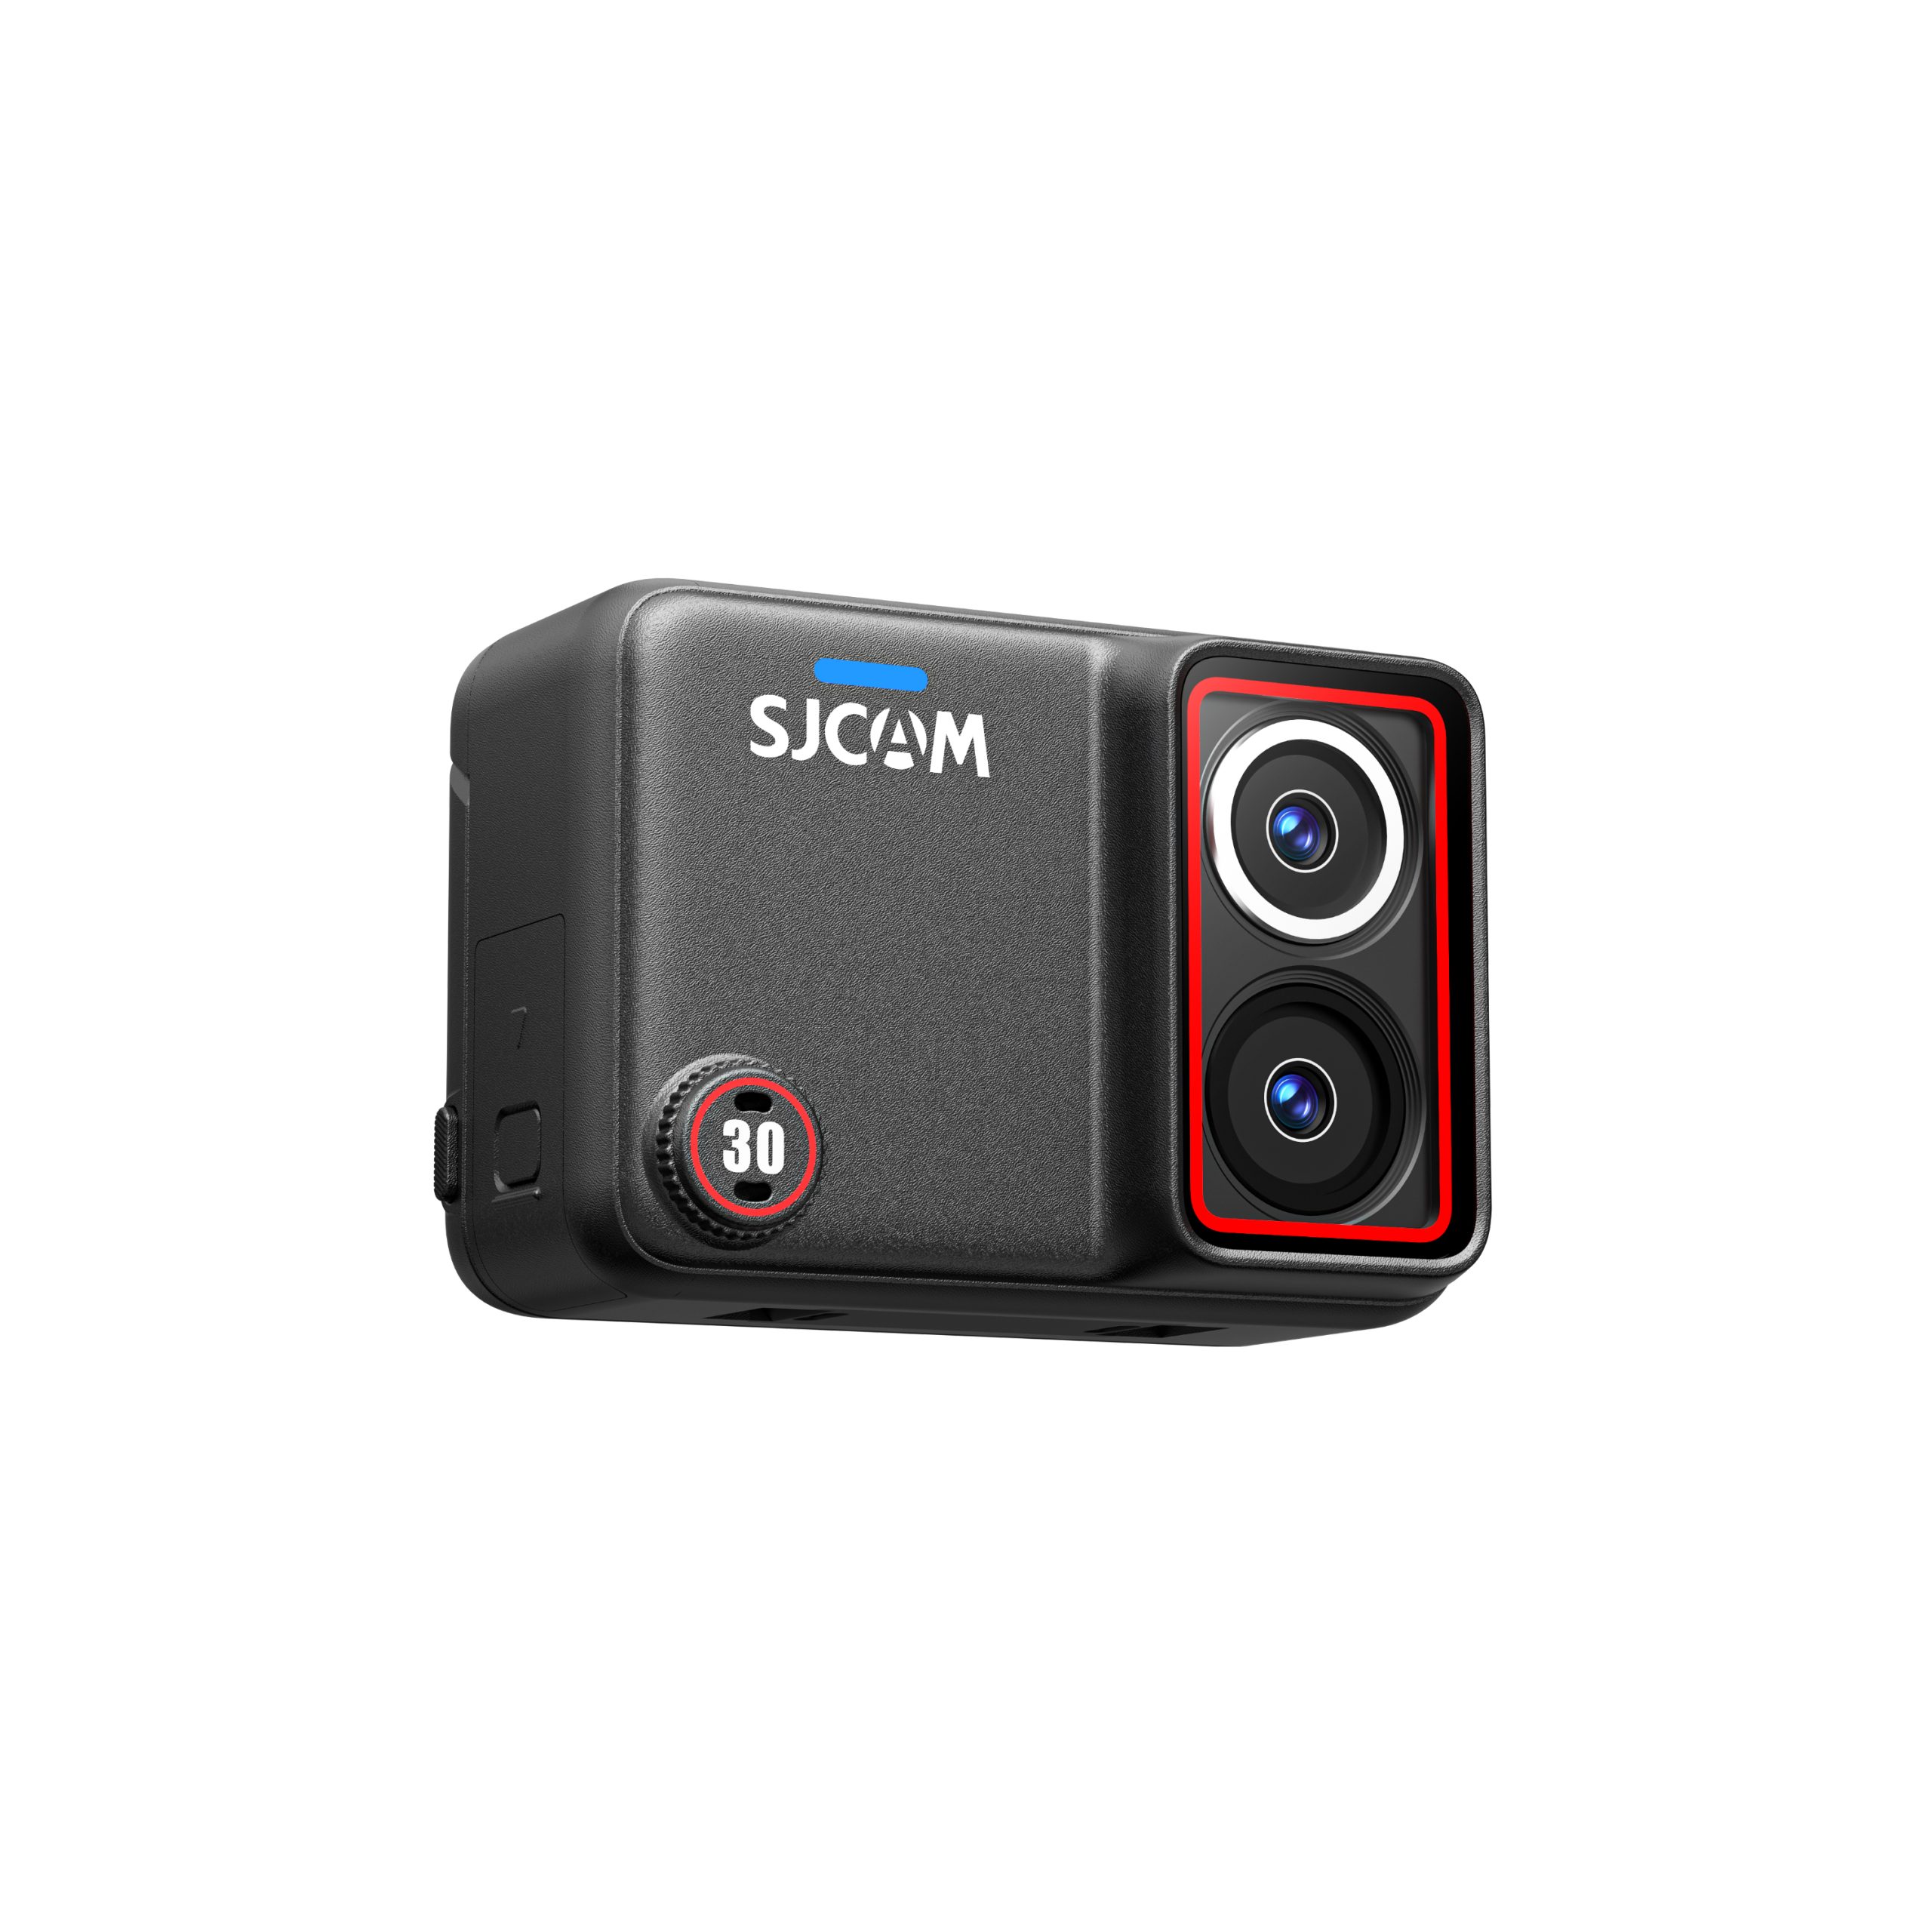
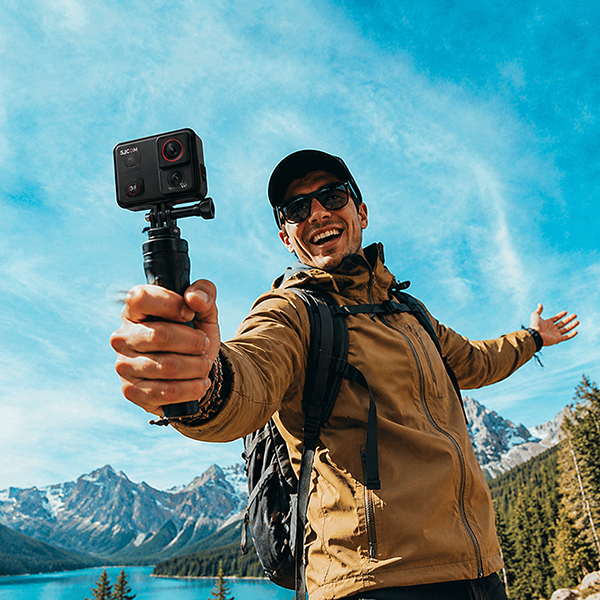
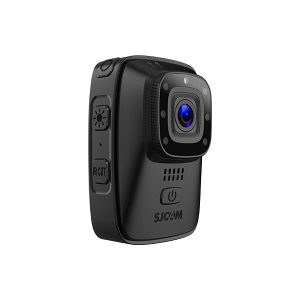
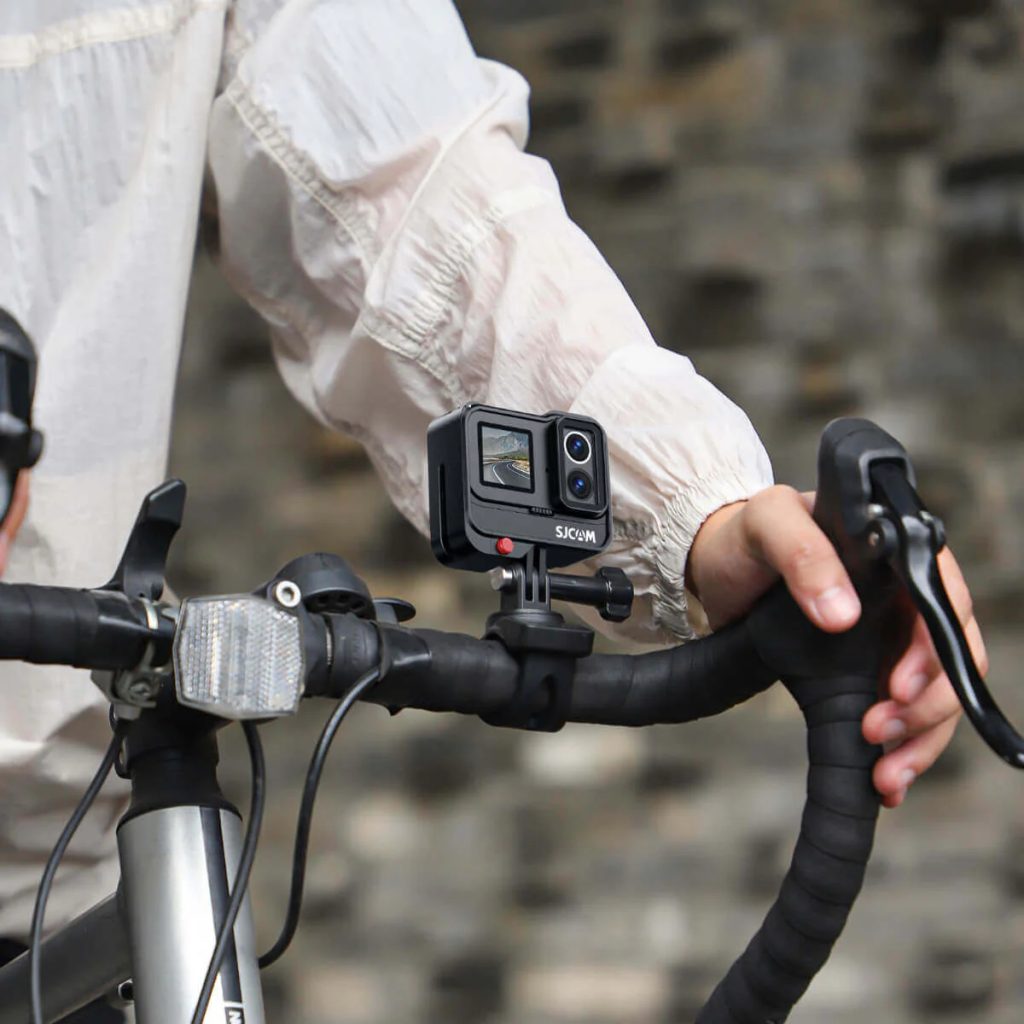
SJCAM Action Camera Bike Helmet
The SJCAM Action Camera Bike Mount is what we recommend as a mounting option for bikers to use. As an attachment, it is a must-have accessory for bikers to create stunning recordings. Made from stainless steel, this mount secures your camera to the bike, helping you create recordings from a first-person perspective.

The best thing about this mount is that you do not need to do anything else except attach the camera to it and activate it. The attachment keeps your camera glued to the bike while it records everything. So grab the SJCAM Action Camera Bike Helmet and plan your next adventure.

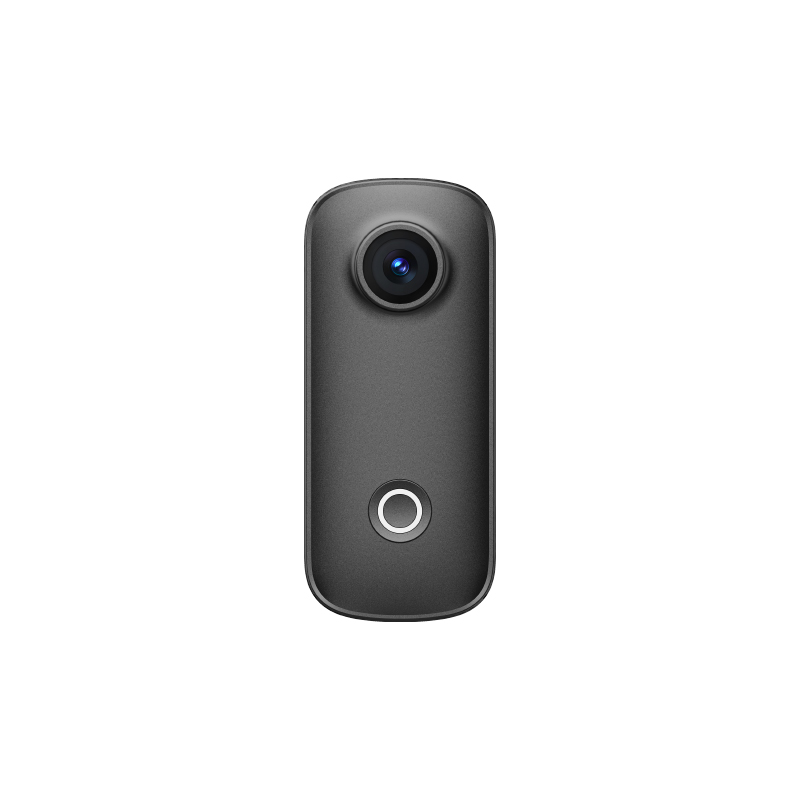
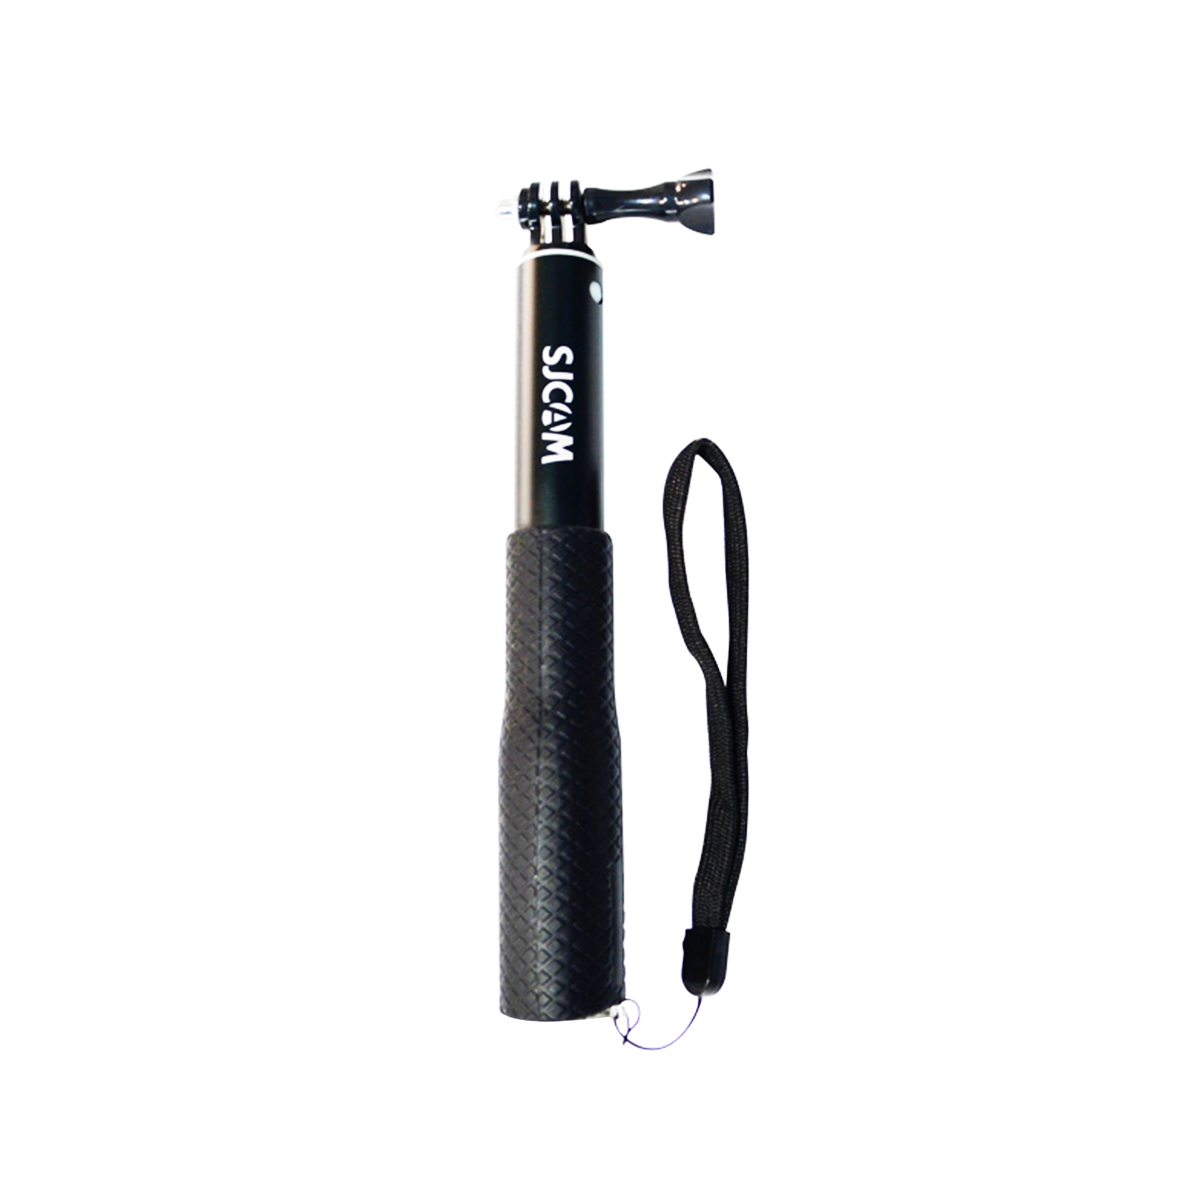
SJCAM Action Camera Bike Mount
Using the SJCAM bike camera mount with an action camera allows cyclists to capture their rides from a first-person perspective, showcasing their cycling skills, routes, and scenery.
Safety Considerations and Tips
You need to understand some things when mounting your camera on the helmet. Your life is the most important thing. So ensure that no matter how and where you attach the camera, it does not obstruct your vision or protection from the helmet. Regularly check the mount stability during and after the ride.
Make sure your camera doesn’t fall on the ground while riding. So, regular checking ensures that your camera is safe from any accident. If you are using strap attachments, ensure your straps are tight. Loose straps mean that your camera cannot properly record images since it will be trembling alongside wind pressure.
Lastly, you follow the local laws and regulations regarding helmet-mounted cameras. Different states and cities have different laws, so make sure to read them all; otherwise, you will either be fined for misbehavior or somebody will confiscate your camera.
Conclusion
Ultimately, a cycling camera is important because you can use it for multiple purposes. You can create recordings to share with your friends about your riding or adventure. These very recordings can act as evidence that protects you from any illegal allegations in case of an accident.
The mount attachments are beneficial accessories because people are forbidden to hold their mobiles while riding a bike. These attachments secure the cameras on the helmet or the bike so you can ride the bike without any problem.