





 Chinese (China)
 Spanish
 German
 French
 Italian
 Japanese
 Korean
 Bulgarian
 Greek
 Indonesian
 Chinese (Hong Kong)
 Russian
 Danish
 Finnish
 Hungarian
 Turkish
 Dutch
 Portuguese
 Swedish
 Romanian
 Slovak
 Serbian
 Norwegian
 Croatian
 Albanian
 Catalan
 Czech
 Estonian
 Armenian
 Bengali
 Amharic
 Polish
 Thai
 Ukrainian
 Vietnamese
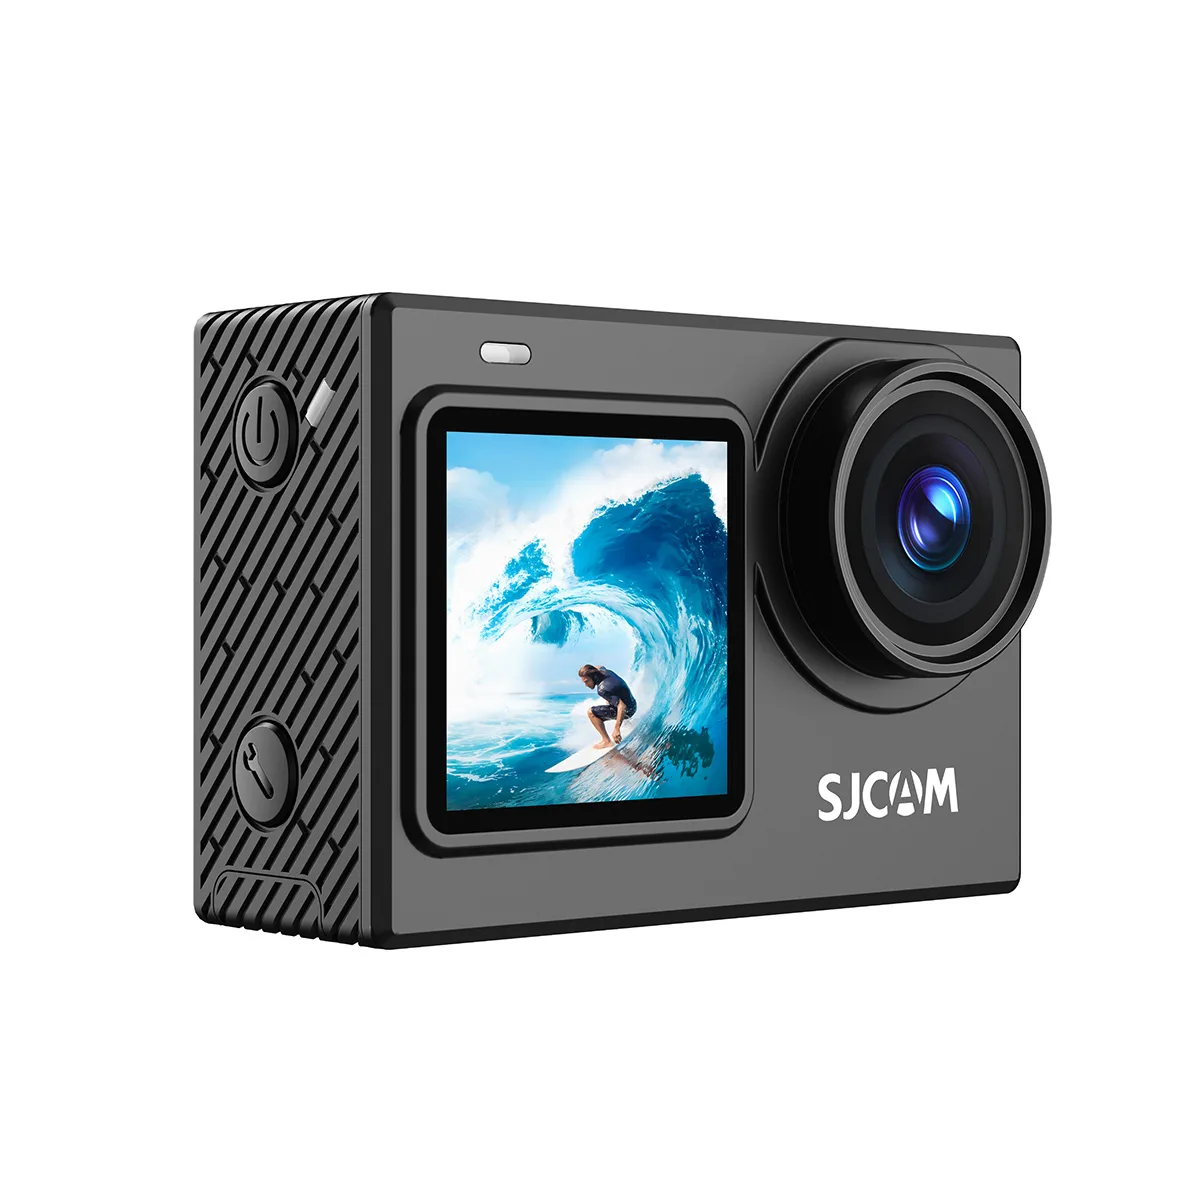
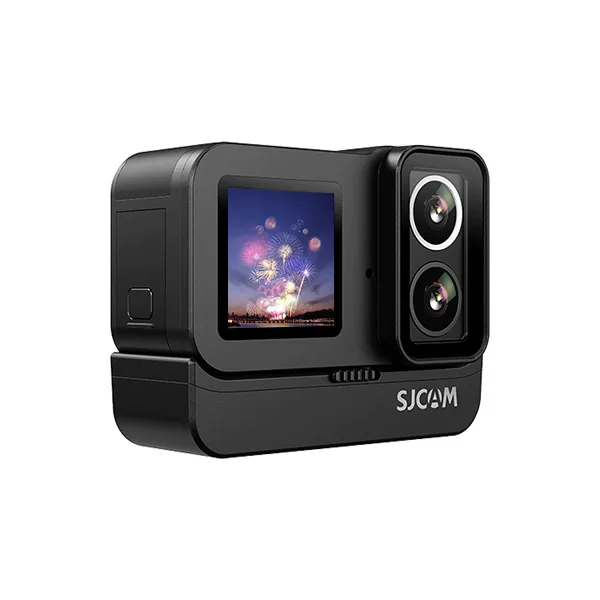
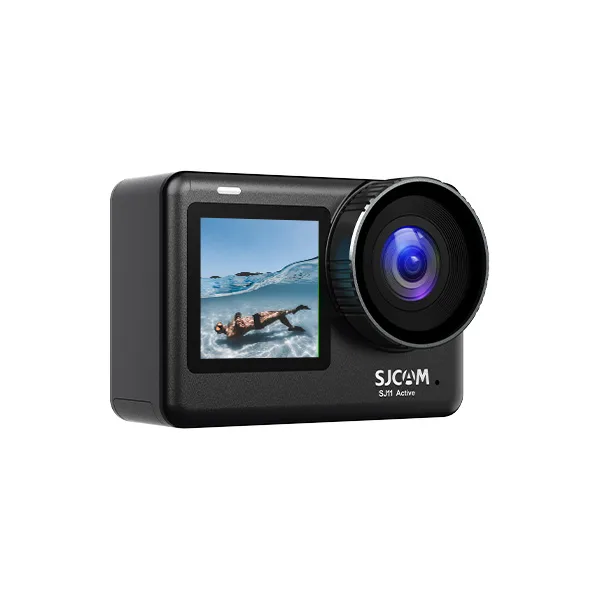
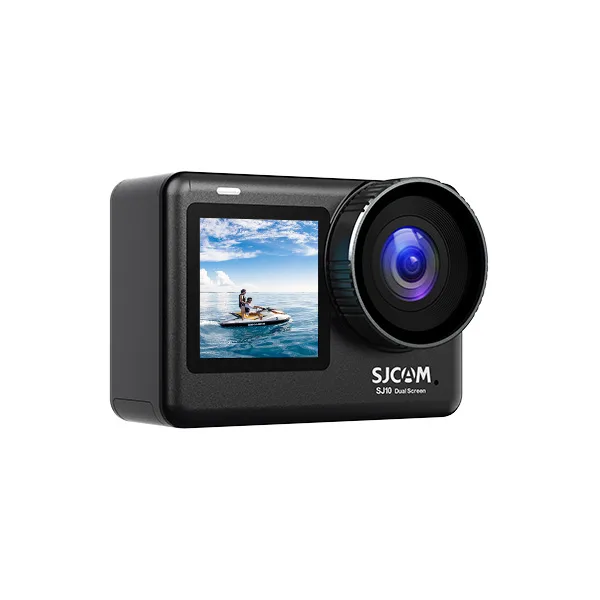
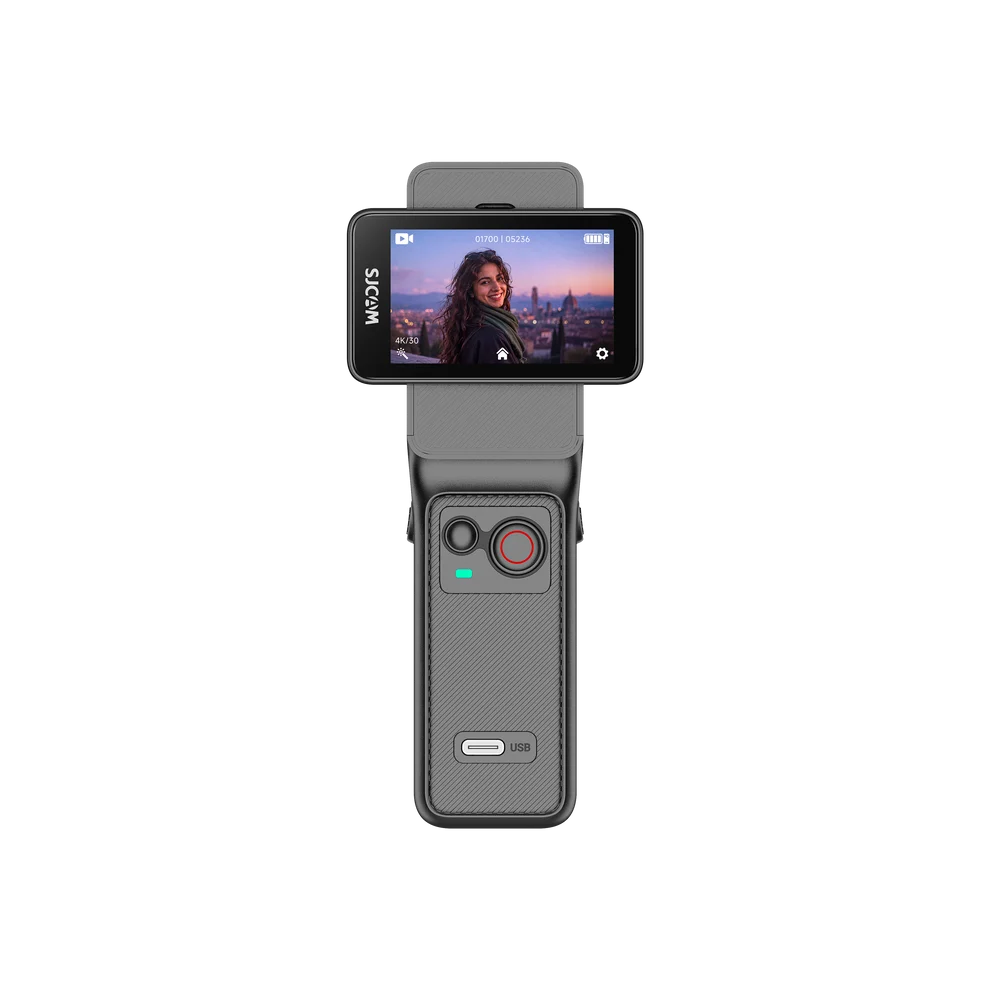
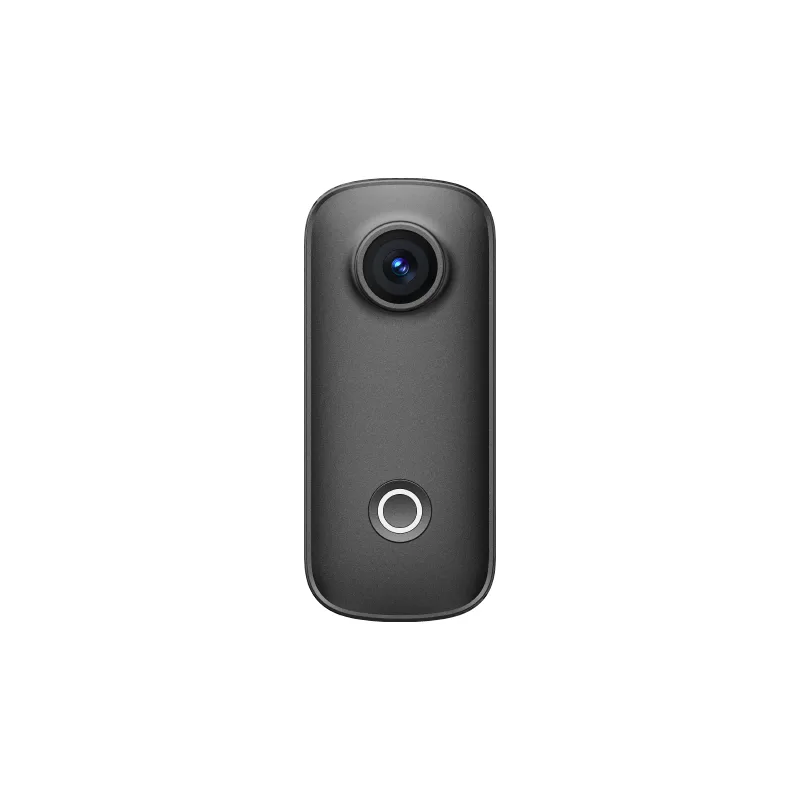
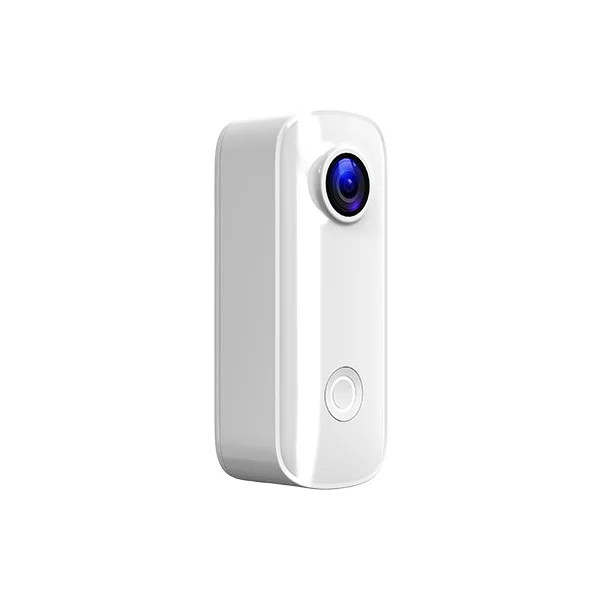
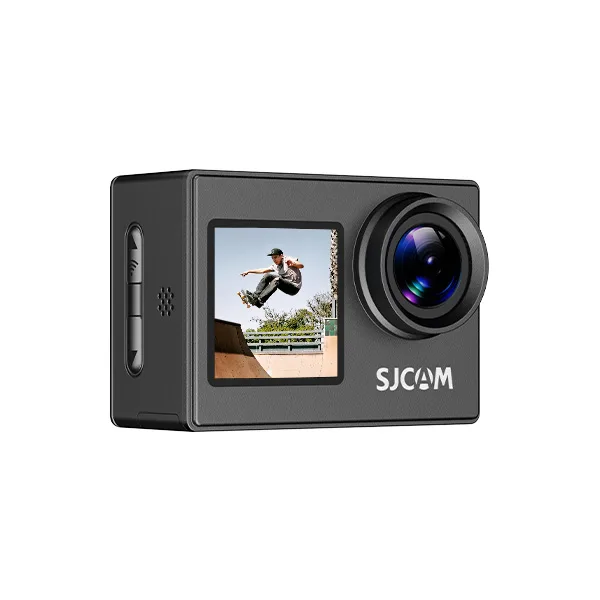
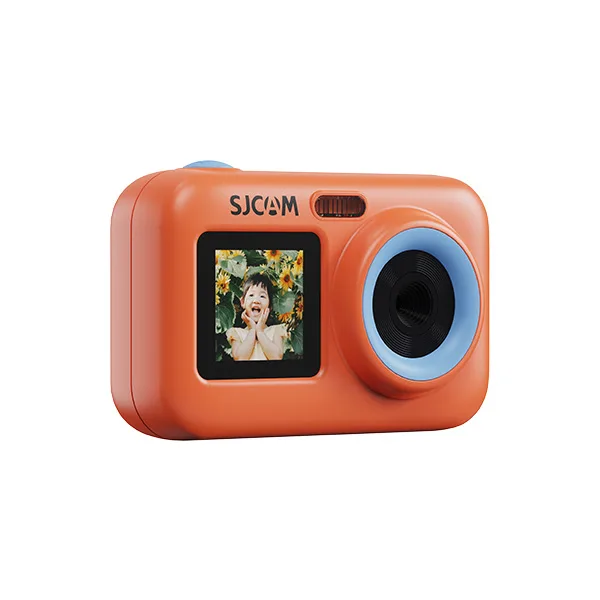
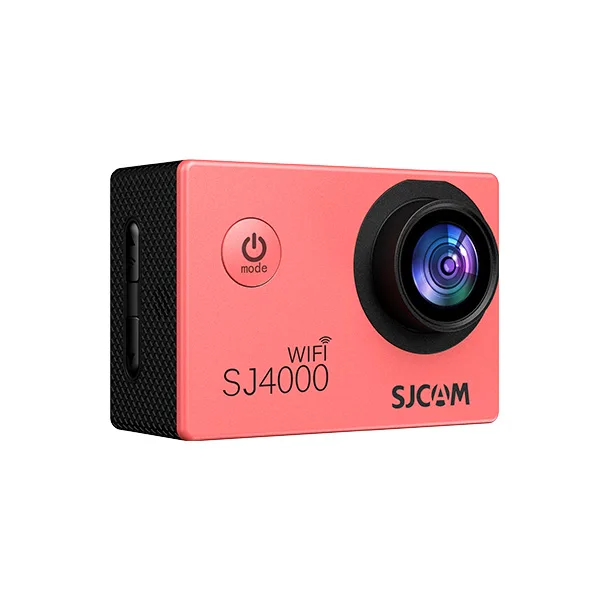
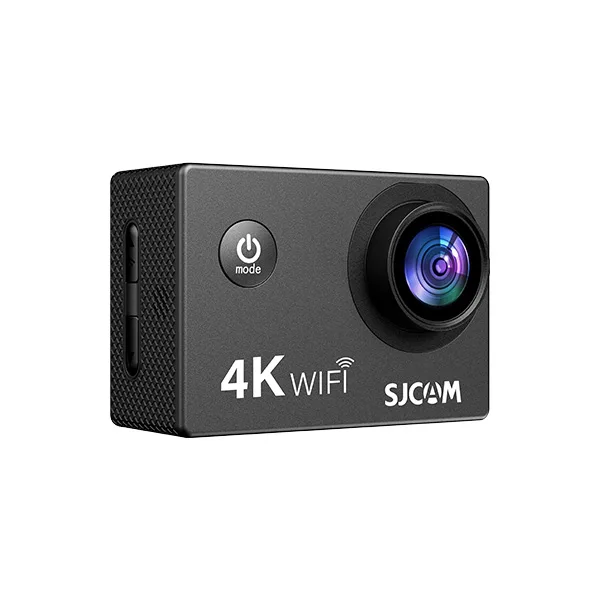
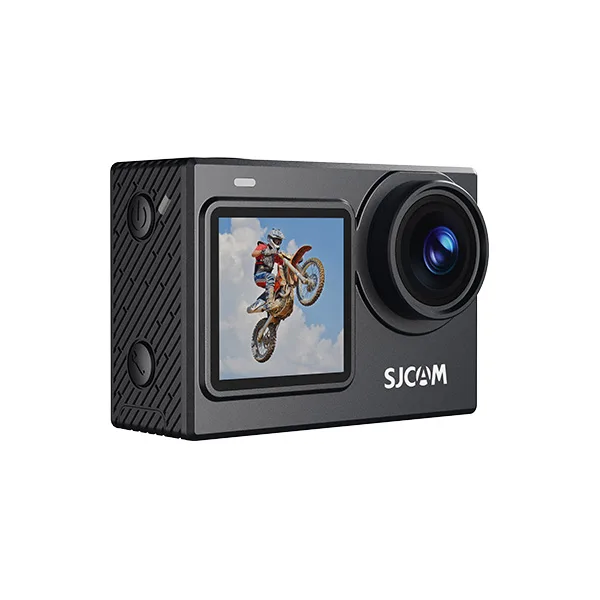
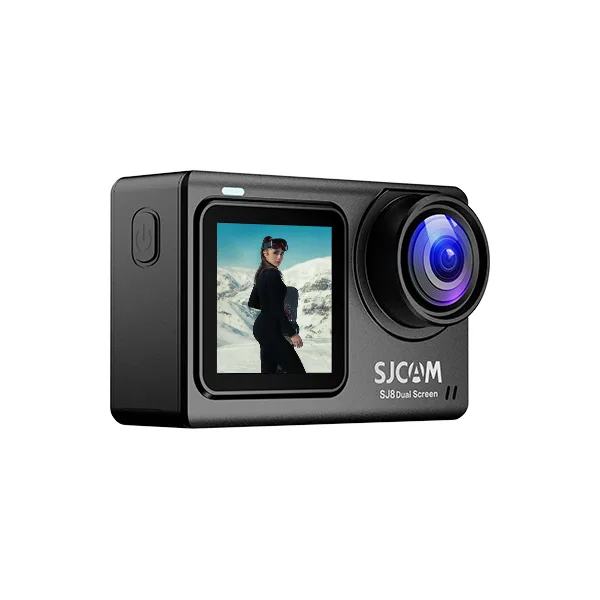
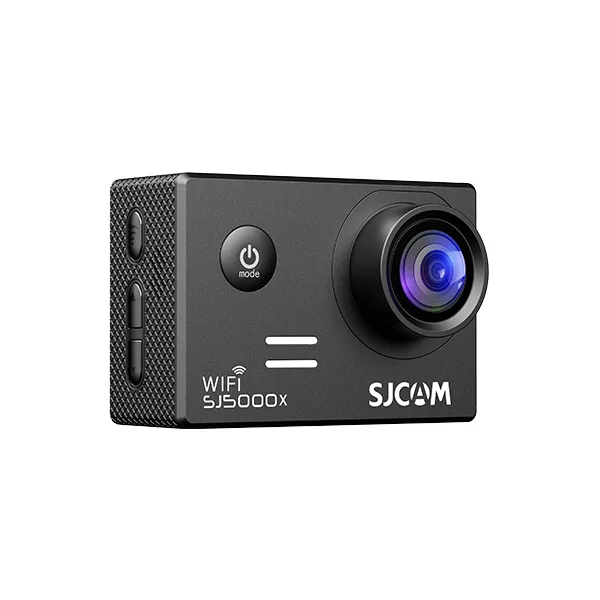
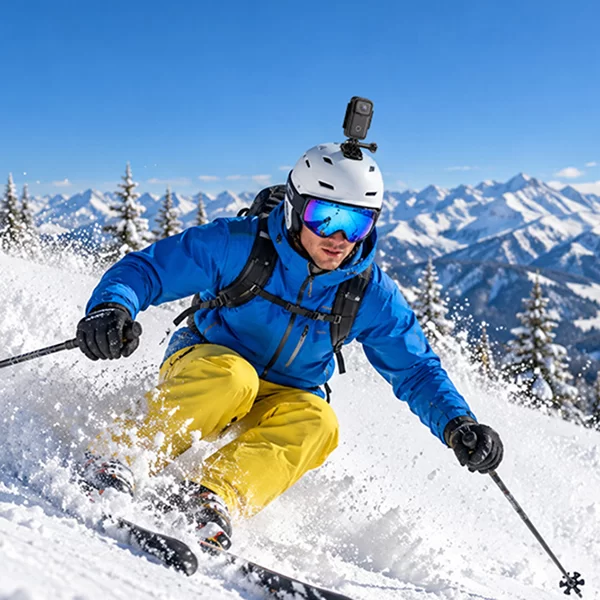



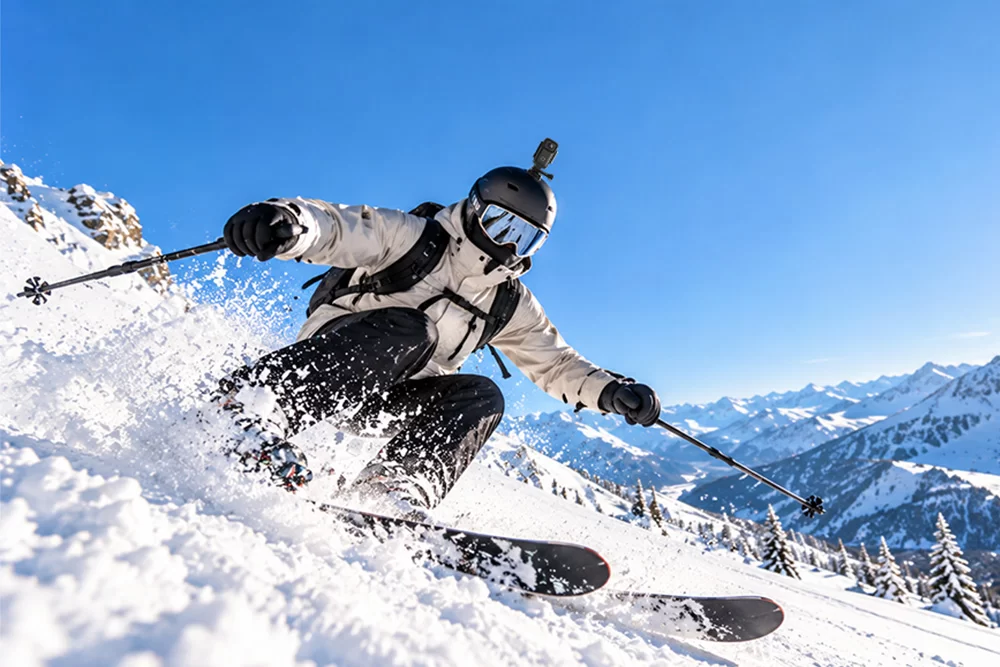
Skiing offers incredible opportunities to capture fast downhill runs, snowy mountains, and breathtaking first-person views. However, getting clear, smooth footage isn’t always as simple as pressing the record button.
Bright snow can confuse your camera’s exposure system, fast movements can introduce camera shake, and freezing temperatures can affect battery performance. Even a capable 4K action camera needs the right settings to produce good results.
So, what are the best action camera settings for skiing?
For most skiing situations, start with 4K at 30fps, electronic image stabilization enabled, automatic ISO, and a wide field of view. If you’re recording fast downhill runs, 60fps can provide smoother motion when your camera supports it. Exposure and white balance should be adjusted according to snow and lighting conditions.
This guide explains how to optimize your camera for different skiing scenarios, whether you’re a beginner or an experienced skier.
If you’re still choosing your equipment, explore our action cameras for skiing to find a model suited to your adventures.
Best Action Camera Settings for Skiing at a Glance
Before heading onto the slopes, use these recommended starting settings.
| Camera Setting | Recommended Starting Point | Purpose |
|---|---|---|
| Resolution | 4K | Capture detailed mountain scenery |
| Frame Rate | 30fps or 60fps | Everyday skiing or fast action |
| Shutter Speed | Auto; 1/60s at 30fps or 1/120s at 60fps for manual control | Manage motion appearance |
| ISO | Auto with a low maximum when practical | Minimize image noise |
| Exposure Compensation | Start at 0 EV; adjust after checking snow detail | Balance snow brightness |
| White Balance | Daylight, Cloudy, or Auto | Maintain natural-looking colors |
| Stabilization | EIS / SteadyMotion On | Reduce vibrations and shake |
| Field of View | Wide | Capture skis, trails, and scenery |
These values are starting points rather than universal settings. The ideal configuration depends on your camera, skiing speed, weather, and available light.
Quick recommendation: Use 4K/30fps for general skiing videos, 4K/60fps for fast action when supported, and higher frame rates for slow-motion clips. Always check your exposure before recording a full run.
4K vs 1080p: Which Resolution Is Best for Skiing?
Resolution determines how much visual detail your action camera records.
Why 4K Is a Good Choice for Skiing
4K video has four times as many pixels as 1080p, allowing it to capture more detail in mountain landscapes, snow-covered trees, and distant scenery.
It also provides more flexibility when editing. For example, you can crop a 4K clip for a 1080p project while retaining enough resolution for a sharp final image.
For travel videos, scenic runs, and YouTube content, 4K is usually an excellent starting point.
When Should You Choose 1080p?
Although 4K offers greater detail, 1080p still has advantages.
Many action cameras support higher frame rates at 1080p, making it useful for slow-motion footage of jumps, sharp turns, and snow spraying from skis.
1080p files are also generally smaller, requiring less storage space and processing power.
Our recommendation: Record in 4K for regular skiing footage. Switch to 1080p when you need a higher frame rate that your camera cannot provide at 4K.
Best FPS for Skiing: 30fps, 60fps, or 120fps?
Frame rate, measured in frames per second (fps), affects how motion appears in your videos.
Choosing the right FPS is particularly important when skiing because movement can be fast and unpredictable.
30fps: Best for Everyday Skiing
For casual skiing, mountain scenery, and travel vlogs, 30fps is a practical option.
It provides natural-looking motion without generating as much data as higher-frame-rate recordings.
If you’re filming chairlift rides, scenic routes, or relaxed downhill runs, 4K/30fps offers a useful balance between detail and file size.
60fps: Best for Fast Downhill Runs
When skiing at higher speeds, 60fps captures twice as many frames per second as 30fps.
This can make rapid movement easier to follow and gives you more flexibility when editing action sequences.
For example, 60fps footage can be slowed to 50% speed on a 30fps timeline for smooth half-speed playback.
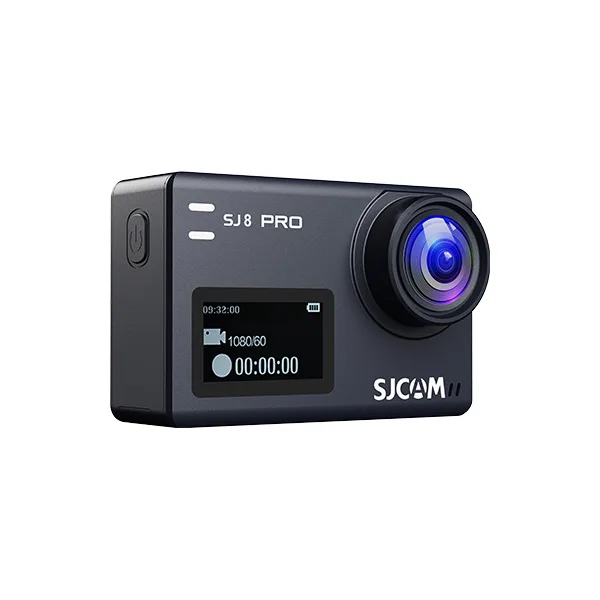
The SJCAM SJ8 Pro supports 4K/60fps recording, making it an option for skiers who want high-resolution footage at a higher frame rate.
120fps: Best for Slow-Motion Skiing Videos
Higher frame rates are useful for capturing brief moments that are difficult to appreciate at normal speed.
Examples include:
- Ski jumps and landings
- Sharp carving turns
- Snow spraying during stops
- Freestyle tricks
When played back at 30fps, footage captured at 120fps can produce 4× slow motion.
However, high frame rates require more light and may not support the same resolution or stabilization modes as normal recording.
FPS comparison:
| Frame Rate | Best For | Main Advantage |
|---|---|---|
| 30fps | Casual skiing and scenery | Good balance of quality and efficiency |
| 60fps | Fast downhill skiing | Smoother motion and slow-motion flexibility |
| 120fps | Jumps and tricks | Detailed slow-motion playback |
How to Adjust Exposure Settings for Snowy Conditions
Snow creates unusual exposure challenges because it reflects a large amount of light.
Your camera’s automatic exposure system may interpret a bright snowy scene as too bright and reduce exposure, making white snow appear gray. In other situations, strong sunlight can cause highlights to lose detail.
Best Exposure Compensation for Skiing
Exposure compensation, often labeled EV, lets you adjust the brightness selected by the camera’s automatic exposure system.
A practical approach is to start at 0 EV and review a short recording.
If the snow looks gray or unnaturally dark, try increasing exposure compensation slightly, such as +0.3 EV or +0.7 EV.
If bright areas lose their texture and appear completely white, reduce exposure instead.
| Snow Appearance | Suggested Adjustment |
|---|---|
| Snow looks gray | Try slightly positive EV |
| Snow looks natural | Keep the current setting |
| Snow loses highlight detail | Reduce EV |
| Lighting changes rapidly | Use automatic exposure and review results |
There is no single EV setting that works for every ski slope. Snow reflectivity, sunlight, shadows, and your camera’s metering system all influence the result.
Handling Bright Sunlight and Shadows
On sunny days, pay attention to the brightest parts of the snow.
Preserving highlight detail is often more important than making every shadow appear bright.
When moving between open slopes and shaded forest trails, automatic exposure is generally more convenient than fixed manual settings.
Best ISO and Shutter Speed for Skiing Videos
ISO and shutter speed affect image brightness, noise, and the appearance of movement.
What ISO Should You Use for Skiing?
ISO controls how strongly the camera amplifies its sensor signal.
Lower ISO settings generally produce cleaner images with less visible noise.
In bright daylight, use a low ISO setting or Auto ISO with a conservative maximum if your camera offers that option.
For cloudy conditions or late-afternoon skiing, Auto ISO allows the camera to adjust as available light changes.
Avoid unnecessarily high ISO values because they can make darker parts of the image appear grainy.
Choosing the Right Shutter Speed
Shutter speed determines how long each video frame is exposed.
A common filmmaking starting point is the 180-degree shutter rule:
- 30fps: approximately 1/60 second
- 60fps: approximately 1/120 second
- 120fps: approximately 1/240 second
These settings can produce natural motion blur, but they are not always ideal for skiing.
Fast vibrations and uneven terrain may produce better stabilization results with shorter exposure times. In bright conditions, an auto shutter can be a simpler choice, especially when using electronic stabilization.
If you prefer manual settings, test a short downhill clip before committing to a fixed shutter speed.
White Balance Settings: How to Keep Snow Looking White
White balance controls how your camera interprets colors under different lighting conditions.
Snow can sometimes appear blue, yellow, or gray because of changing light and automatic color adjustments.
For consistent results, choose a white balance preset that matches the weather.
| Skiing Conditions | Suggested White Balance |
|---|---|
| Bright sunny day | Daylight |
| Cloudy conditions | Cloudy |
| Changing sunlight and shade | Auto |
| Night skiing | Auto or a custom setting matched to the lights |
Fixed white balance can prevent distracting color shifts between shots, making editing easier.
However, auto white balance is often more convenient when skiing through rapidly changing lighting environments.
If you’re recording a sequence of clips that will be edited together, maintaining consistent white balance can help preserve a uniform look.
Best Stabilization Settings for Skiing
Skiing involves constant movement, including bumps, turns, and sudden changes in direction.
Without stabilization, action camera footage may appear shaky or uncomfortable to watch.
Why Electronic Image Stabilization Matters
Electronic image stabilization (EIS) uses motion information and image processing to compensate for camera movement.
SJCAM cameras equipped with gyro-based stabilization can help reduce visible shake during skiing.
For most helmet-mounted or chest-mounted skiing videos, enabling a supported stabilization mode is a good starting point.
Keep in mind that stabilization can crop the image, and some cameras restrict stabilization at certain resolutions or frame rates.
Should You Enable Horizon Correction?
Horizon correction helps keep the horizon level when your camera tilts.
This can be useful when carving through turns or recording on uneven terrain.
For example, the SJCAM SJ6 Ultra features SteadyMotion 2.0 and 45° horizon correction, offering additional options for recording movement.
However, horizon correction may introduce extra cropping. Test it before filming a long run, especially if you want to capture your ski tips and surrounding mountains.
Helmet Mount vs Chest Mount
Camera position also affects the appearance of stabilized footage.
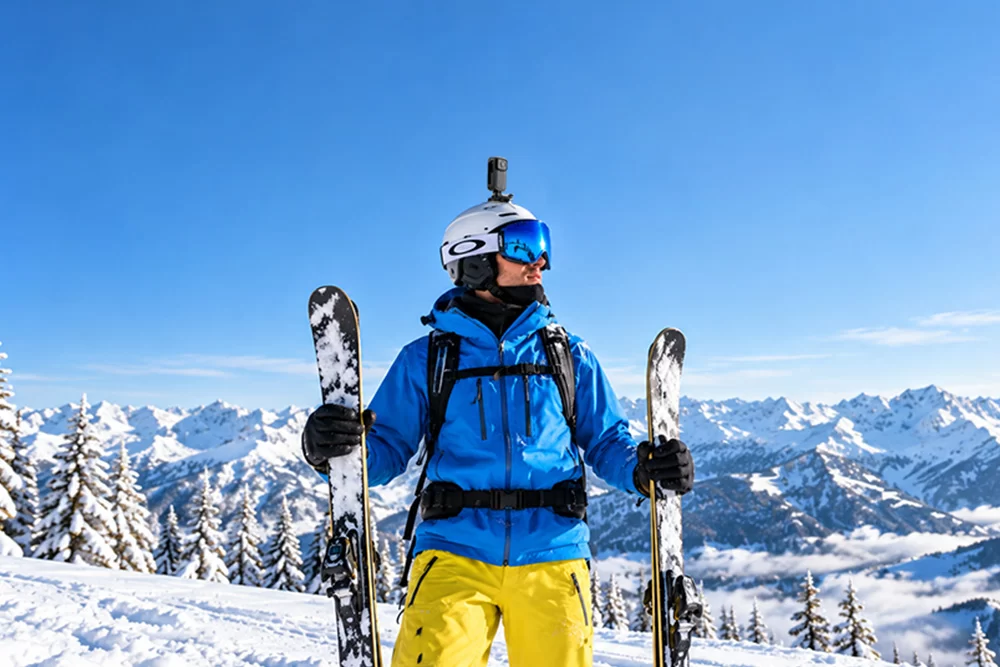
A helmet-mounted camera captures the direction you’re looking, producing an immersive first-person perspective.
A chest-mounted camera sits lower and may show more of your skis, arms, and body movements.
Whichever position you choose, use secure, compatible mounting equipment. Avoid modifications that could compromise the protective performance of a ski helmet.
For more guidance on framing, camera positioning, and shooting techniques, read our tips for filming your skiing adventures with an action camera.
Recommended Action Camera Settings for Different Skiing Conditions
The best settings depend on the environment and the type of footage you want.
| Skiing Scenario | Resolution / FPS | Exposure Approach | Stabilization |
|---|---|---|---|
| Sunny ski slopes | 4K/30fps | Preserve snow highlights | On |
| Fast downhill runs | 4K/60fps if supported | Auto or controlled shutter | On if supported |
| Cloudy weather | 4K/30fps | Monitor ISO and white balance | On |
| Ski jumps | 1080p/120fps if supported | Ensure sufficient light | Check mode support |
| Night skiing | 4K/30fps or suitable lower frame rate | Balance brightness and noise | Test performance |
| Scenic mountain views | 4K/30fps | Protect bright highlights | On when moving |
Settings for Sunny Slopes
Bright sunlight usually provides enough light for detailed 4K footage.
Begin with low ISO, 4K/30fps, and stabilization enabled. Check the brightest snow areas before adjusting exposure compensation.
Settings for Cloudy or Low-Light Skiing
Overcast skies reduce available light and contrast.
Use Auto ISO when necessary, avoid excessively high frame rates, and consider 30fps rather than 60fps if the footage becomes too dark or noisy.
Settings for Fast Downhill Runs
For rapid downhill movement, use 60fps when available.
Enable a compatible stabilization mode and choose a sufficiently wide field of view to keep the terrain visible during turns.
How to Set Up Your SJCAM Action Camera for Skiing
Different SJCAM models offer different recording capabilities. The following are practical starting points.
SJCAM SJ6 Ultra: 4K Recording and Horizon Correction
The SJ6 Ultra supports 4K/30fps, SteadyMotion 2.0, and 45° horizon correction.
For skiing, start with 4K/30fps and a supported stabilization mode. Test horizon correction when recording turns or helmet-mounted POV footage.
If you need slower footage, the SJ6 Ultra also offers 1080p/120fps recording.
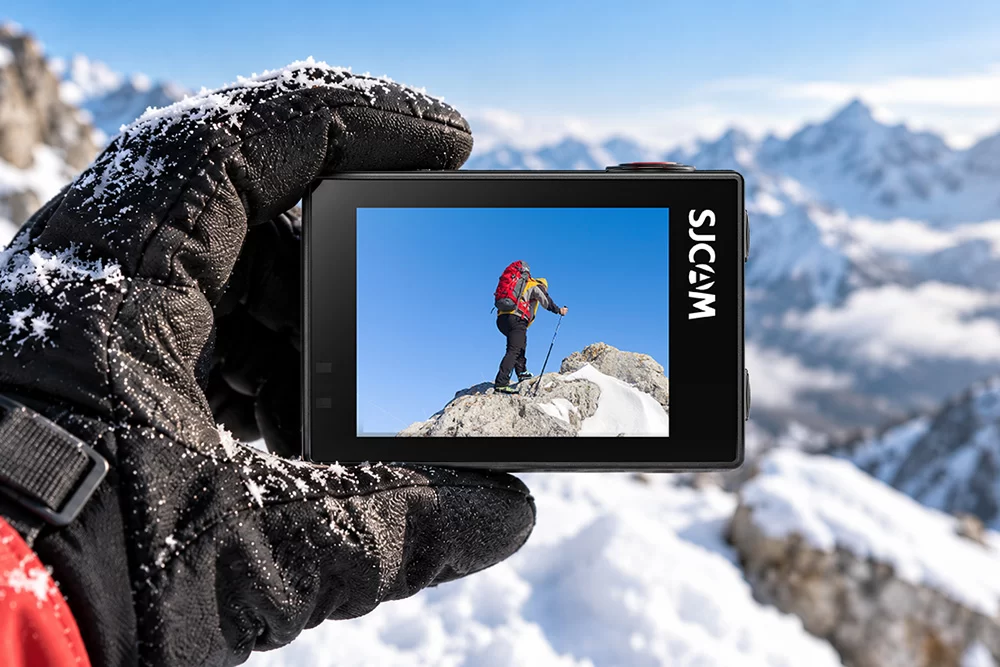
SJCAM SJ8 Pro: 4K/60fps for Fast Action
The SJ8 Pro supports native 4K/60fps and six-axis gyro stabilization.
This makes it an option for fast downhill skiing and action sequences.
Use 4K/60fps when you want smoother motion, and consider its higher-frame-rate recording modes for slow-motion footage.
Always confirm which stabilization features remain available in your selected mode.
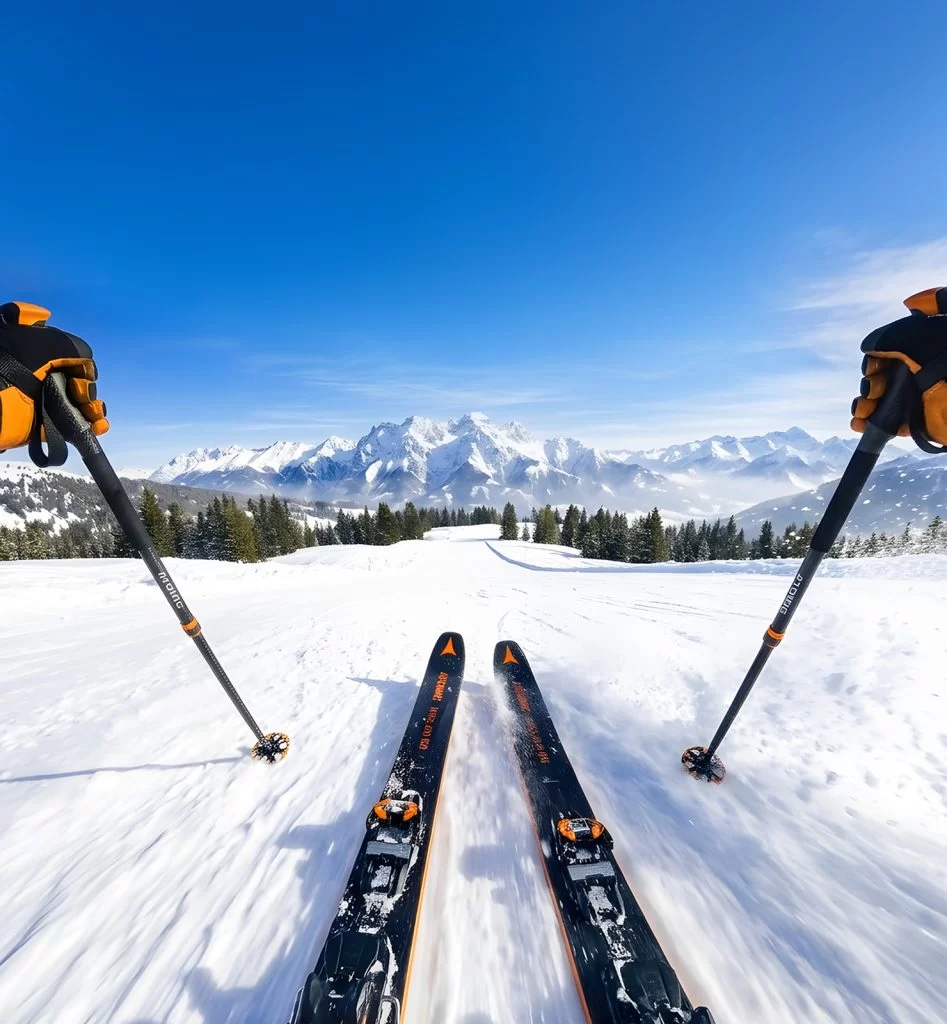
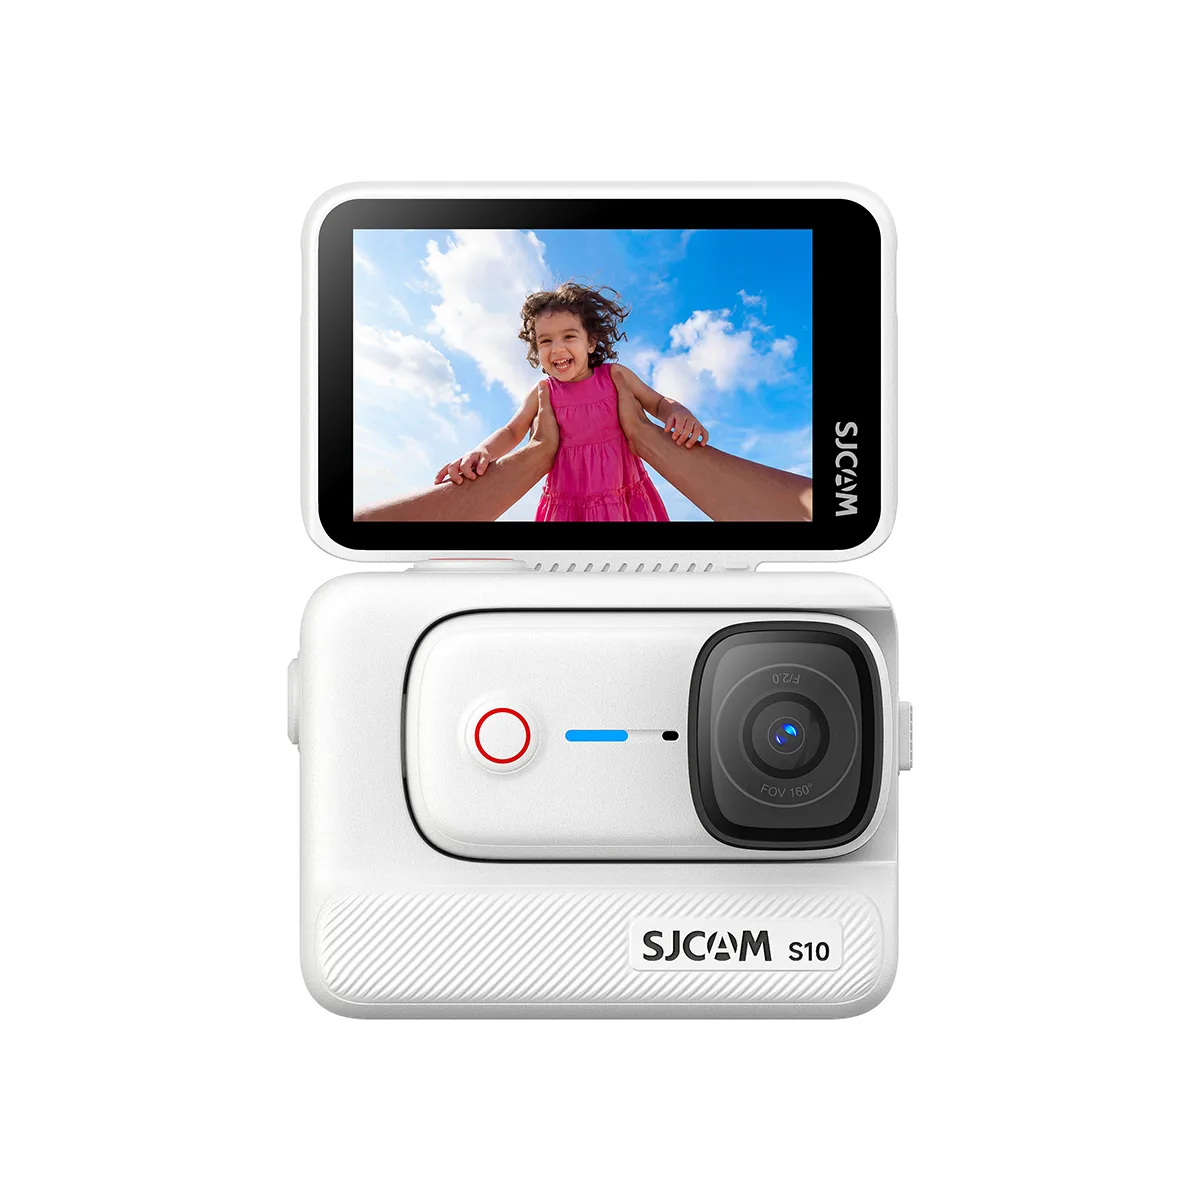
SJCAM S10: Compact POV Recording
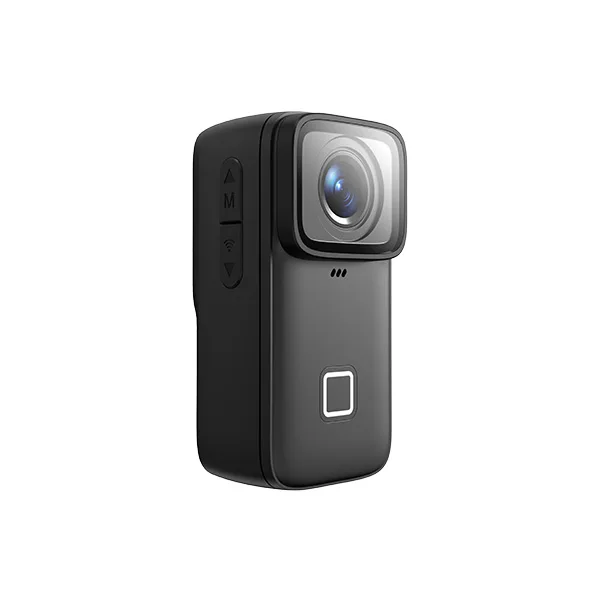
For skiers who prefer a smaller, lightweight camera, the SJCAM S10 is another option to explore.
Choose a supported recording resolution and frame rate, enable an appropriate stabilization mode, and check the camera angle before starting your run.
A compact setup is particularly useful when minimizing equipment bulk matters.
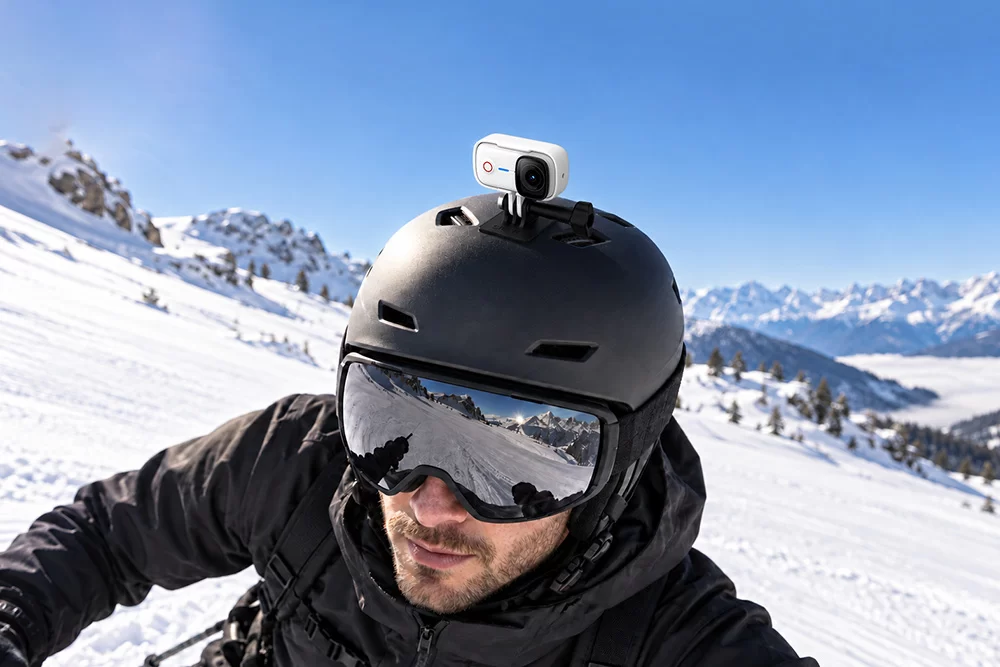
You can compare these models and their features in our SJCAM skiing camera guide.
Common Action Camera Settings Mistakes to Avoid
Even small setup mistakes can reduce video quality.
1. Using high FPS in poor lighting. Higher frame rates often require shorter exposures, making low-light footage darker or noisier.
2. Ignoring snow exposure. Automatic metering may make snow appear gray or clip bright highlights. Review a test clip before skiing.
3. Setting ISO unnecessarily high. Excessive ISO can introduce visible noise, particularly in shaded areas.
4. Forgetting stabilization. Check that your selected recording mode supports stabilization and that it is enabled when needed.
5. Choosing the wrong field of view. A narrow view may cut off your skis or surrounding scenery during POV recording.
6. Overlooking cold-weather battery performance. Low temperatures can shorten usable runtime. Keep compatible spare batteries protected from the cold and follow the manufacturer’s handling guidance.
Final Tips for Capturing Better Skiing Videos
The right settings can make a noticeable difference to your skiing footage, but there’s no single configuration that works in every situation.
For most skiers, 4K/30fps with stabilization enabled is an excellent starting point. Use 60fps for faster action, adjust exposure to preserve snow detail, and choose white balance settings that match the lighting.
Before beginning a run, record a short test clip to check brightness, framing, and stabilization. Make all necessary adjustments while stopped in a safe location.
FAQ
For general skiing footage, start with 4K/30fps, stabilization enabled, Auto ISO, and a wide field of view. Adjust exposure compensation based on snow brightness and use 60fps for fast action if supported.
4K/30fps works well for general skiing and scenic footage. 4K/60fps is preferable when capturing fast movement or when you want to create smooth half-speed clips on a 30fps timeline. Availability depends on the camera.
Use a low ISO in bright daylight to minimize noise. Auto ISO is practical when lighting changes, particularly when moving between sunny slopes and shaded areas.
Monitor the highlights in your footage. If snow loses texture and appears completely white, reduce exposure compensation. If it looks gray, a slight positive adjustment may help.
Yes, stabilization is generally recommended for moving POV footage. Enable a supported EIS or gyro stabilization mode and check whether it affects your field of view or available recording resolutions.
Daylight is a useful starting point in sunshine, while Cloudy may work better under overcast skies. Auto White Balance is convenient when lighting conditions change frequently.