





 Chinese (China)
  Spanish
  German
  French
  Italian
  Japanese
  Korean
  Bulgarian
  Greek
Greek  Indonesian
  Chinese (Hong Kong)
  Russian
  Danish
  Finnish
  Hungarian
  Turkish
  Dutch
Dutch  Portuguese
  Swedish
  Romanian
  Slovak
  Serbian
  Norwegian
  Croatian
  Albanian
  Catalan
  Czech
Czech  Estonian
  Armenian
  Bengali
  Amharic
  Polish
  Thai
Thai  Ukrainian
  Vietnamese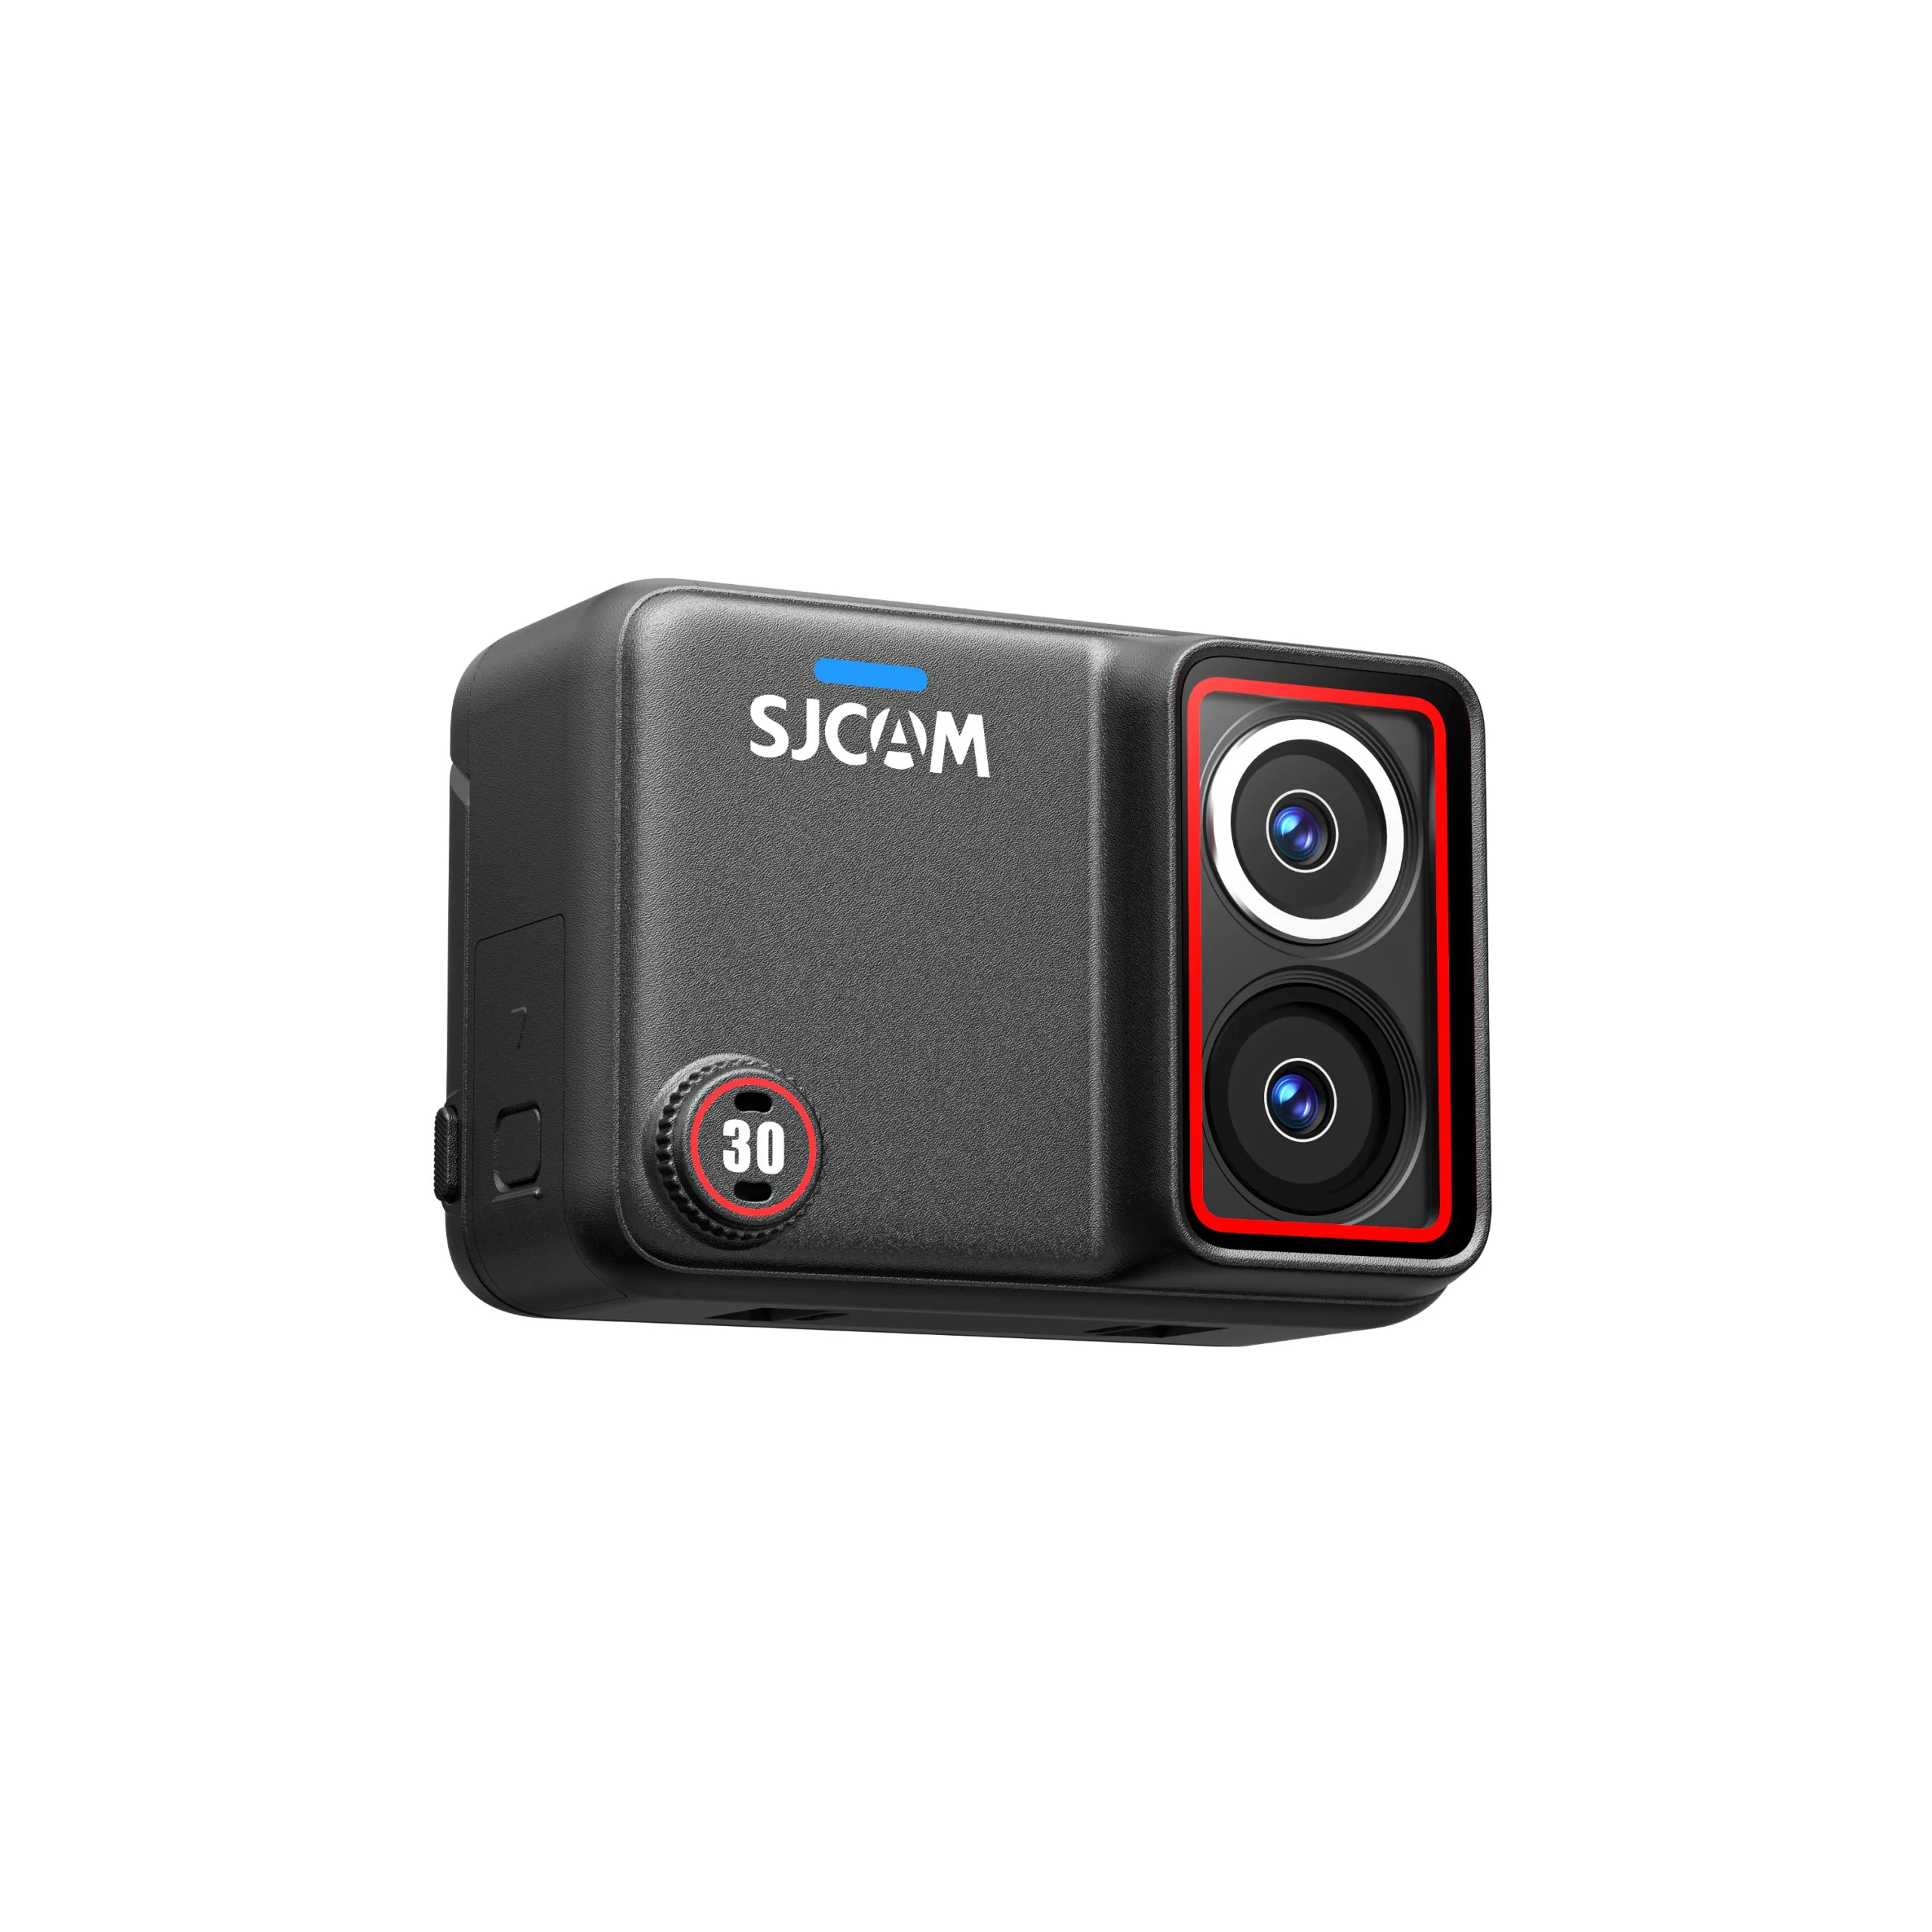
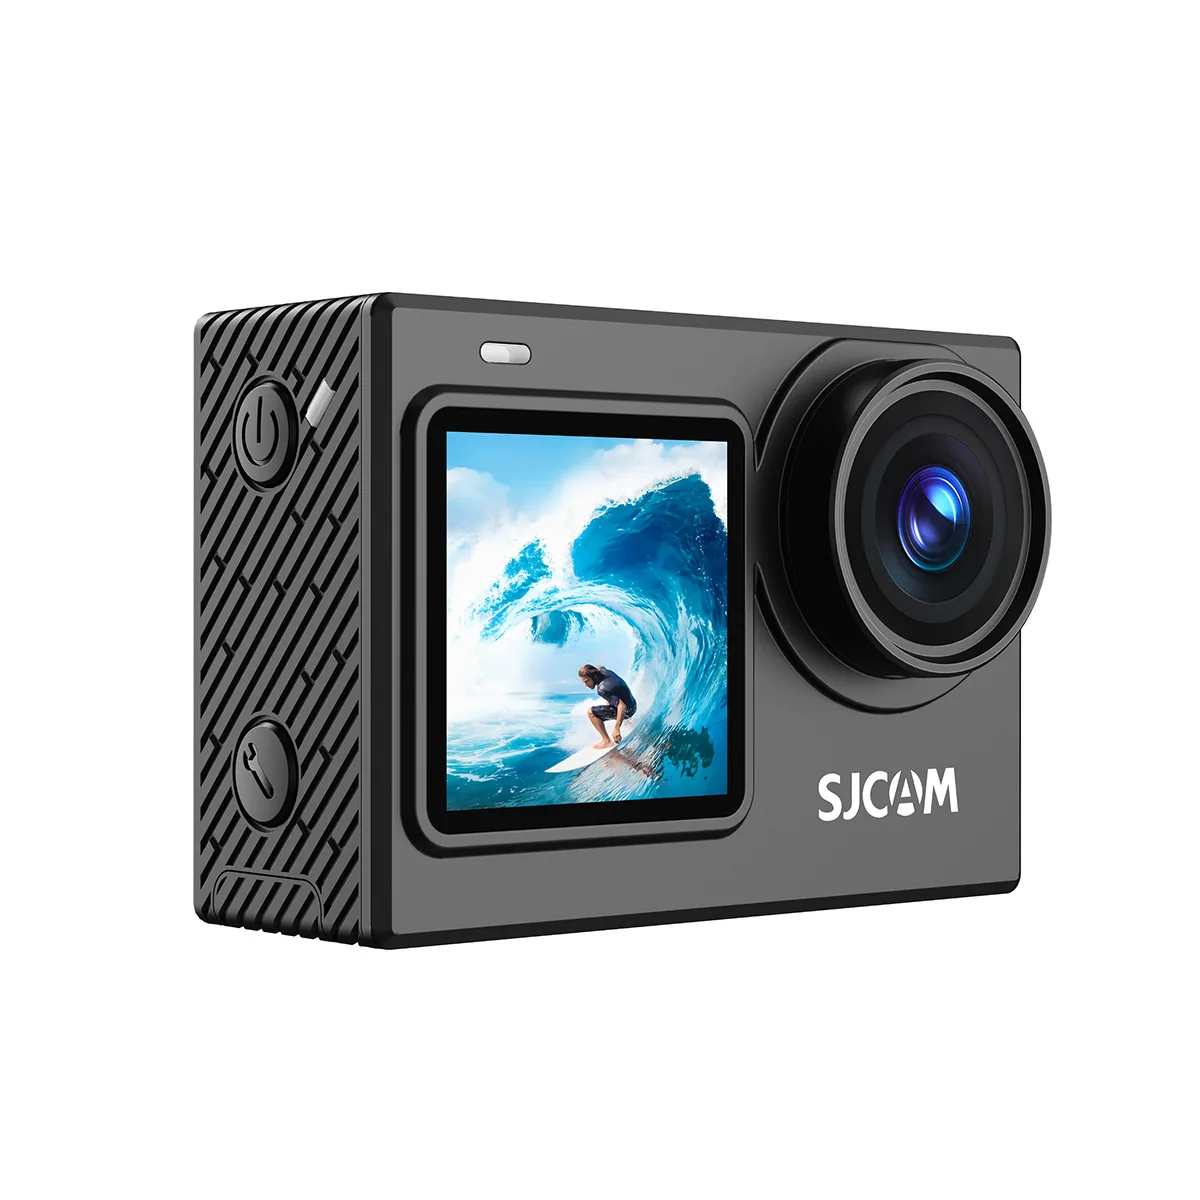
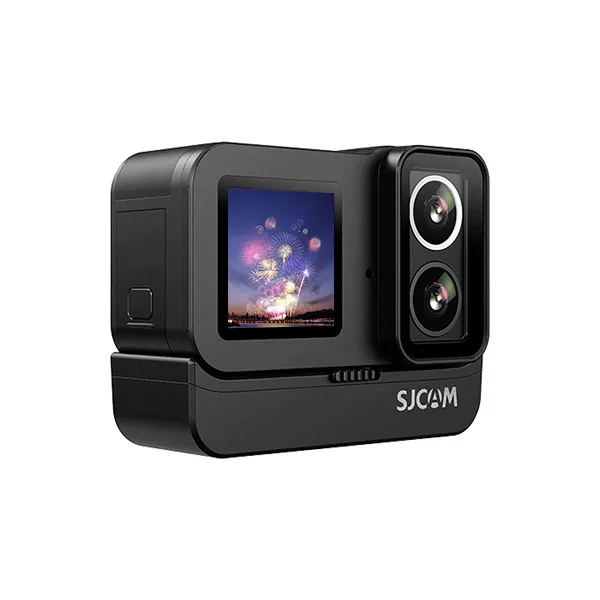
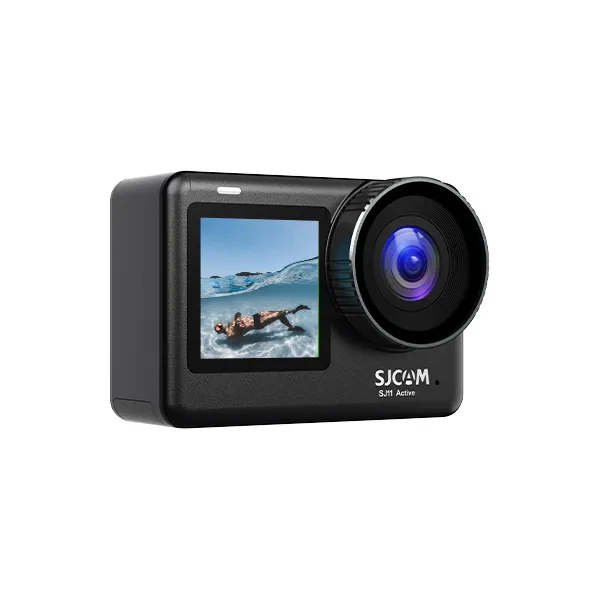
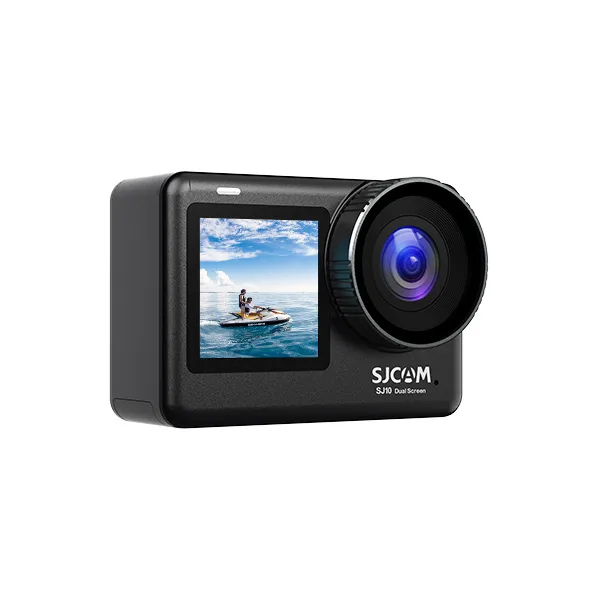
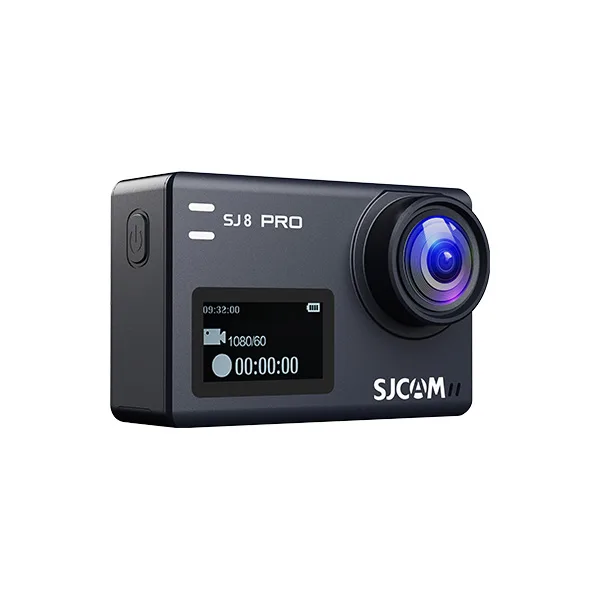
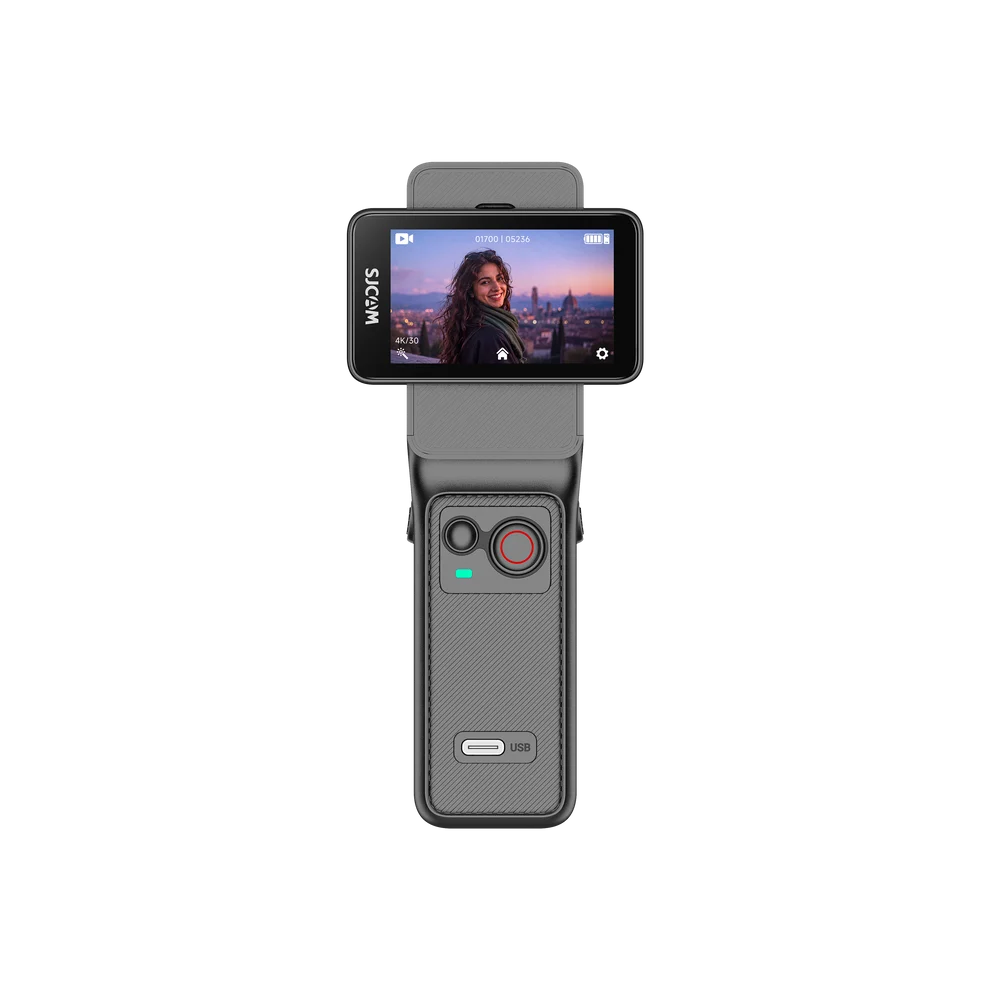
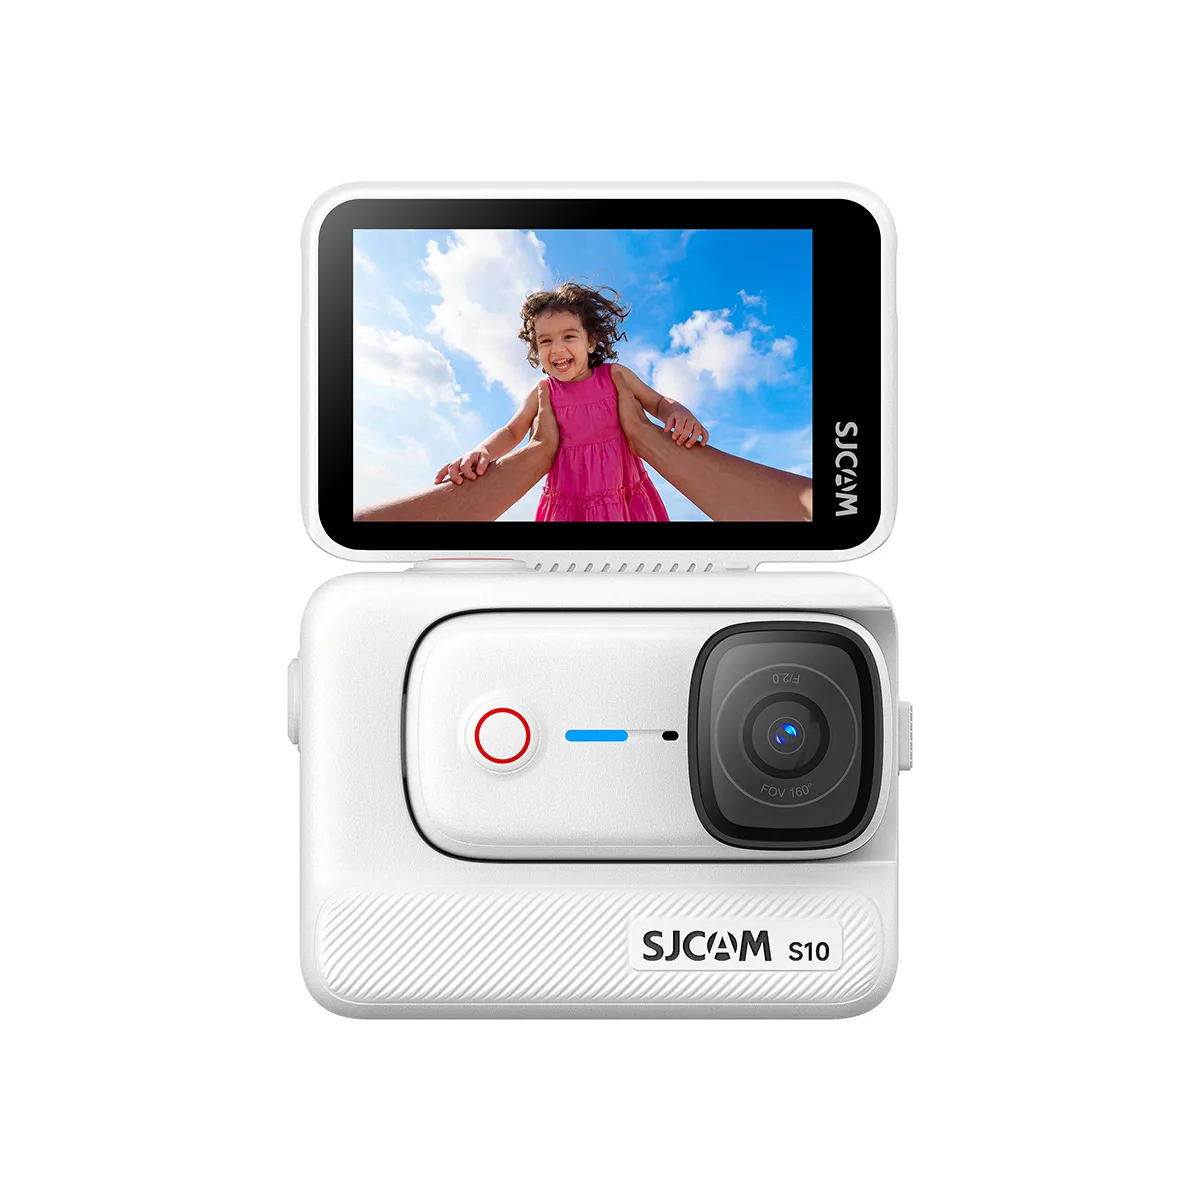
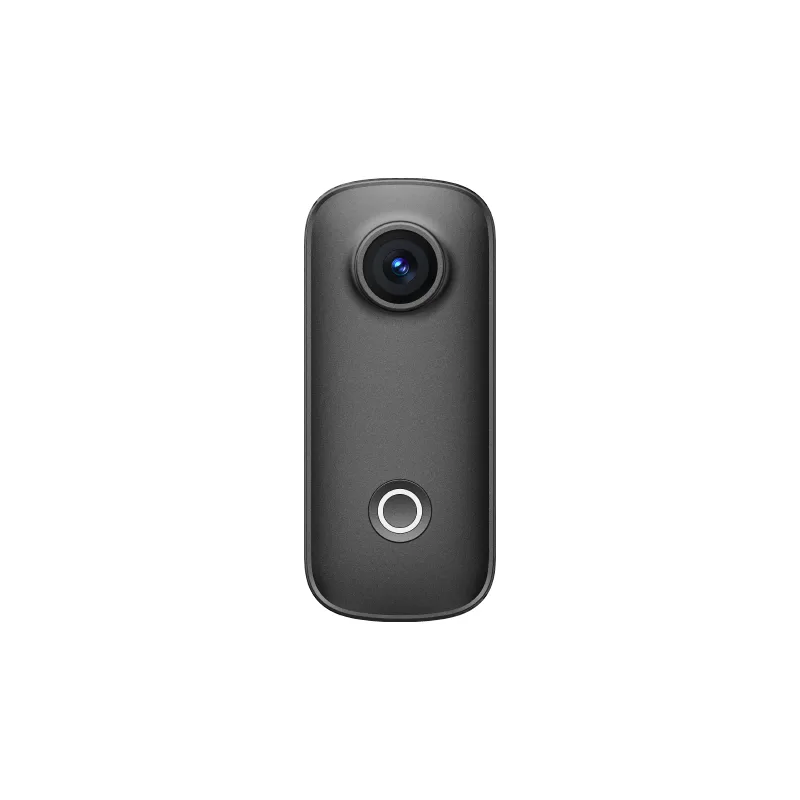
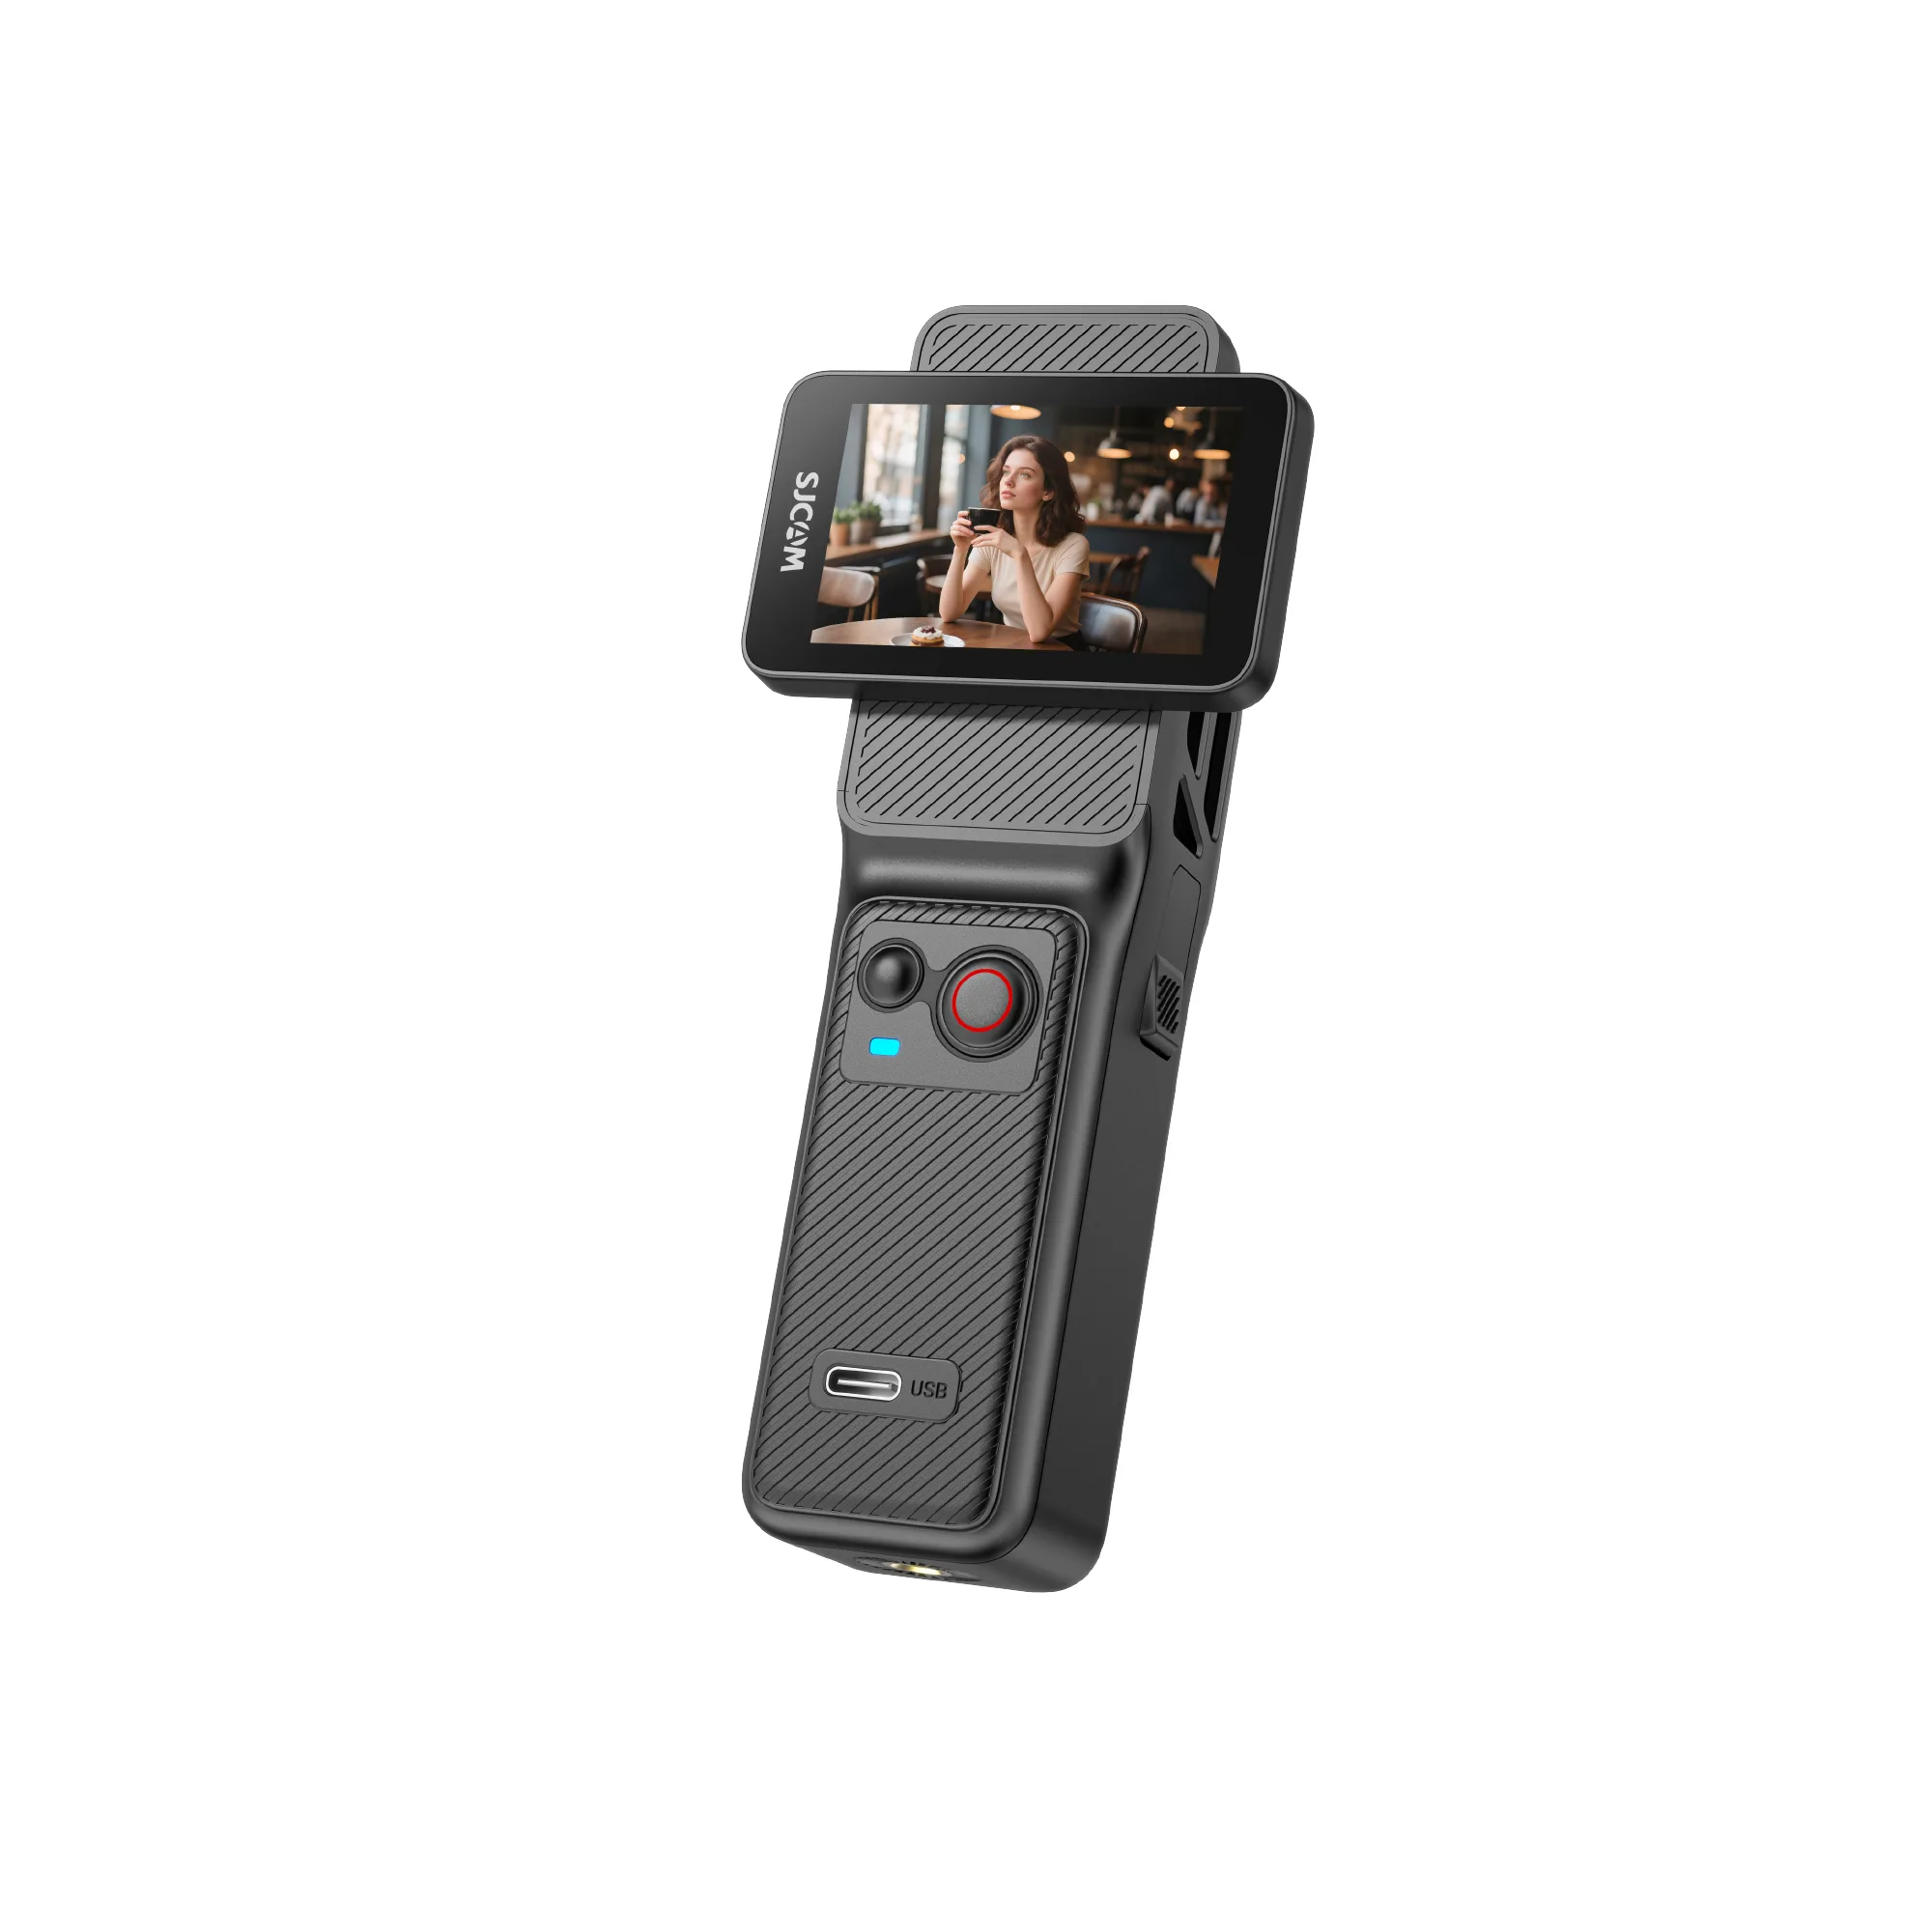
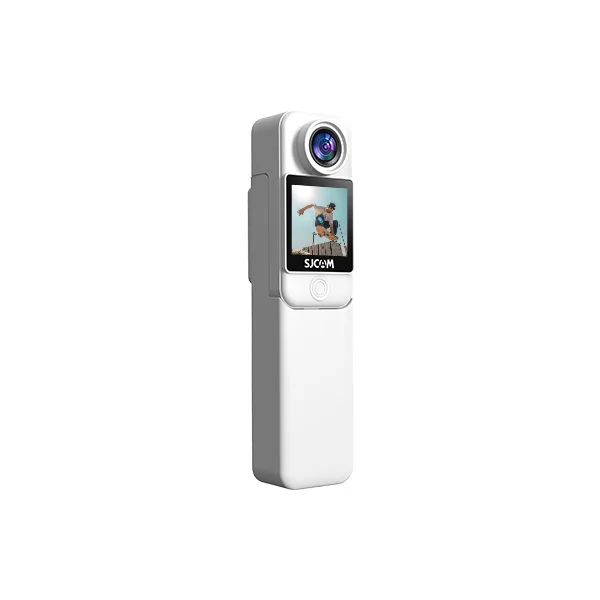
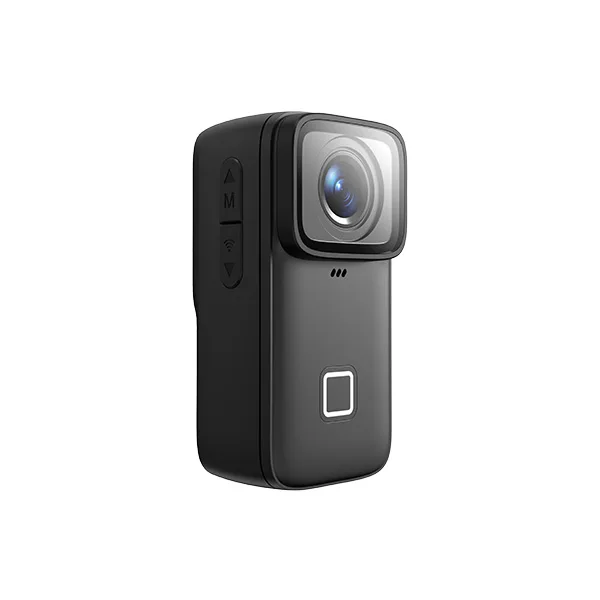
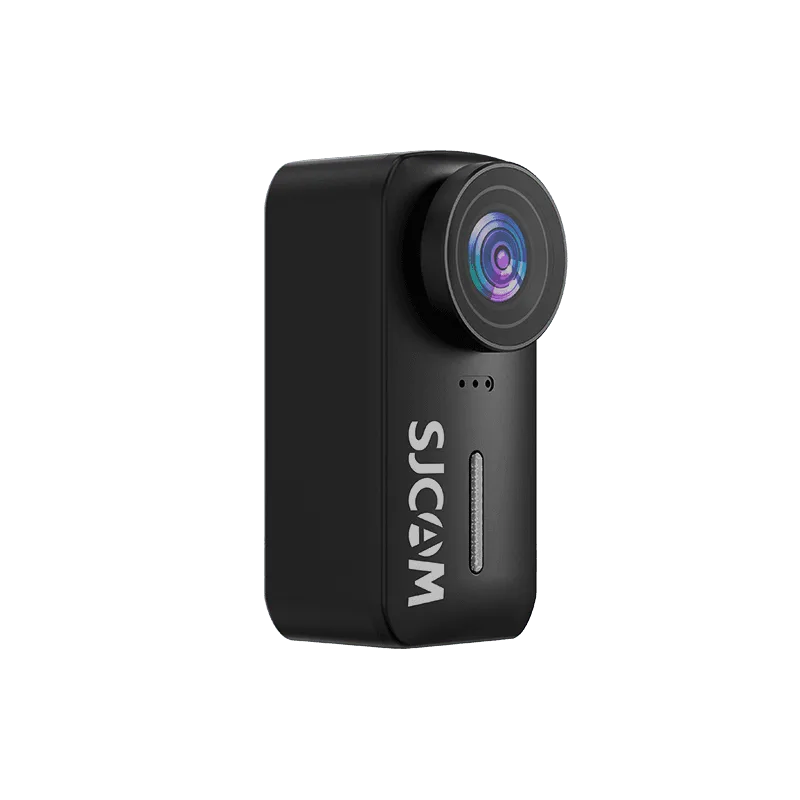
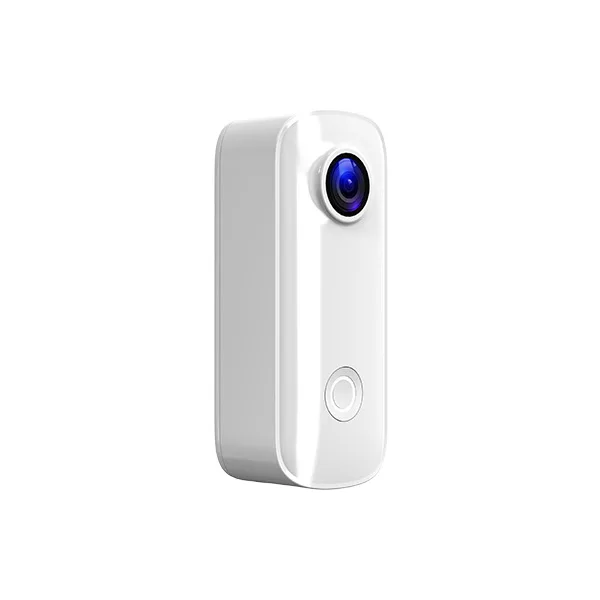
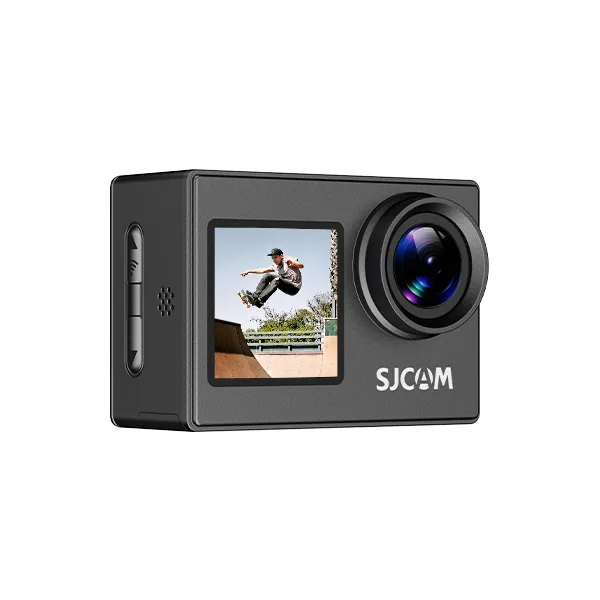
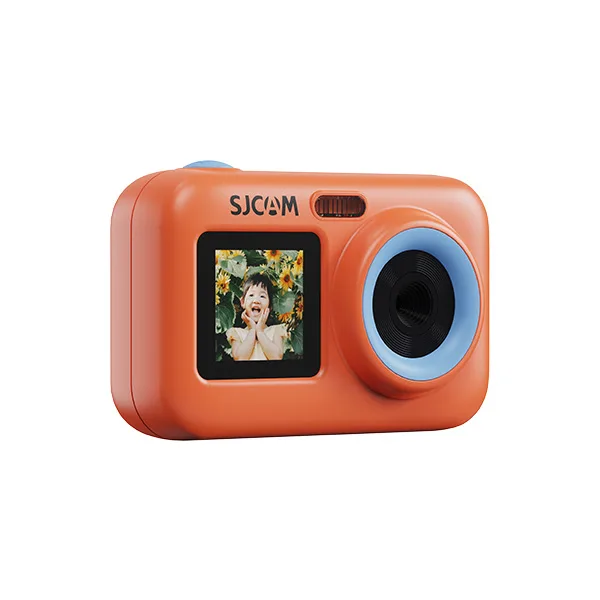
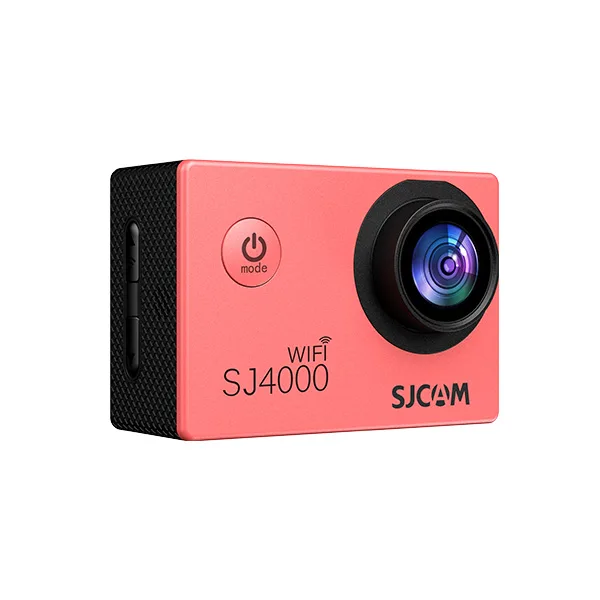
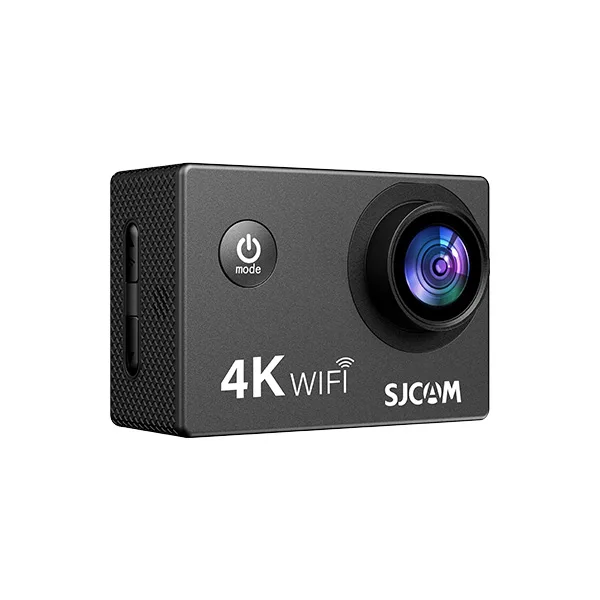
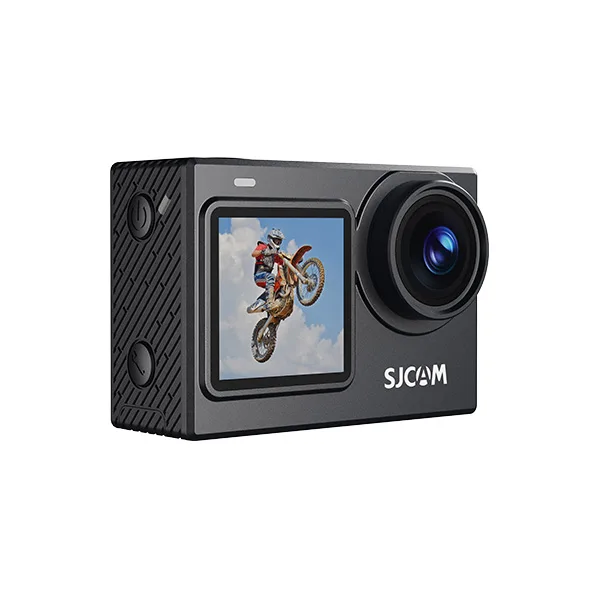
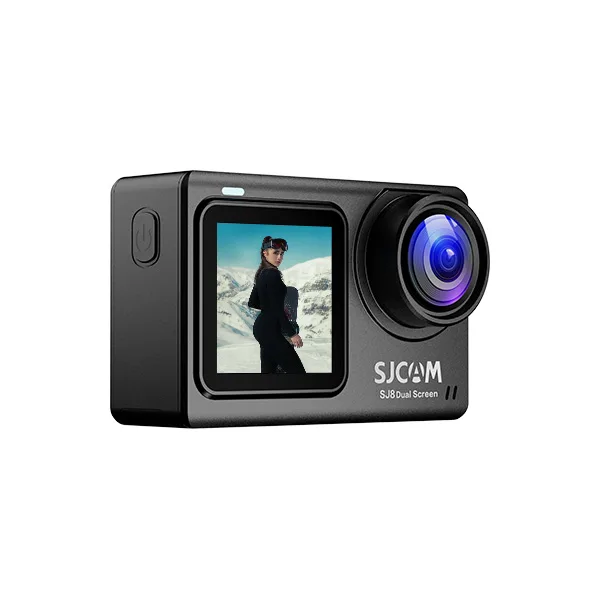
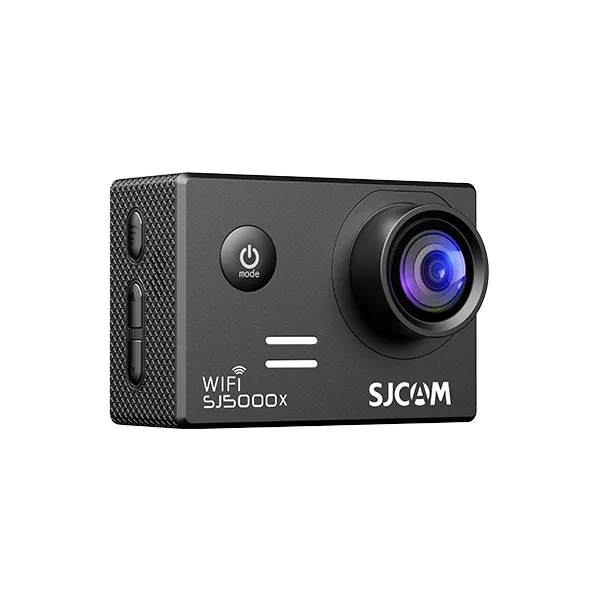
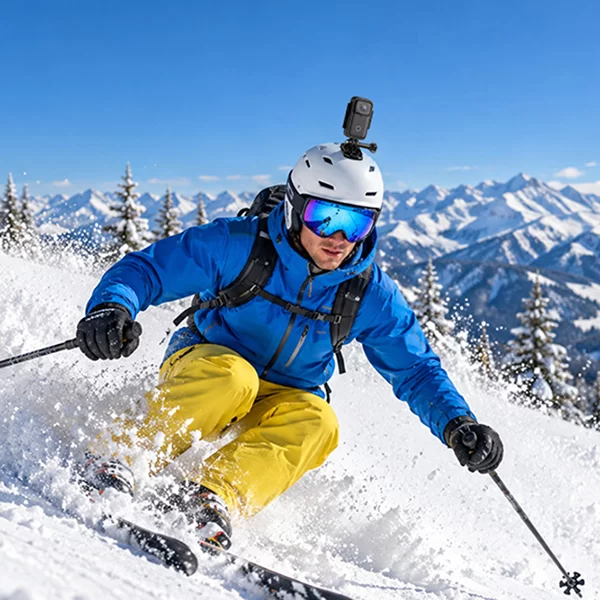

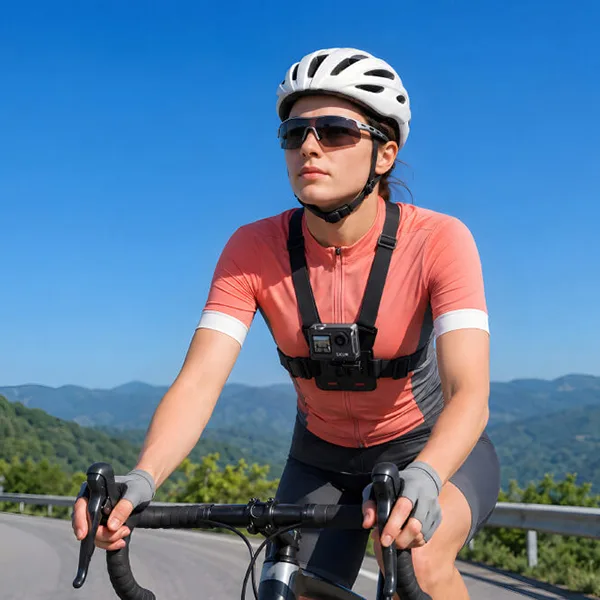
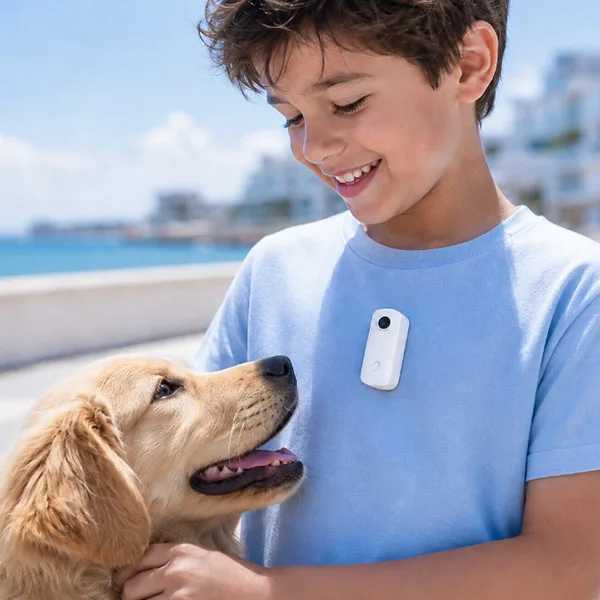
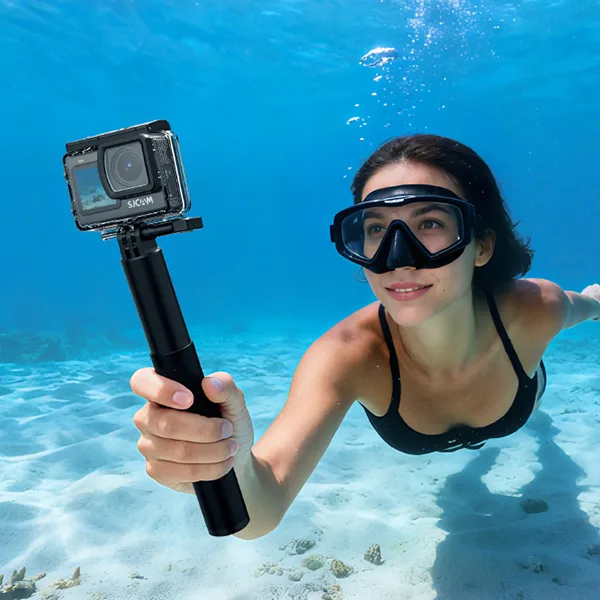
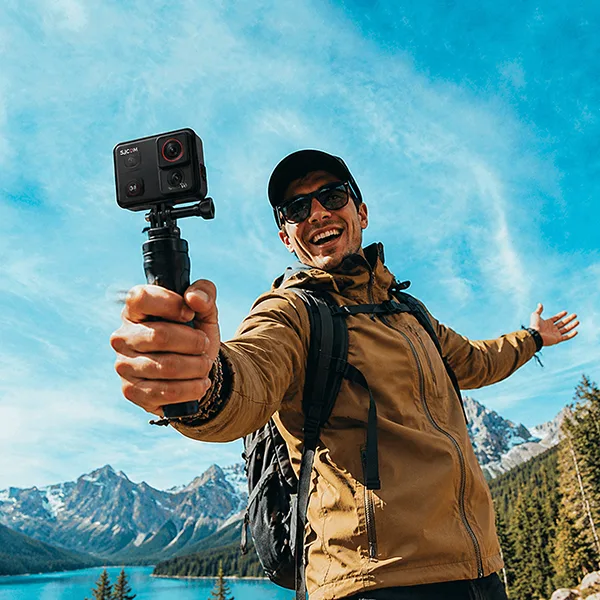
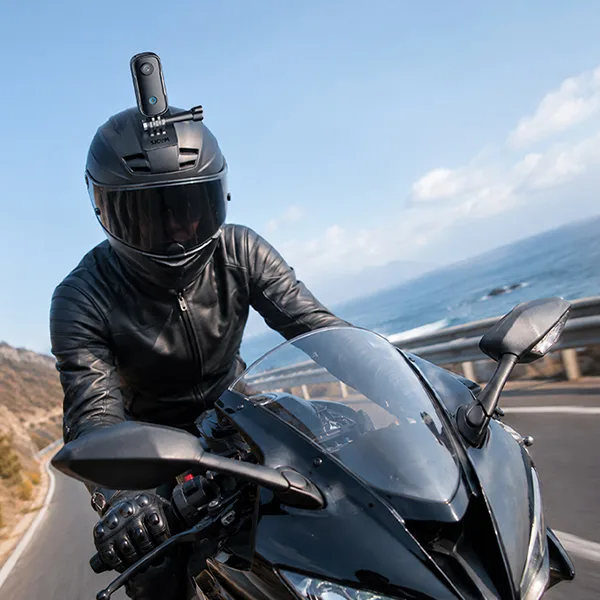
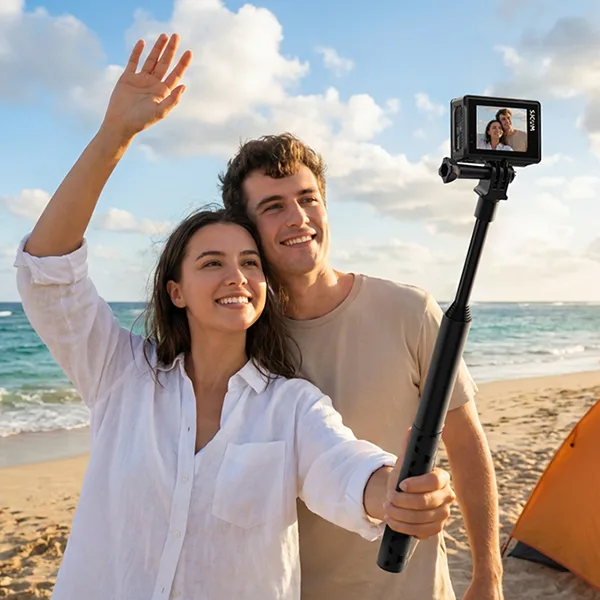
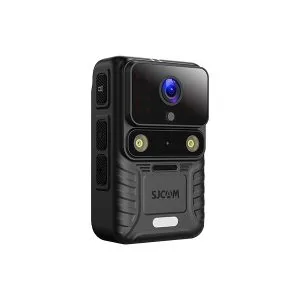
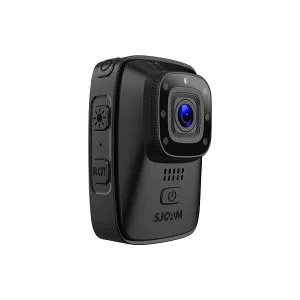
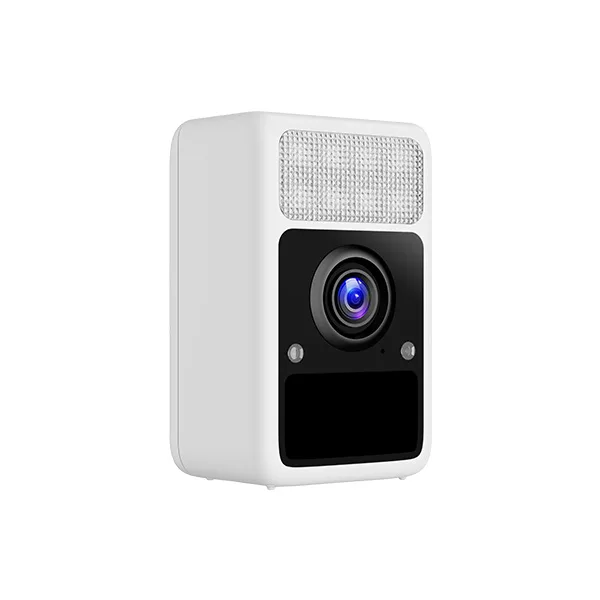
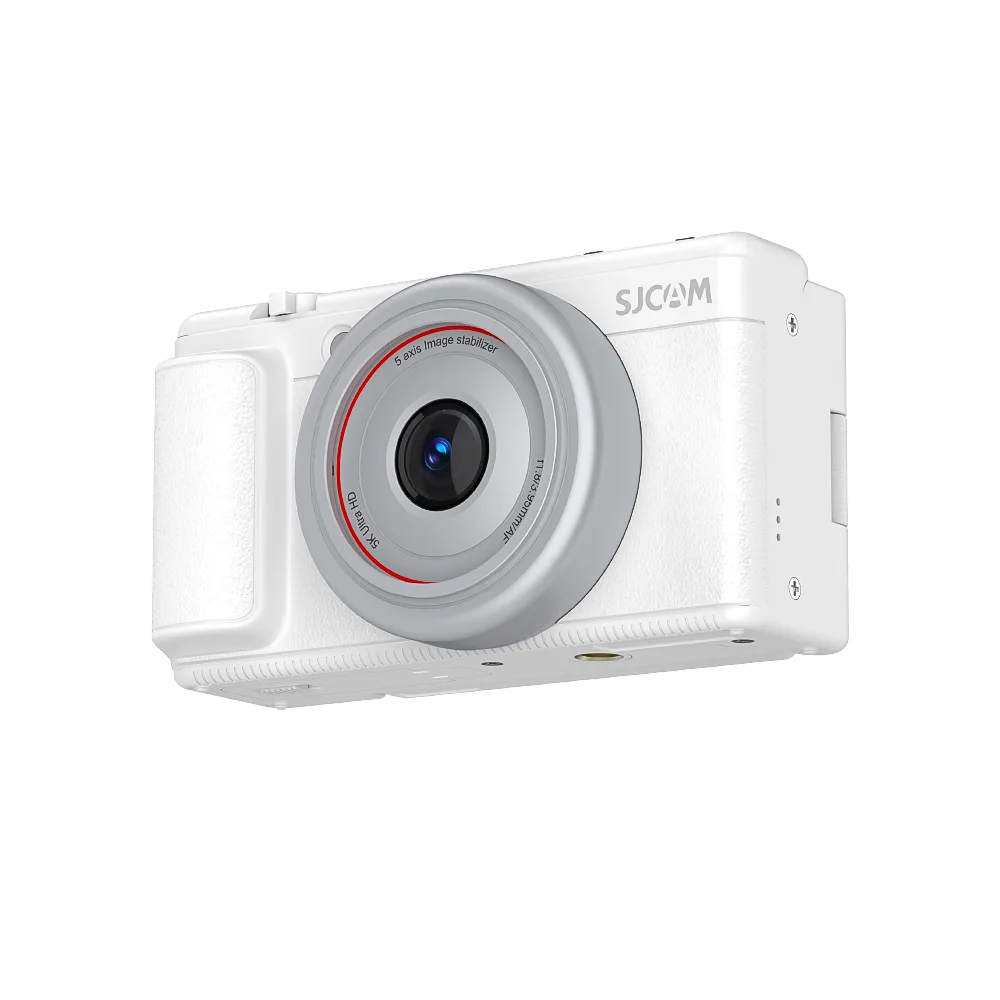
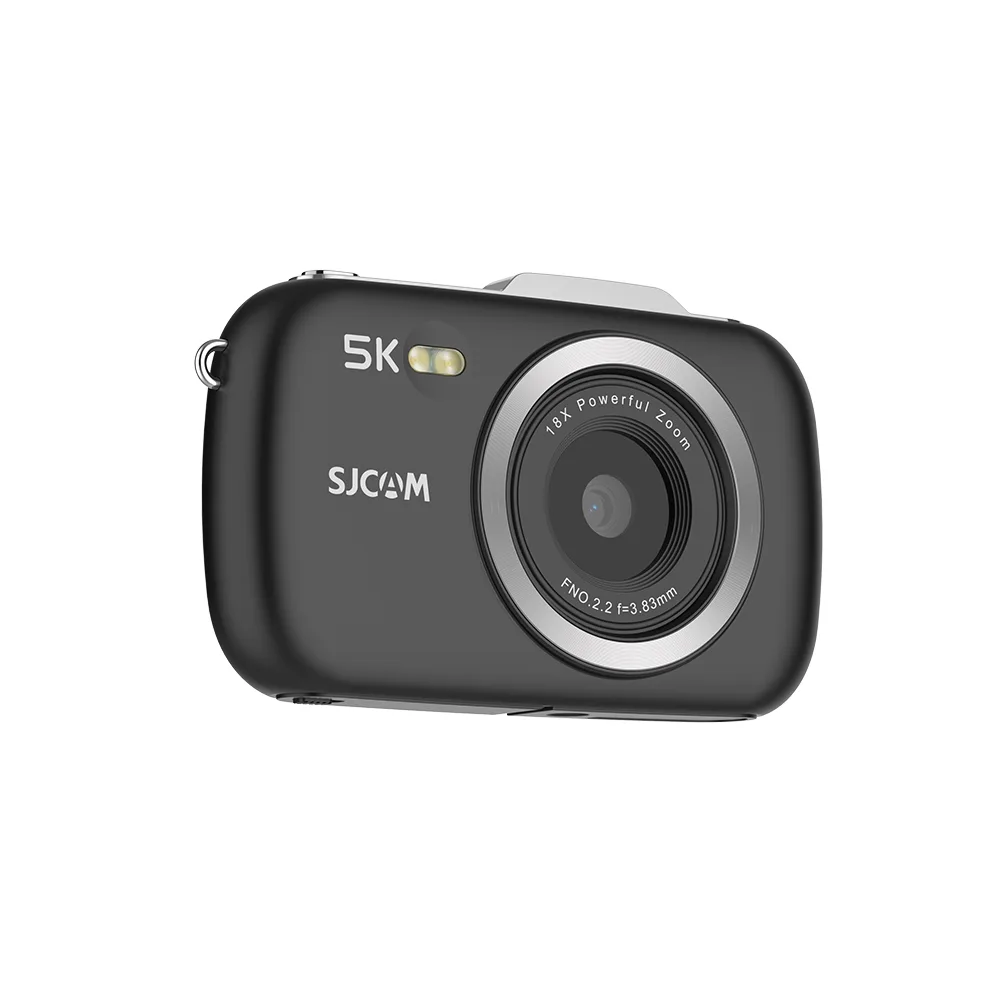


If you have just picked up an action camera and got a dive booked, you probably want one thing: to come back with footage that actually looks good. That is the whole point of this guide. Using an action camera for diving is what separates sharp, colorful, steady clips from the shaky blue-green mess most people bring home from their first few dives.
Underwater is a different game from filming on land. Water drains your colors, softens your sharpness, and adds shake from every kick and current, and one wrong setting or a bad seal can cost you the whole dive.
So this guide takes it step by step: getting the camera ready before you get wet, the settings that actually matter, mounting it so your hands stay free, shooting technique that holds up, and cleaning it properly afterward so it lasts. Work through it, and your first real dive comes back looking like you knew what you were doing.
Why Use an Action Camera for Diving?
You could seal your phone in a waterproof pouch and hope for the best. Most people try it once. The footage is blurry, the phone fogs up, and by the time you surface, you have missed everything worth filming. An action camera is built differently.
It sits in one palm, survives to 30 meters (98 feet) inside its case, and keeps filming while both of your hands are busy.
| Factor | Phone in a waterproof pouch | Action camera (with case) |
|---|---|---|
| Depth rating | Around 2 to 3 m before the pouch risks leaking | 30 m (98 feet) with a case |
| Image quality underwater | Soft and prone to fogging | Sharp, with a diving color mode |
| Field of view | Narrow phone lens | Wide 140 to 154 degrees |
| Stabilization | Little to none | 6-axis gyro, holds the horizon |
| Hands-free use | No, you hold it. | Yes, chest mount or wrist strap |
| Risk if dropped | Sinks and is usually gone | Floaty keeps it at the surface |
Small Enough to Take Anywhere in the Water
At 162 grams and about the size of a matchbox, 74 x 52 x 38 mm, the SJCAM SJ30 disappears into your kit.
Slip it onto a wrist strap or drop it into a BCD pocket, and within a minute you stop thinking about it entirely.
Capture Hands-Free Diving Footage
Your hands are already busy on a dive, one on the inflator and the other on a gauge.
That is why a chest mount or a wrist strap earns its keep. You hit record and forget it is there.
Record Marine Life From Your Perspective
There is something about footage shot from your own eye line that a tripod cannot fake.
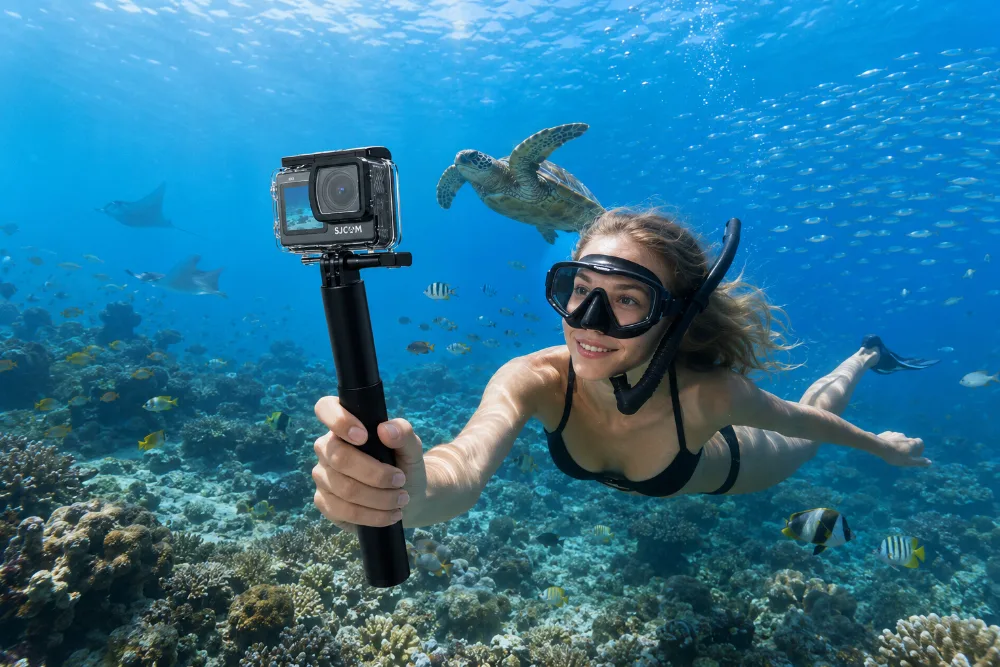
A turtle drifts past, and whoever watches later feels like they were right there. That angle is why people film dives.
Before Diving: Prepare Your Action Camera Setup
Here is something most beginners find out after their first ruined dive: the footage is won before you ever hit the water. The five minutes you spend on the dock matter more than anything you do once you drop below the surface. Seal the housing, attach a floaty and a pole, load a fast SD card, and make sure the battery is topped off.
That handful of steps is what stands between you and a flooded camera or a dead battery at 15 meters.
Choose the Right Action Camera and Accessories
You need a camera that can take the water and a few extras that make it usable down there.
| Item | What it does | Why it matters underwater |
| Camera | Record your video and photos. | Needs a waterproof case rated to at least 30 m (98 ft) |
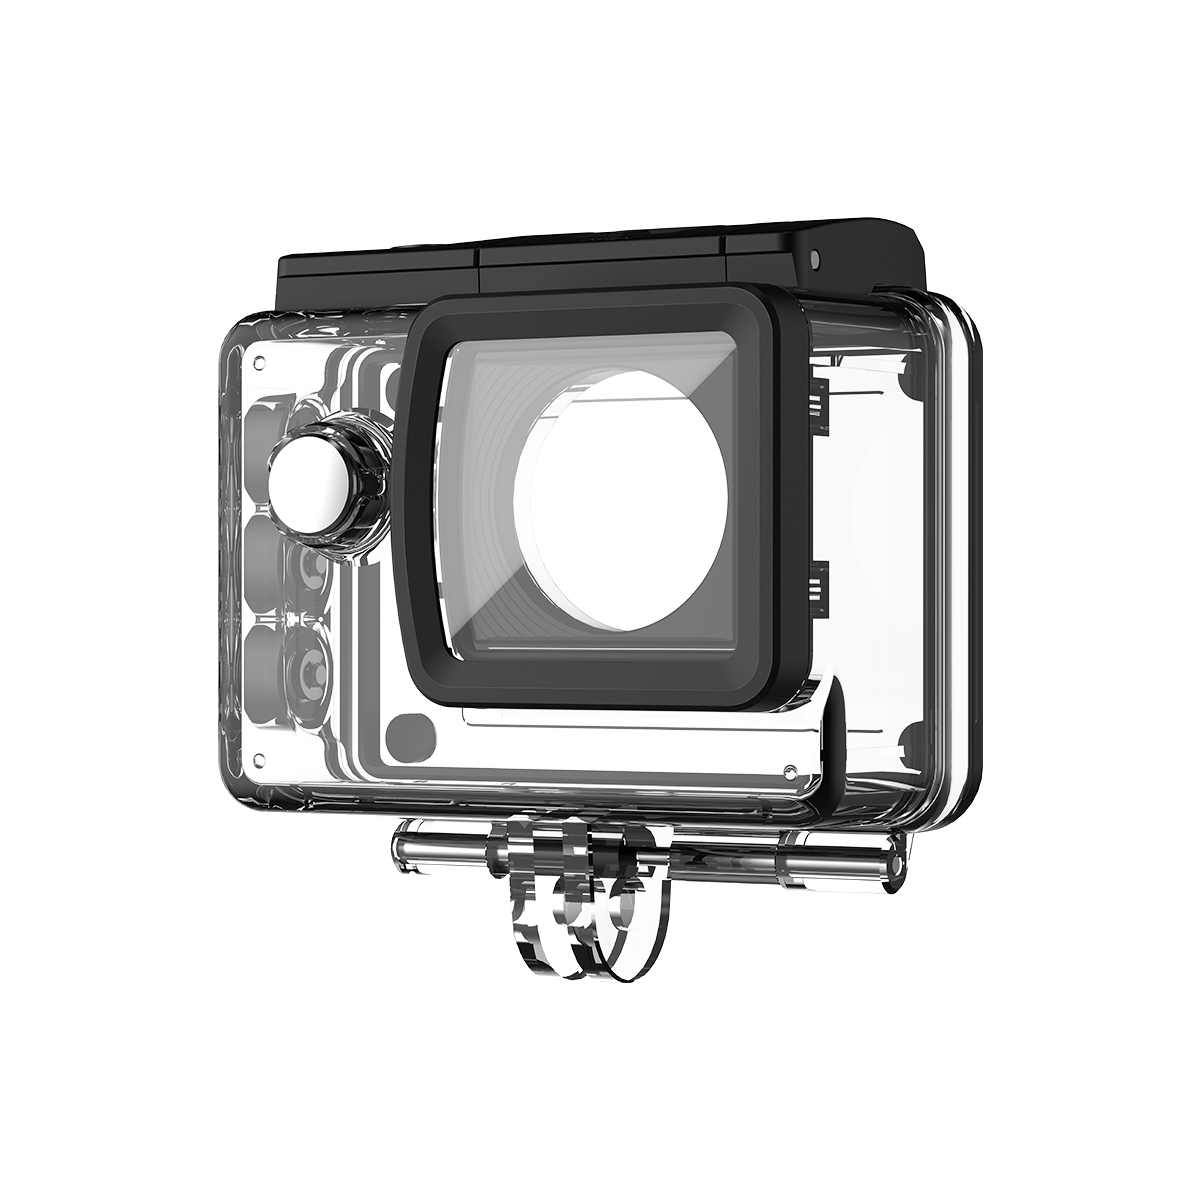
| Waterproof case | Seals against pressure and salt water | Bare bodies usually handle only about 5 m (16 ft). |
| Floaty bobber | Keeps the camera afloat if you drop it | A sinking camera in open water is usually gone. |
| Selfie stick | Extends your reach and steadies the shot | Films wider angles and puts you in frame |
| SD card | Stores your footage | A U3 or V30 card keeps up with 4K |
Check Waterproof Protection
Never skip this one. Run a finger around the rubber seal and hunt for sand, a hair, or a fleck of grit, then shut the case and feel the latch click home. One grain of sand can sink a camera.
Charge Up and Clear Your Card the Night Before
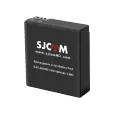
Cold water is harder on a battery than most people expect—you will lose runtime faster than the spec sheet suggests. Charge the camera fully, pack a spare battery or the power handle, and wipe the SD card clean before you leave the house.
The SJ30 runs about 150 minutes at 4K 30 fps on its own and up to 7 hours with the power handle.
Best Action Camera Settings for Diving
Most rough beginner clips come down to a wrong setting, not shaky hands. Start with 4K at 30 fps, open up to the widest field of view the lens offers, make sure stabilization is running, and shift white balance over to the underwater setting.
Do that before you suit up, and the four things that ruin most beginner footage blur, narrow framing, shake, and washed-out color are already dealt with.
Choose the Right Video Resolution
For most recreational diving, 4K at 30fps is the sweet spot. It records sharp detail, keeps file sizes manageable so a single card lasts longer, and 30 fps matches the steady pace of most underwater scenes, so the footage looks smooth without eating storage.
Want slow motion of a fish bolting off? Bump it to 4K 60 fps or 2K 120 fps for slow motion. The SJ30 covers both without breaking a sweat, and if raw detail is the priority, it will go up to 8K at 20 fps as well.
Shoot Wide Every Time You Are Underwater
Water plays tricks with distance, so a wide lens helps.
The SJ30 shoots at 140 degrees, and the C400 line reaches 154 degrees, so more of the scene lands in frame without you finning backward.
Turn On Stabilization
Between the current, your kicks, and your breathing, something always adds wobble, and stabilization irons it out.
The SJ30 leans on SteadyMotion 2.0 and a 6-axis gyroscope, holding the horizon flat even when you roll onto your side.
Underwater videographers rarely film without it. The ocean is never still, so the camera has to do the holding for you.
Adjust Color Settings Underwater
Warm colors die off first down there. Red is mostly gone by around 5 meters (15 feet), and by 10 meters your clips lean blue or green.
The SJ30 diving white balance mode claws color back; a red filter finishes the job on deeper dives.
Curious why? NOAA explains it. Water grabs the longer wavelengths first, the reds and oranges, up near the surface, so the deeper you drop, the more color disappears.
| Setting | Recommended choice | Why it works |
| Resolution | 4K at 30 fps | Sharp detail with a manageable file size |
| Slow motion | 4K 60 fps or 2K 120 fps | Smooth slow motion of fast marine life |
| Field of view | Widest / wide angle | Fits more of the scene, counters magnification |
| Stabilization | On | Removes shake from current and kicking |
| White balance | Diving / underwater mode | Restores lost reds and warm tones |
| ISO | Auto (100 to 3200 on the SJ30) | Adapts to changing light at depth |
How to Mount an Action Camera for Diving
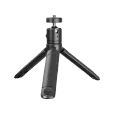
The mount you pick changes the whole feel of your video. Two easy options cover most situations: a chest mount for that steady, hands-free look, and a selfie stick for wide shots or getting yourself in frame.
Chest Mount
Strapped to your chest, the camera looks wherever you look. Your hands stay free for buoyancy and gauges, and the eye-level angle feels natural to watch.
Selfie Stick
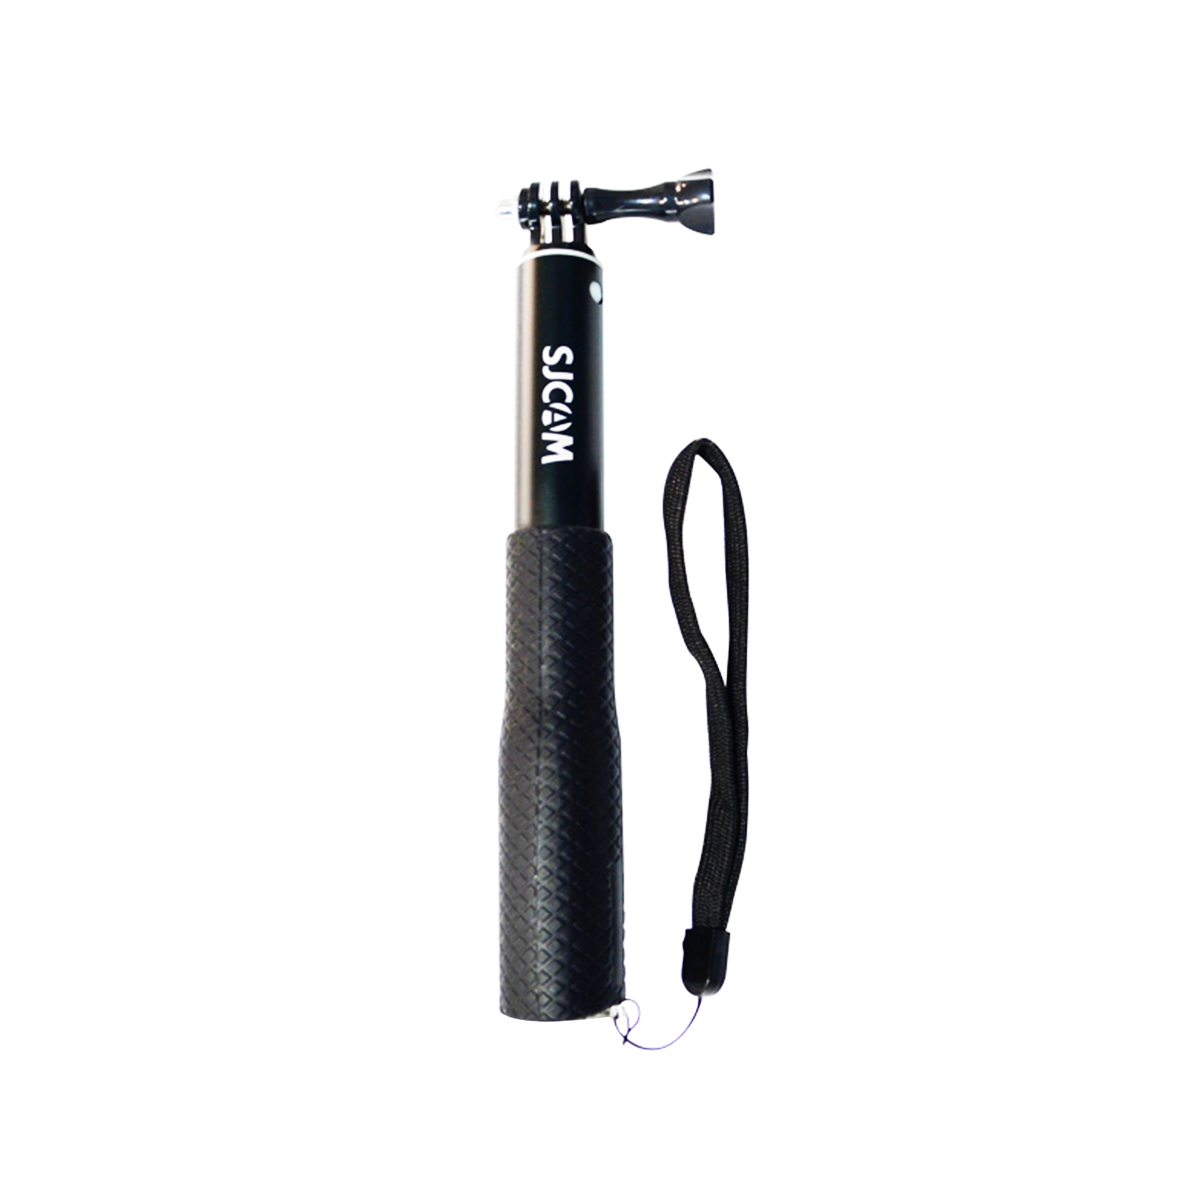
A selfie stick, or floating grip, buys you reach and control. Stretch it for a wide shot, spin it around to get yourself in frame, or drop it low and shoot toward the light.
Wrist Mount
Best for quick, grab-and-go clips when you do not want to commit to a full setup. The camera sits on a strap around your wrist, so it is always ready but still leaves your fingers free for your gear.
Point it by turning your hand, and keep your wrist steady when something swims close, since small movements show up more at wide angles. Good for reef swims and spur-of-the-moment shots, less ideal for long, locked-off footage.
Floating Grip
A floating grip is a padded handle that keeps the camera at the surface if you let go, which makes it the safest option for open water. Hold it below the camera and let your arm act as a shock absorber for smoother panning.
Extend your reach by holding it out to the side for a wider view of the reef, or turn it back on yourself for face-to-camera shots. The buoyancy also doubles as a backup, so a dropped camera floats instead of sinking.
| Mount | Best for | Keeps hands free? |
| Chest mount | First-person point of view | Yes |
| Selfie stick | Wide shots and self-filming | No |
| Wrist strap | Quick, casual clips | Mostly |
| Wrist mount | Grab-and-go reef clips | Mostly |
| Floating grip | Wide shots, safe in open water | No |
How to Capture Better Underwater Videos
Gear gets blamed more than it deserves. The divers who come back with great footage are not always using the best camera; they are using better habits. Close the distance, slow everything down, keep the sun at your back, and shoot in short clips rather than one long run.
Lock those four habits in, and your footage will already sit above most first attempts, regardless of which camera is in your hand.
Get Close to Your Subject
The water is full of tiny floating bits that blur anything past a meter or two.
So close the gap. Fewer particles sit between the lens and your subject at close range, so shooting from within a meter keeps the image sharp and the colors truer whenever the animal lets you get that near.
Marine photographers: hammer one rule harder than any other: get close, then get closer still. Distance is what softens underwater video, and no setting undoes the haze of water in front of the lens.
Move Slowly and Smoothly
Rush around, and you spook the wildlife and smear your footage with motion blur. Slow, deliberate kicks keep the camera calm and the animals close.
Follow the Light
Down here, the sun does most of your lighting, and it pours in from above. Keep it behind you so it lights your subject instead of flaring into the glass.
Record Short Clips Instead of One Long Video
Nobody wants to edit one endless 40-minute take. Short grabs of 10 to 30 seconds are far kinder to sort through later.
Recommended Diving Camera Setup for Beginners
You do not need a fancy rig to begin. Two kits handle most newcomers: a lean snorkeling setup around the SJCAM SJ30 for reefs and shallow water, and a vlog setup around the C400 Pro for anyone who wants to film themselves.
Where to Start: The SJ30 for Snorkeling and Shallow Dives
For snorkeling and shallow dives, the SJCAM SJ30 covers the essentials without extra bulk. It records up to 8K if you want the detail. SteadyMotion 2.0 keeps the horizon steady when you kick, and the case is rated to 30 meters (98 feet), which is enough depth for reef and shallow diving. A basic accessory kit rounds it out:
- Waterproof case
- Floaty bobber
- Selfie stick
- SD card, U3 or V30 rated, up to 512GB
Diving Vlog Setup: C400 Pro
For divers who want to narrate or appear on camera, the SJCAM C400 Pro suits that style better. The wide 154-degree lens keeps you in frame even at arm’s length, and the long battery life, up to 7 hours with the power handle, means you are not cutting a dive short to swap batteries mid-story. A lighter kit works here:
- Waterproof case
- Selfie stick
- SD card
| Feature | SJ30 (Snorkeling) | C400 Pro (Diving Vlog) |
| Best use | Reefs and shallow dives | Talking to the camera, self-filming |
| Max resolution | 8K at 20 fps | 4K UHD |
| Field of view | 140 degrees | 154 degrees |
| Stabilization | SteadyMotion 2.0, 6-axis | 6-axis gyroscope |
| Waterproof (with case) | 30 m / 98 ft | 30 m / 98 ft |
| Battery (with handle) | Up to 7 hours | Up to 7 hours |
How to Maintain Your Action Camera After Diving
Saltwater will not let a lazy cleanup slide. Right after every dive, spend five minutes on it—a freshwater rinse, a proper dry, and a once-over on the housing seal—and the camera will hold up for years.
Leave salt sitting on it, and it gets into the buttons, the seals, and the lens coating. That damage adds up faster than you think.
Rinse With Fresh Water
Left to dry, salt chews on moving parts and clouds the glass.
The moment you are out, drop the camera in its case into fresh water for a few minutes, working the buttons to flush salt from every gap.
Dry Before Storage
Trapped damp turns into mold and foggy footage. Wipe the camera down, crack the case open somewhere dry, and let it breathe before it goes back in the bag.
Check Waterproof Housing
A case is only as good as the seal keeping it shut. After drying, look closely at the gasket for any cracks, embedded grit, or signs of wear—if it looks at all tired, swap it out before your next dive. A worn gasket is the main reason cameras flood.
The safety team at Divers Alert Network says a quick inspection now is cheaper and safer than a repair later. Their diver safety resources apply to all your dive gear, cameras included.
FAQ
The naked body handles shallow, splashy stuff, around 5 meters (16 feet).
With a proper waterproof case on, the SJ30 and C400 Pro are rated to 30 meters (98 feet)—deep enough for recreational diving and most snorkeling trips.
For most divers, 4K at 30fps wins. Reach for higher frame rates like 4K 60 fps only when you want slow motion of something fast.
Past roughly 10 meters, yes. Water eats red light first, so clips drift blue or green with depth.
Clip on a red filter, or just pull up the diving white balance preset, and you will notice the difference straight away—colors that looked washed out suddenly have warmth again.
First thing—check that stabilization is actually switched on, because a lot of people miss it. After that, it comes down to how you move: slow your kicks right down and strap the camera to your chest or a pole rather than holding it freehand. Slow, controlled kicks do the rest.
It handles both without any issue. For snorkeling, you shoot with the bare body or a light case; for scuba, you add the deeper-rated housing. The SJ30 and C400 Pro handle either.
That depends on resolution and water temperature. The SJ30 gives roughly 150 minutes at 4K 30 fps on its own, up to about 7 hours with the power handle. Pack a spare for cold water.