





 Chinese (China)
  Spanish
  German
  French
  Italian
  Japanese
  Korean
  Bulgarian
  Greek
Greek  Indonesian
  Chinese (Hong Kong)
  Russian
  Danish
  Finnish
  Hungarian
  Turkish
  Dutch
Dutch  Portuguese
  Swedish
  Romanian
  Slovak
  Serbian
  Norwegian
  Croatian
  Albanian
  Catalan
  Czech
Czech  Estonian
  Armenian
  Bengali
  Amharic
  Polish
  Thai
Thai  Ukrainian
  Vietnamese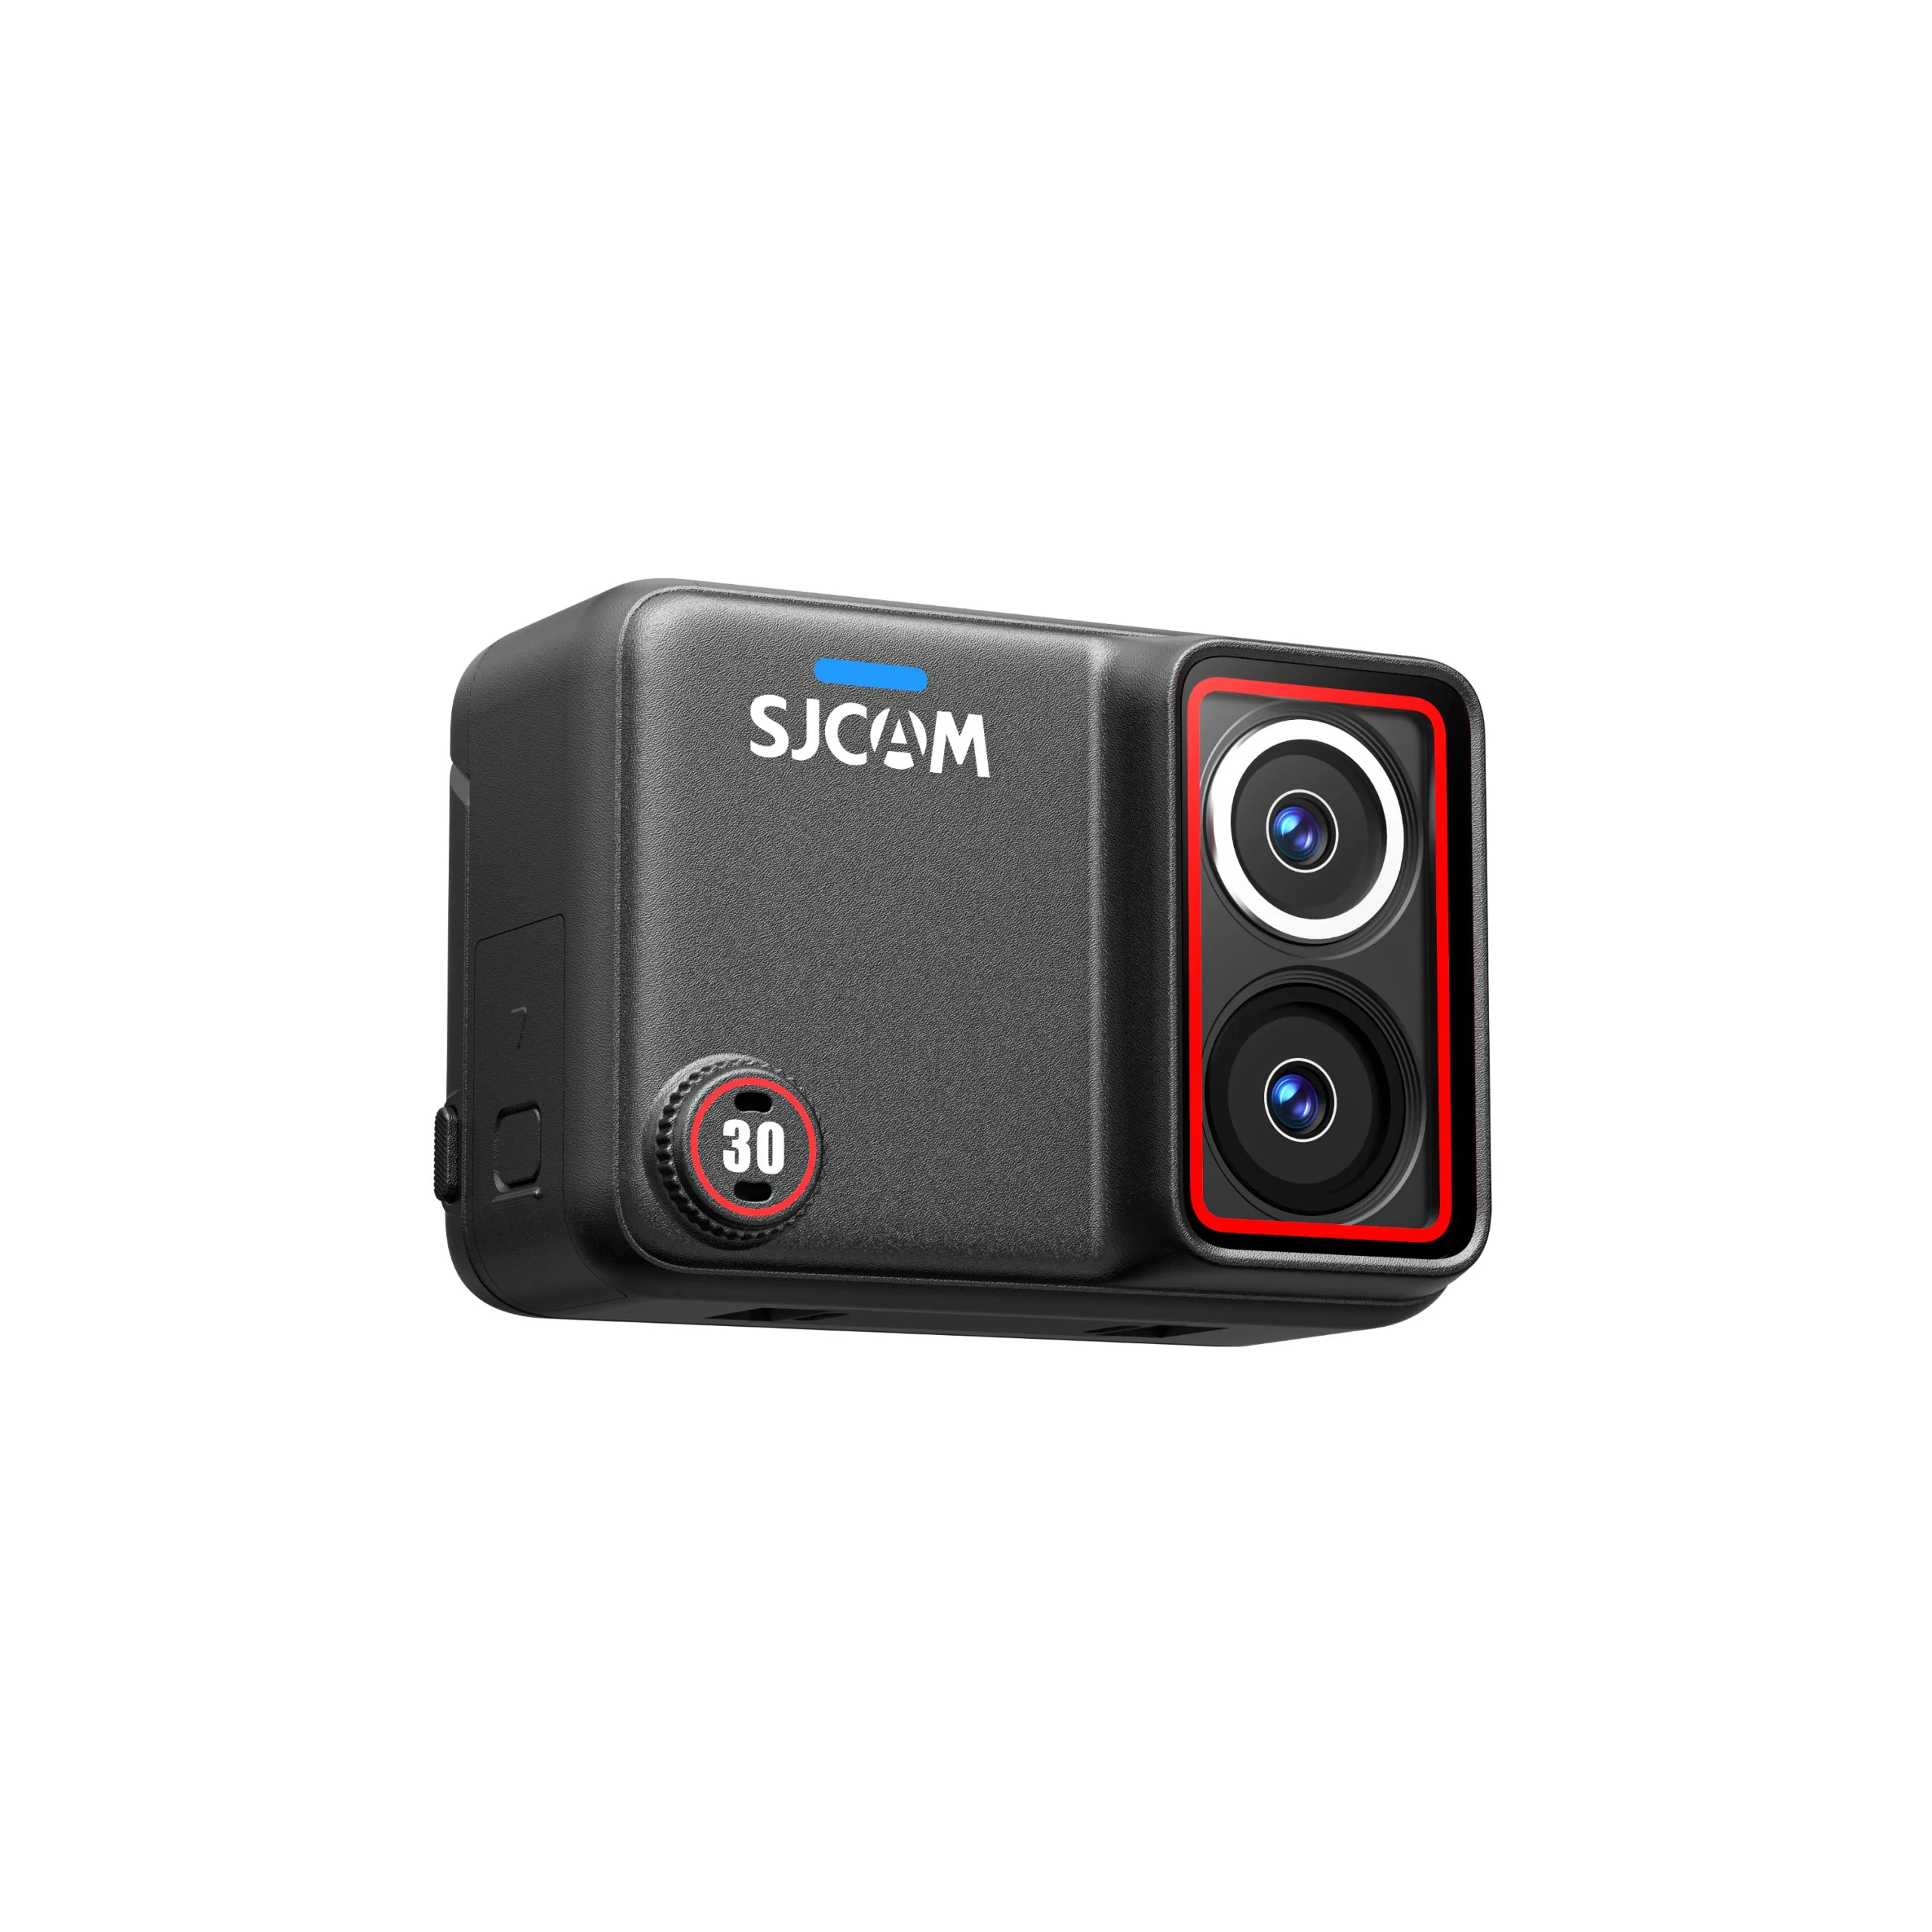
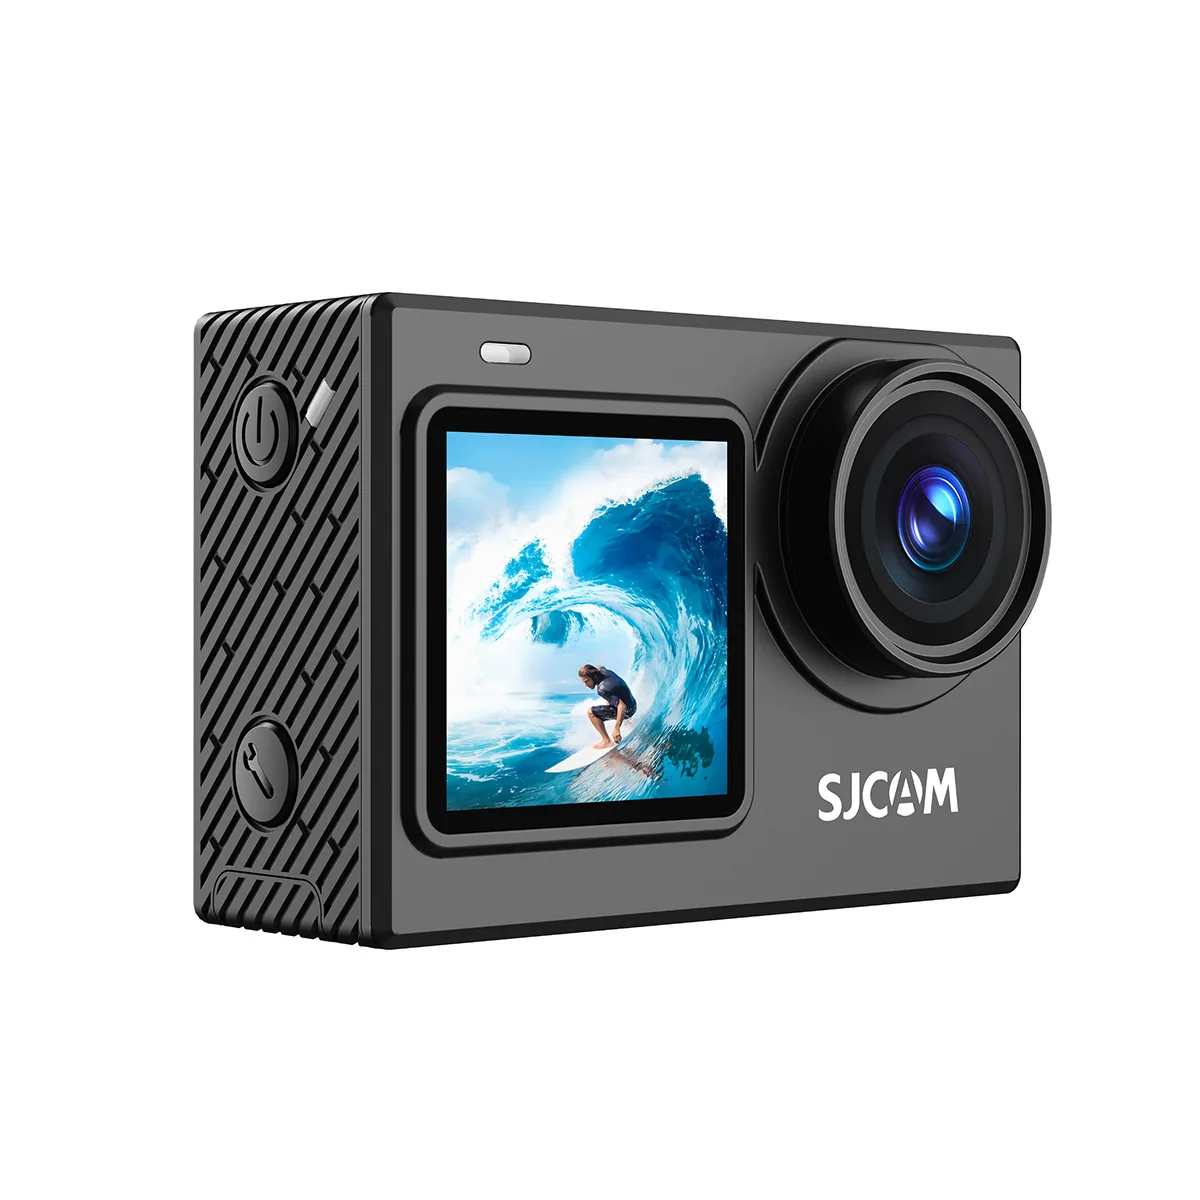
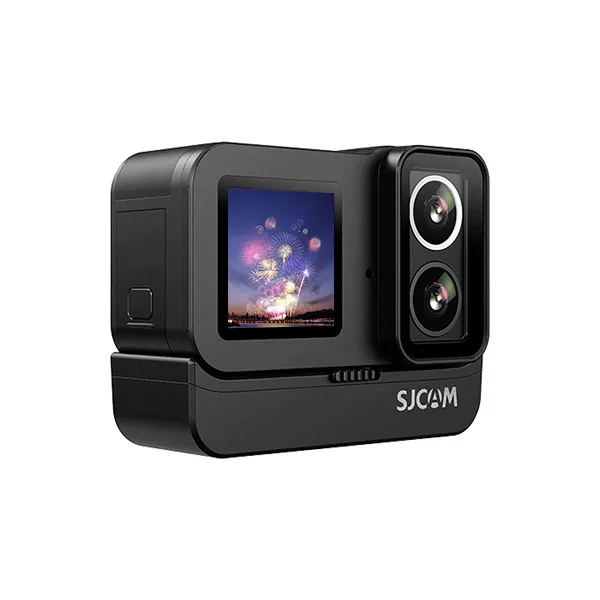
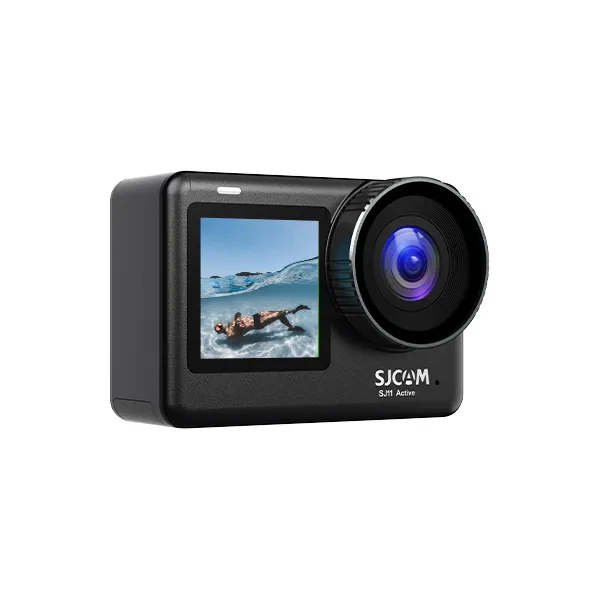
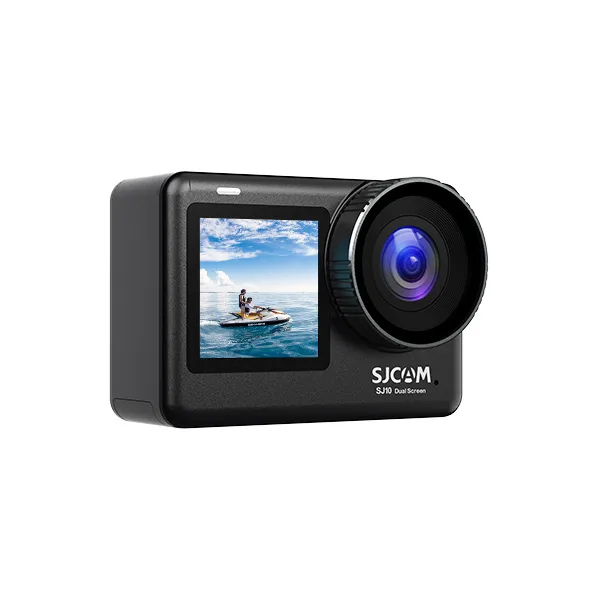
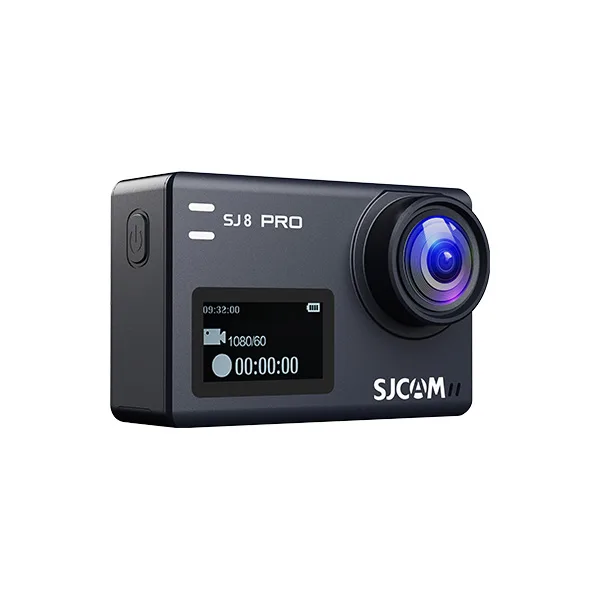
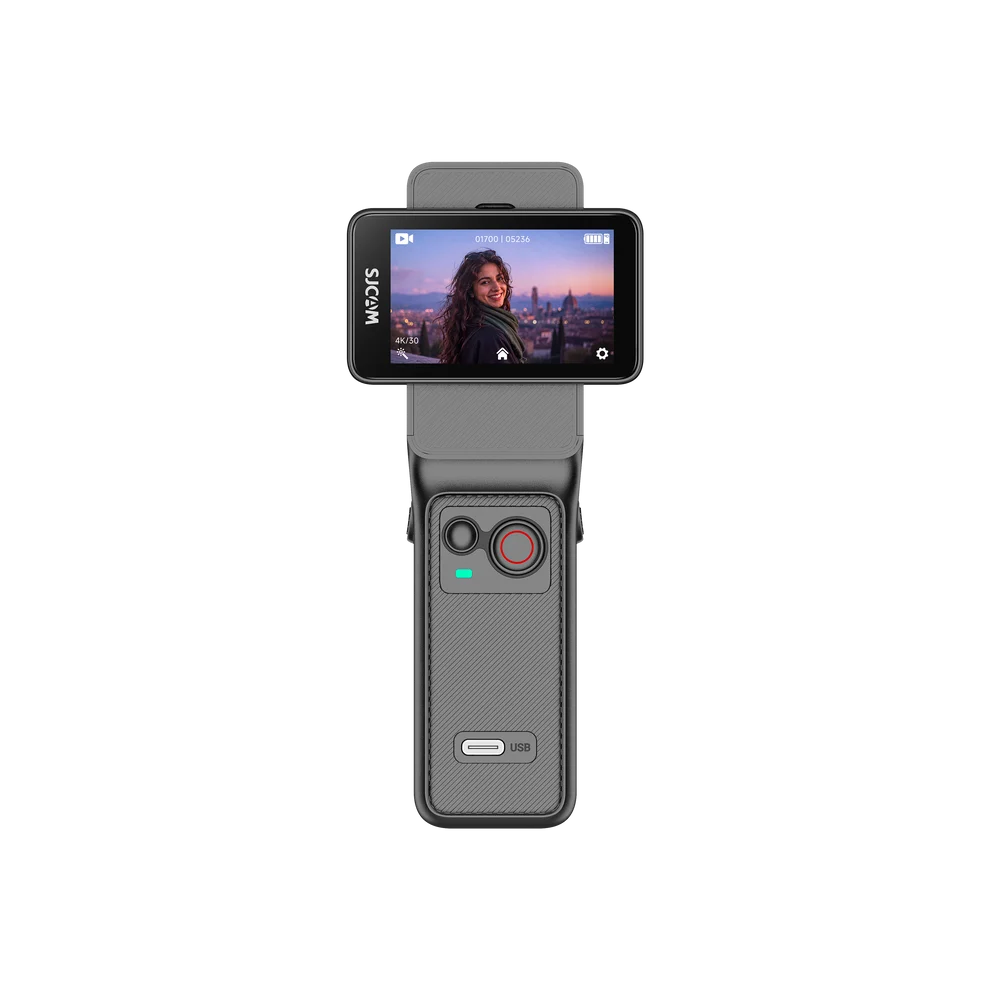
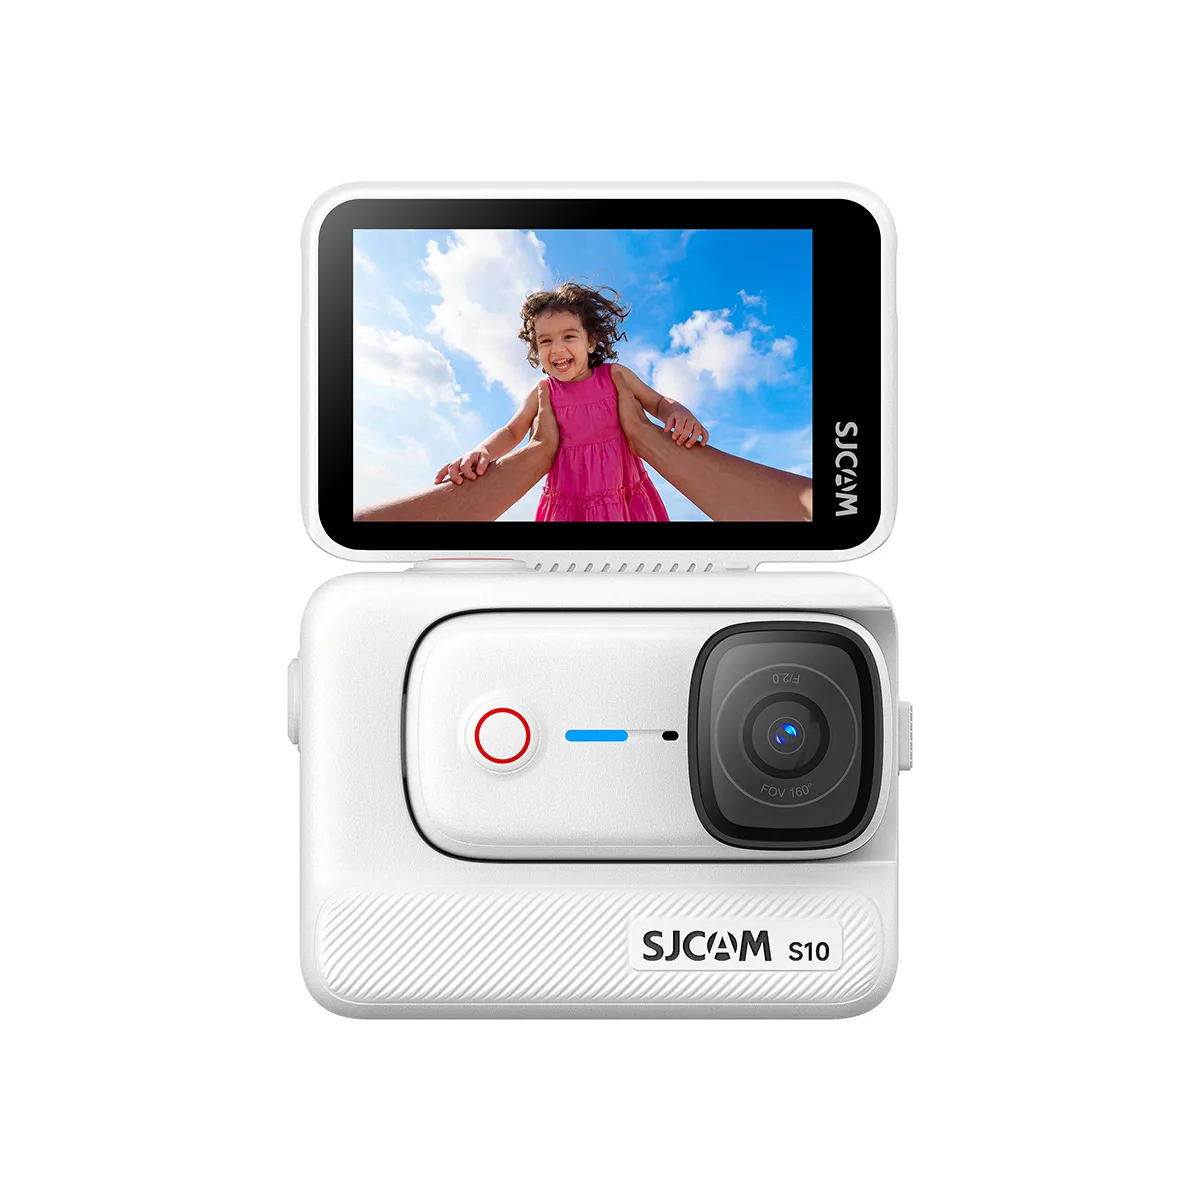
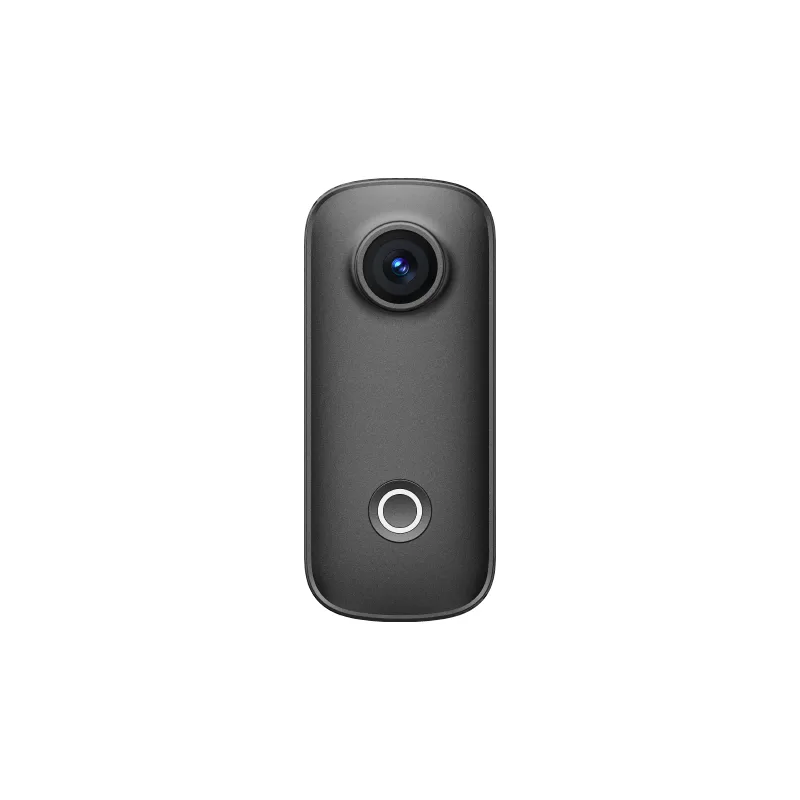
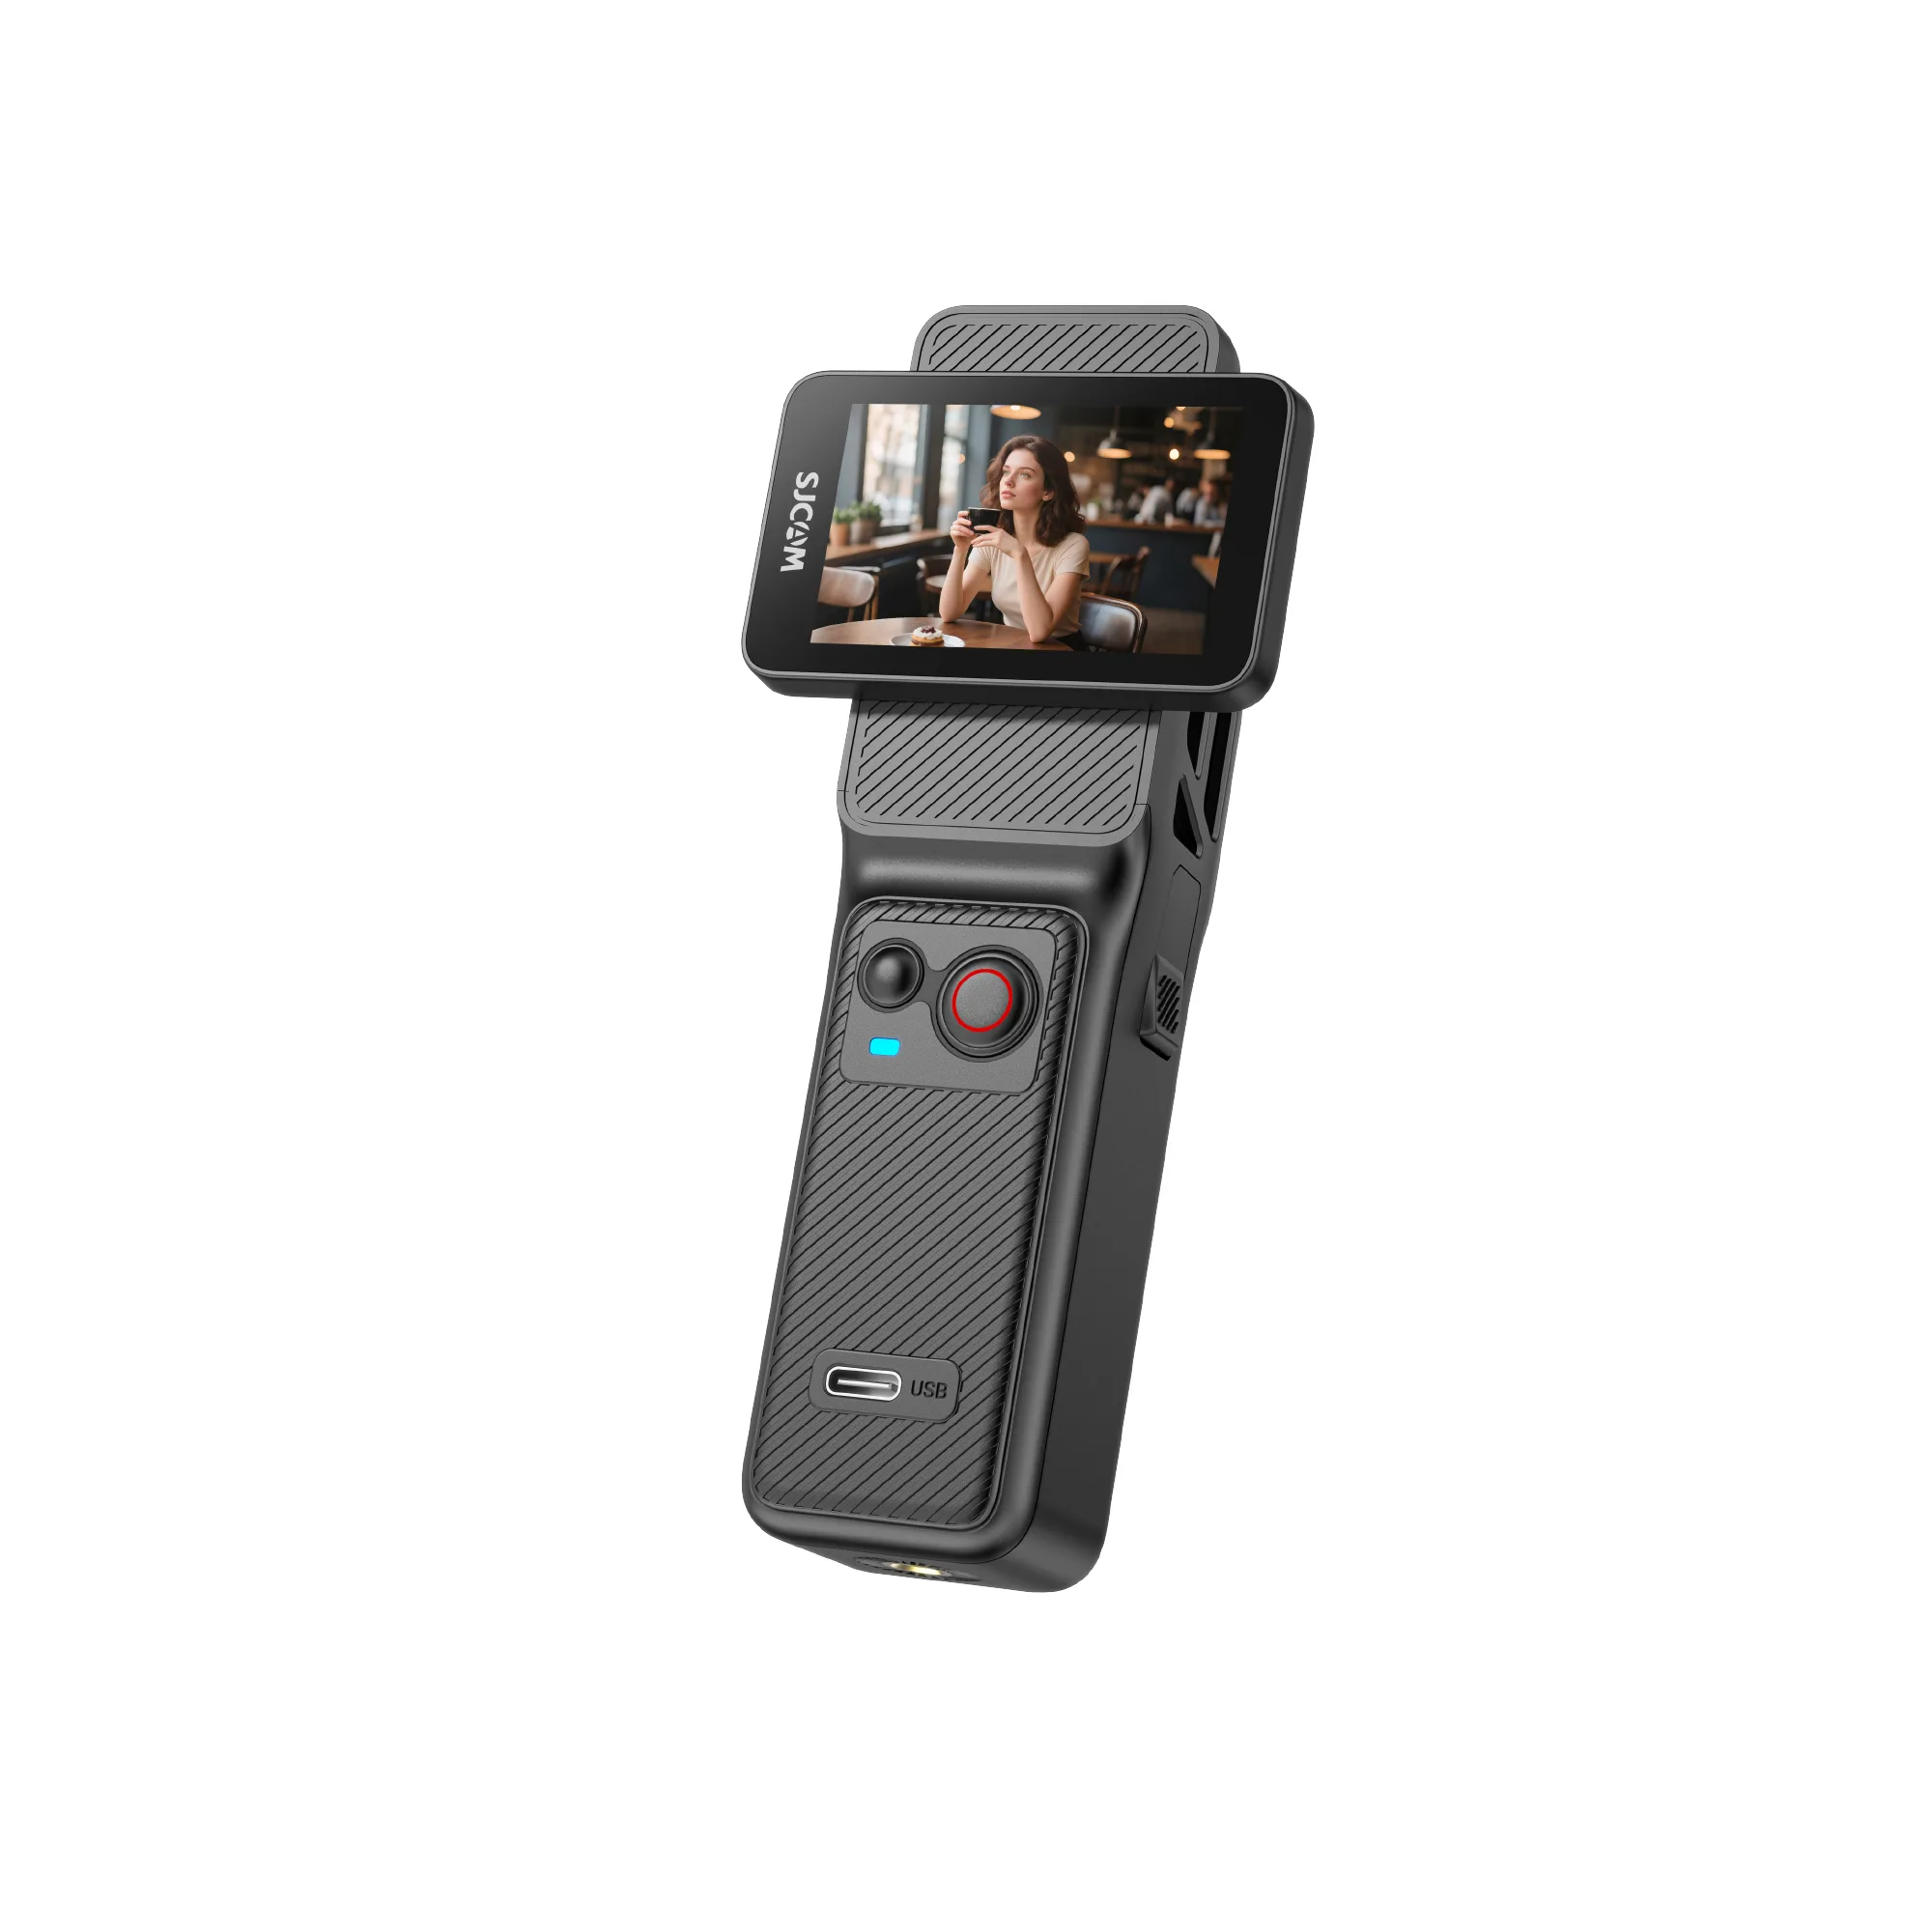
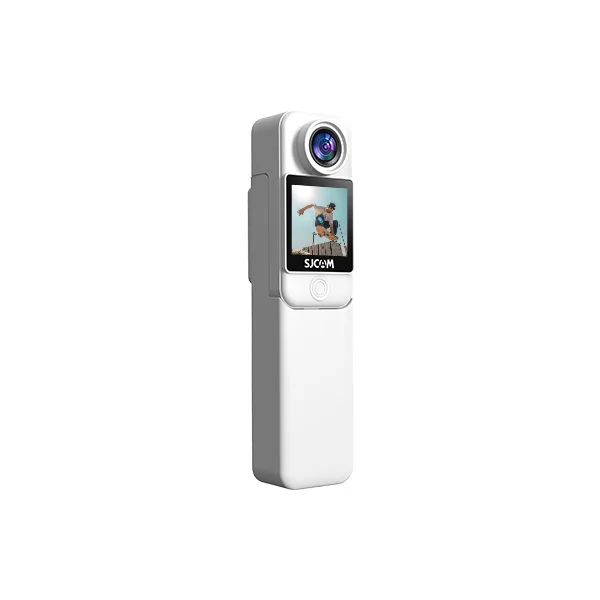
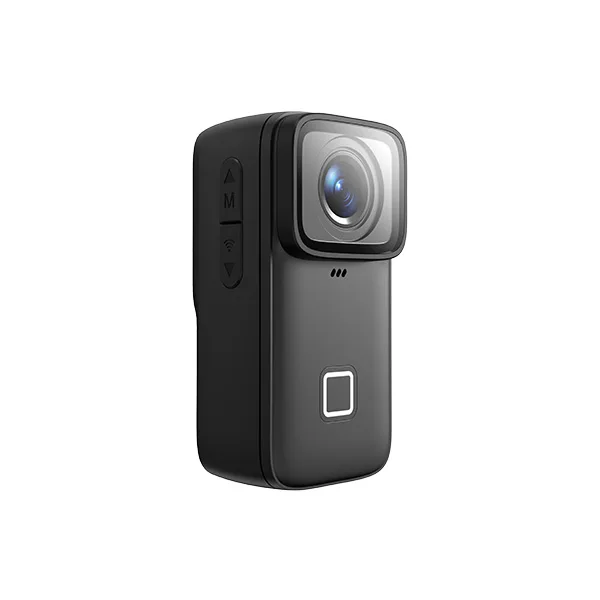
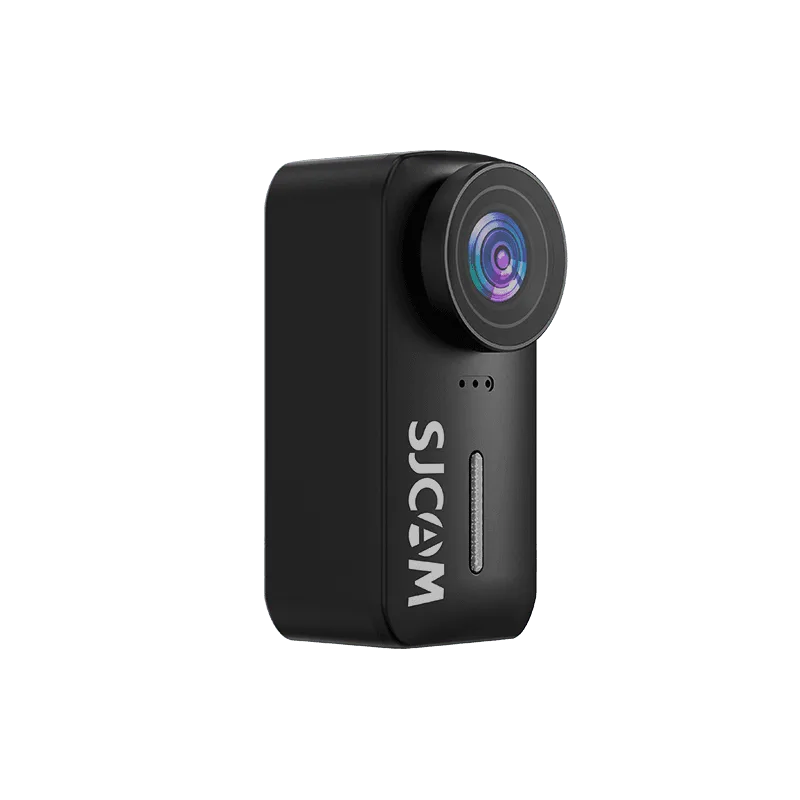
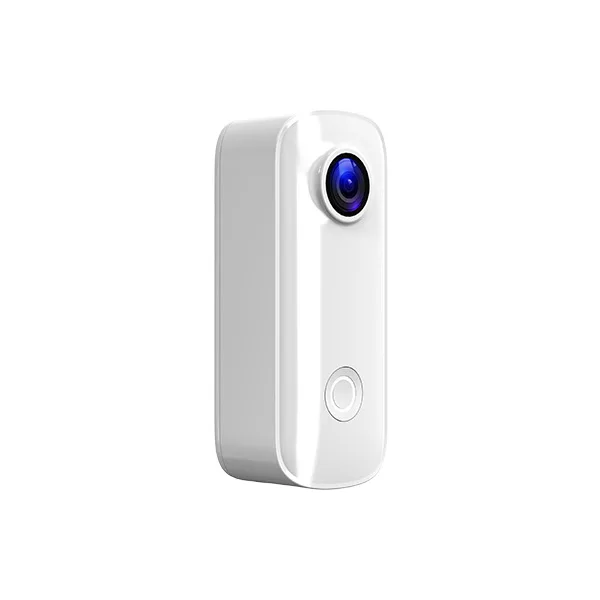
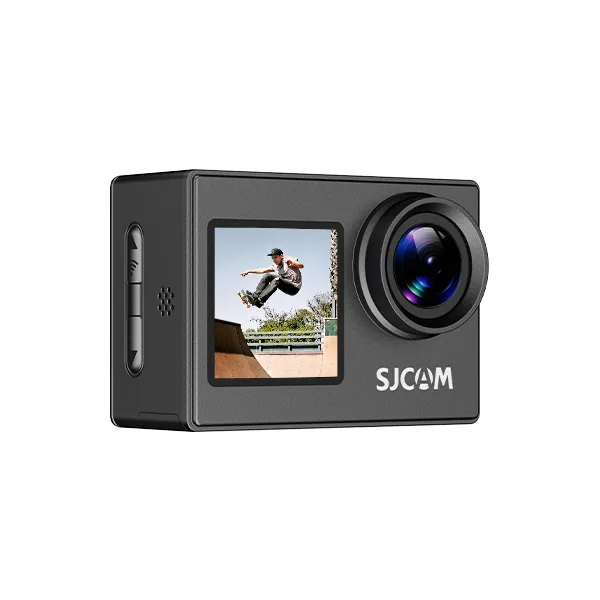
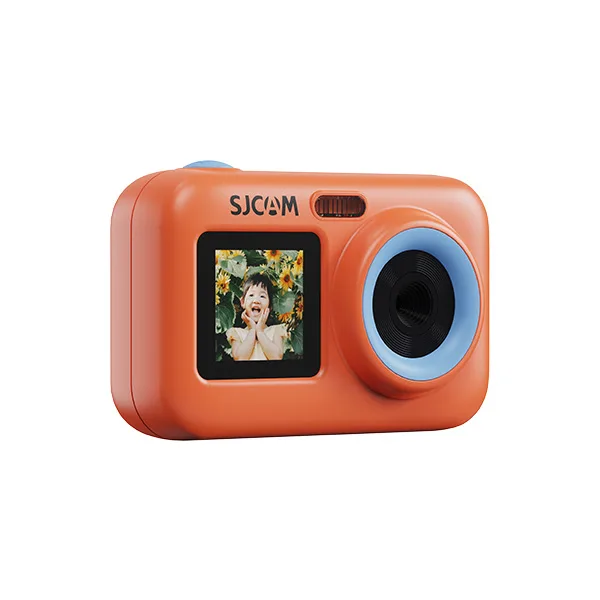
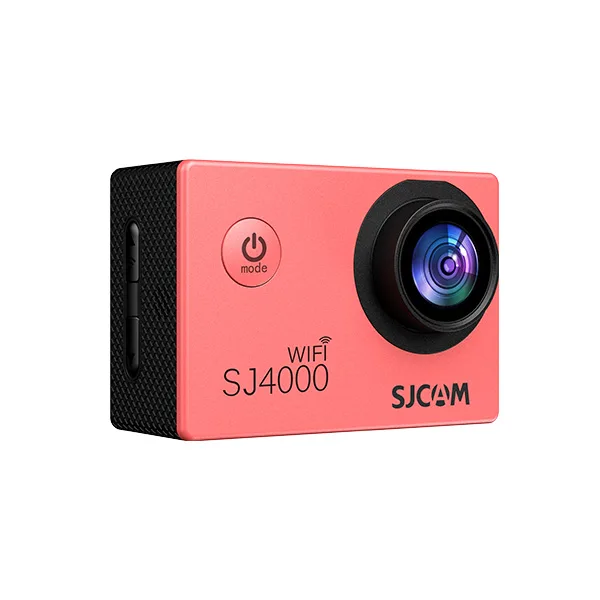
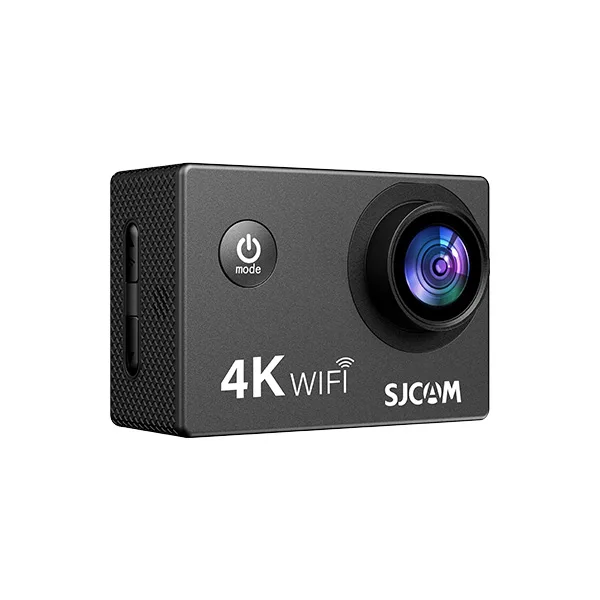
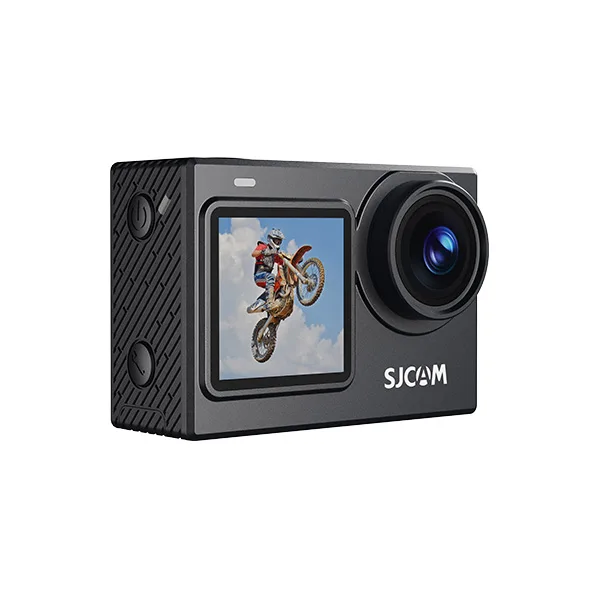
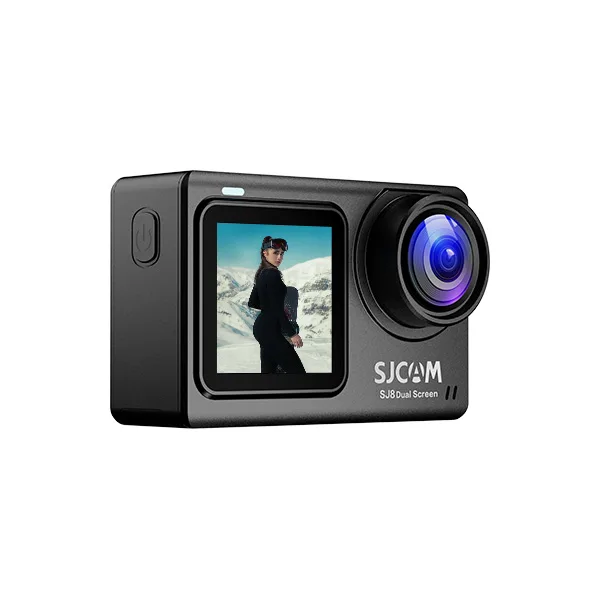
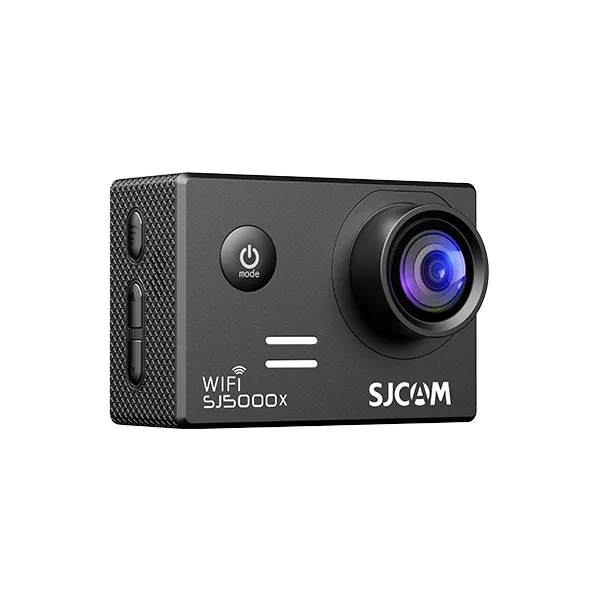
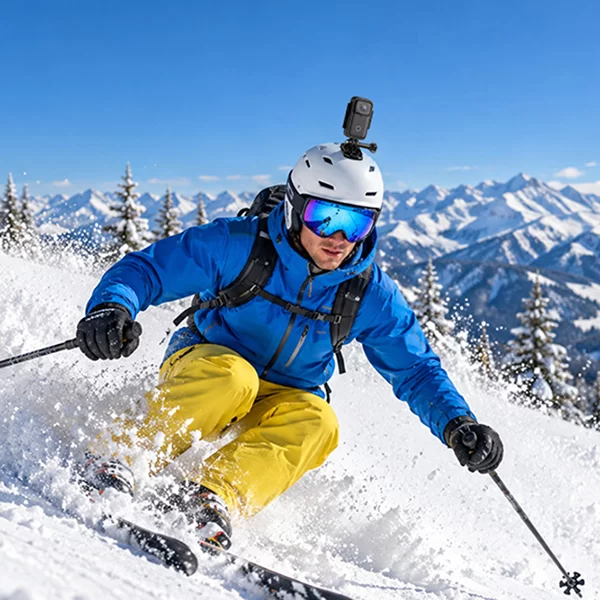

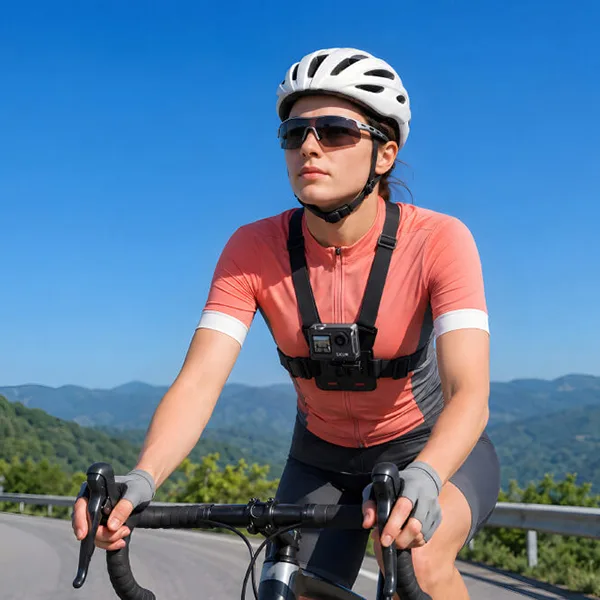
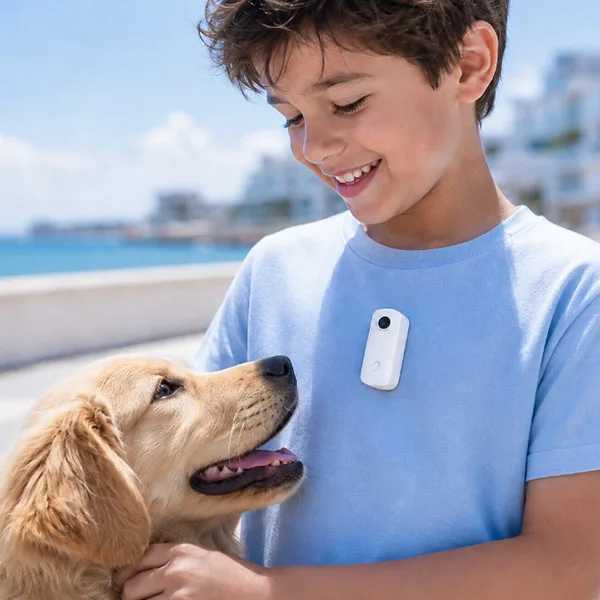
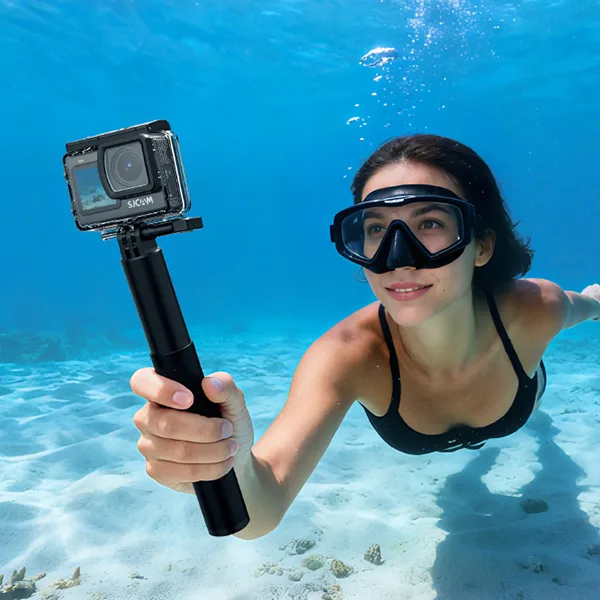
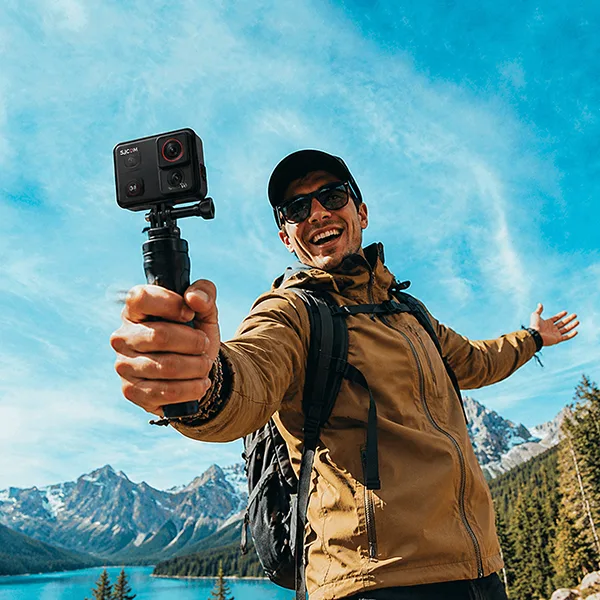
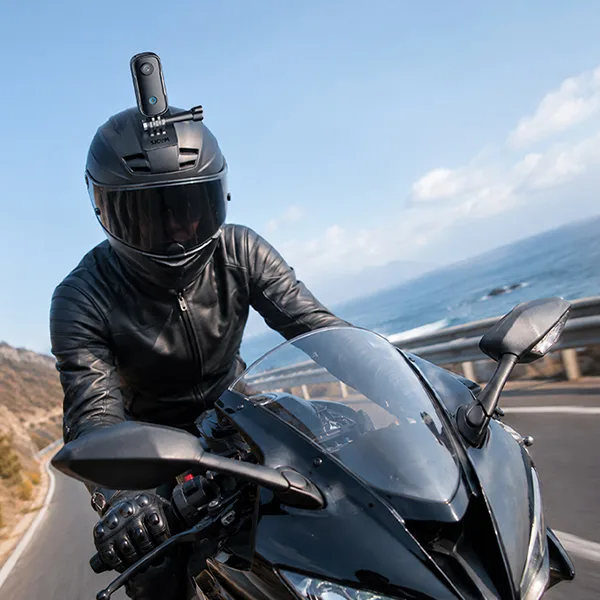
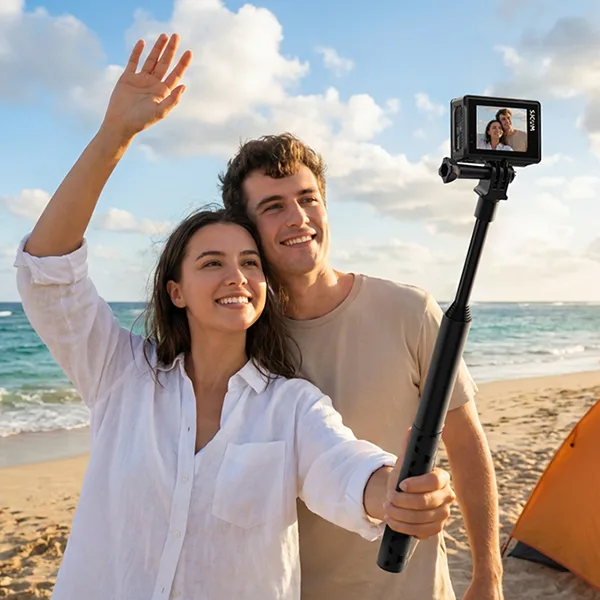
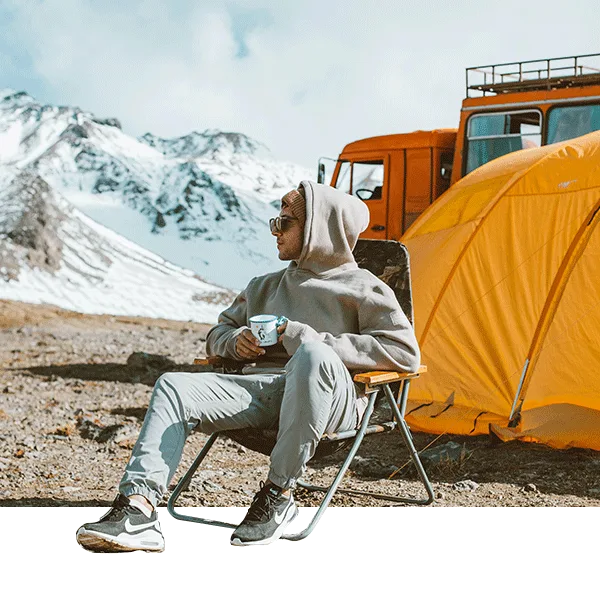
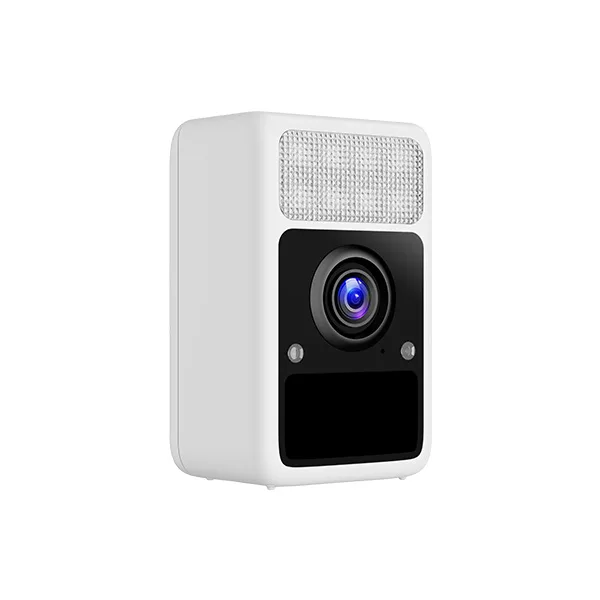
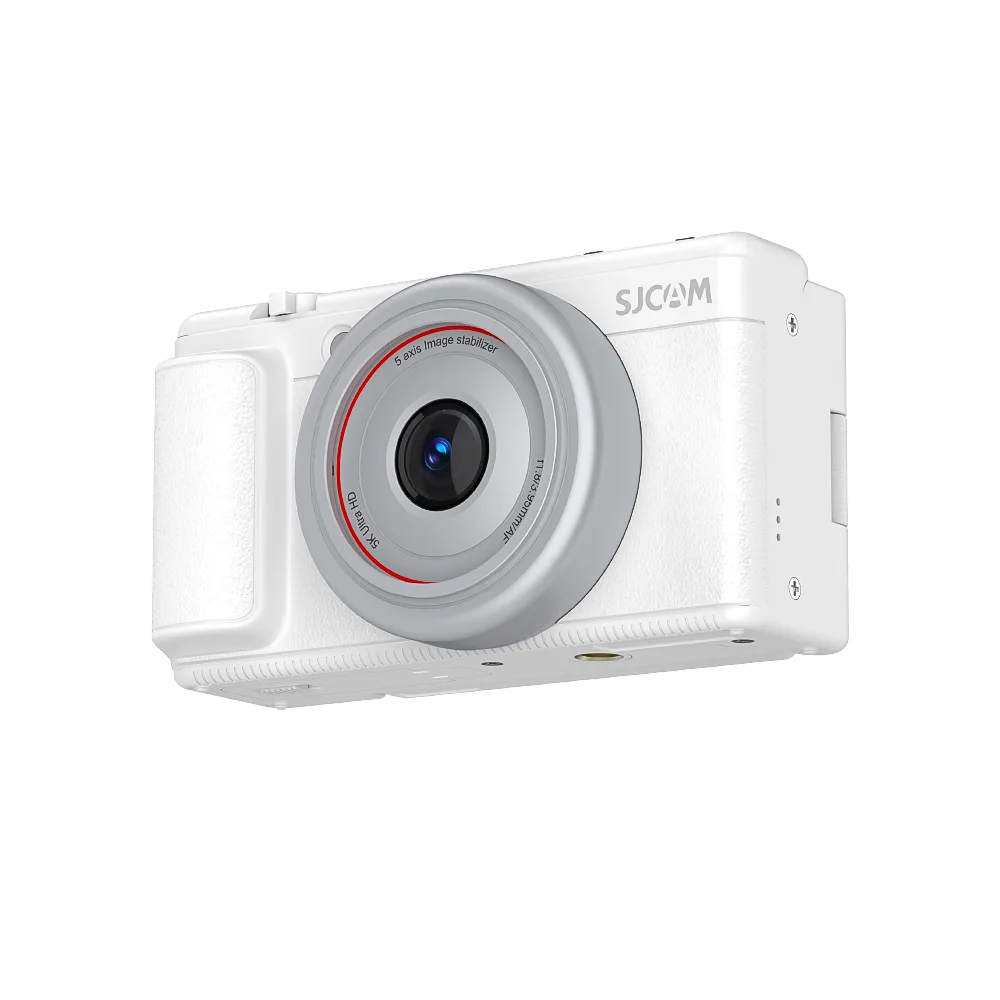
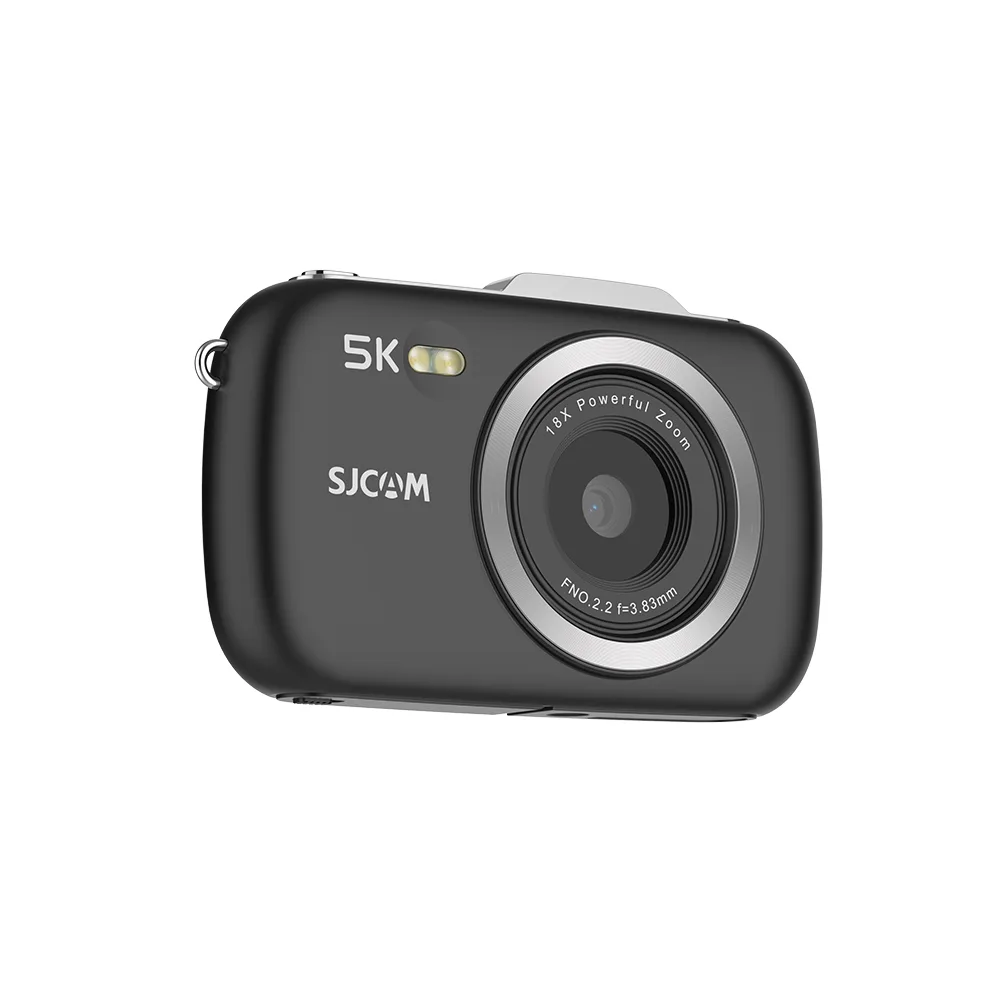

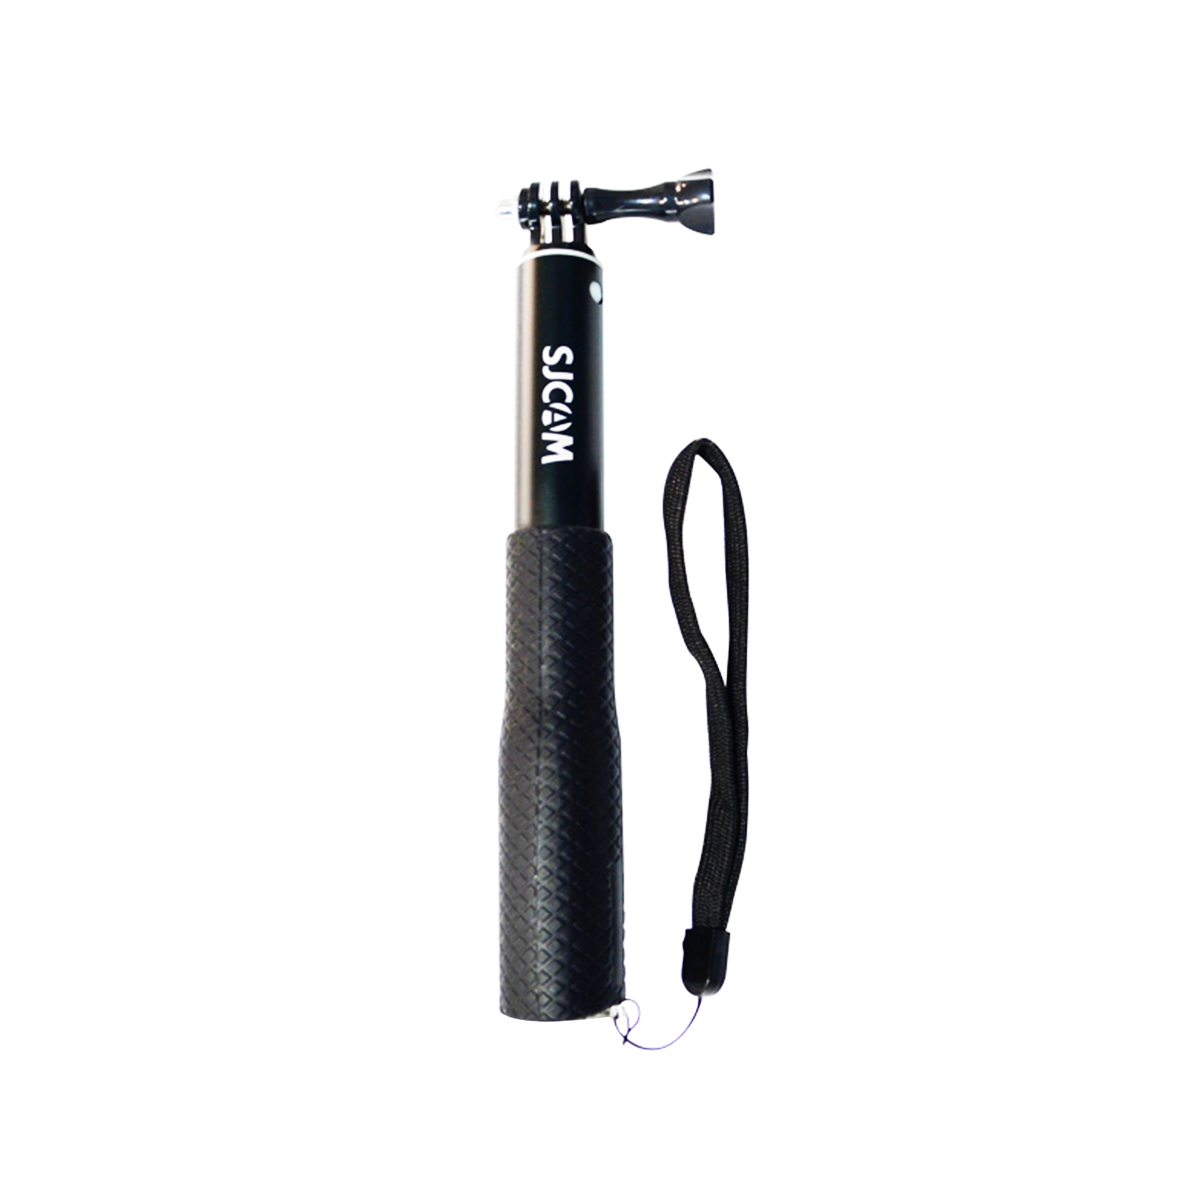

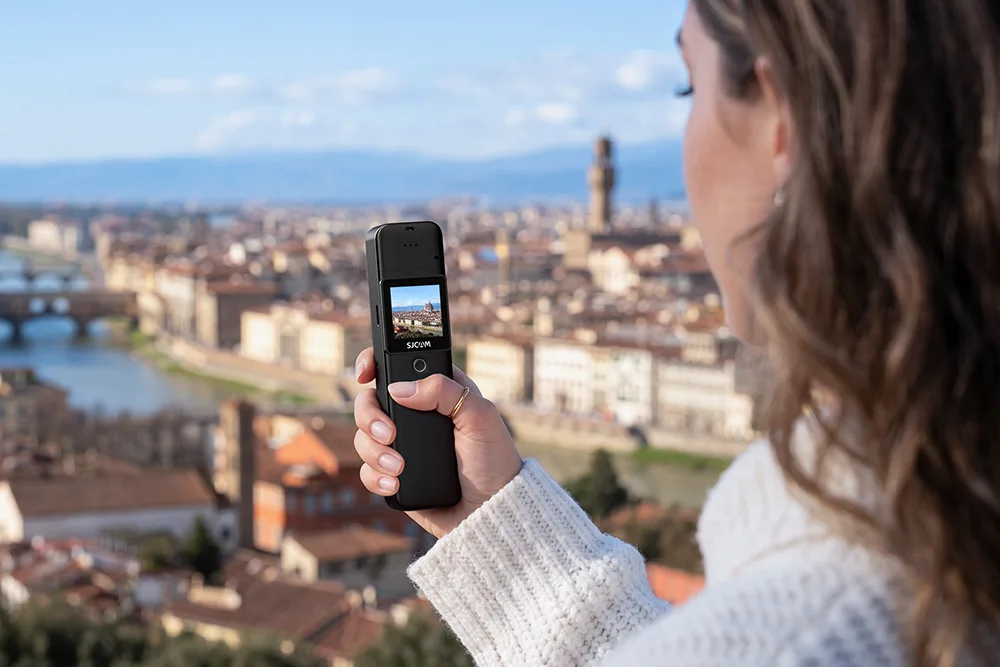
Lone outings are a great option if you want to decompress, enjoy your independence, or treat yourself to new sights and senses without having to worry about anyone else but yourself. The problem is that it’s not easy to take the best photos of yourself without cropping yourself or not getting the position right.
The best action cameras for solo travel eliminate blind shooting and have all the right features, from rotatable screens to electronic stabilization.
Why Solo Photography Can Be Challenging
For people who invest in a dedicated action camera, there are certain pain points to solo travel photography.
Getting yourself in frame
Without a flip screen, it’s impossible to tell if you’re perfectly framed in the photo until you look at it afterwards. This can lead to constant retakes until you get the perfect image.
This is a waste of valuable time during which you should be enjoying your outing and taking in the surroundings, not to mention the strain it takes on the camera’s battery life.
As pointed out earlier, this is not a major concern for people who use smartphones with high-quality back cameras. But as dedicated vlogging tools, cameras are better in a number of ways. But even if you ignore those, there is another issue besides framing struggles that a phone cannot help overcome.
Keeping footage stable
When you’re shuffling through a steep hiking trail or cycling across uneven terrain, the shocks of your movement can travel through your body, or whatever the camera is mounted to, and cause your recording gear to vibrate, leading to blurred pictures and shaky videos.
For serious vloggers, it’s no secret that unstable footage can be a turn-off for viewers. And for those who think that this is an acceptable tradeoff for settling with a simple action camera or smartphone, a 2014 study conducted by computer scientists and multimedia specialists Stefan Wilk and Wolfgang Effelsberg conclusively highlights camera shakes as one of the key “degradations [that] have a severe impact on the perceived quality of user-generated videos.”
Capturing natural moments
But in a group, it’s easier to assign the task of photography to one participant while the other(s) can blend in with their surroundings and be immortalized in film. If the one having to take the photos feels left out, that job can then be assigned to the next volunteer until there is a candid photograph of everyone.
On your own, it can be difficult to set the perfect scene, position yourself in it, and perform the camera setup at the same time. In doing so, you can get in the way of locals or fellow travelers or attract unwanted attention that will ruin a good, spur-of-the-moment shot.
What Makes a Good Camera for Solo Travel Photography?
To successfully capture your journey without having to ask for help, your camera has to have certain capabilities that don’t require setting things up most of the time.
Compactness
If your camera is too big to carry around or fit in your bag, the practical decision is to leave it in the hotel room so that you can at least enjoy your outing without an unwieldy distraction.
But since you’ll want a reminder of your travels, the best selfie camera for solo travel will fit in your pocket when you’re not using it, and you can instantly get it when a stunning backdrop or cute photo-op presents itself.
A Flippable Screen
One of the leading drawbacks of solo vlogging with a standard camera is not being able to see what you’re capturing until afterwards. If the resulting photo is unusable, retaking it can be time-consuming while also diminishing battery life and storage space.
A flip screen is an easily adjustable interface that shows the user the image being captured. By adjusting the distance and position of the camera, you can take clear, professional-level snaps in real time.
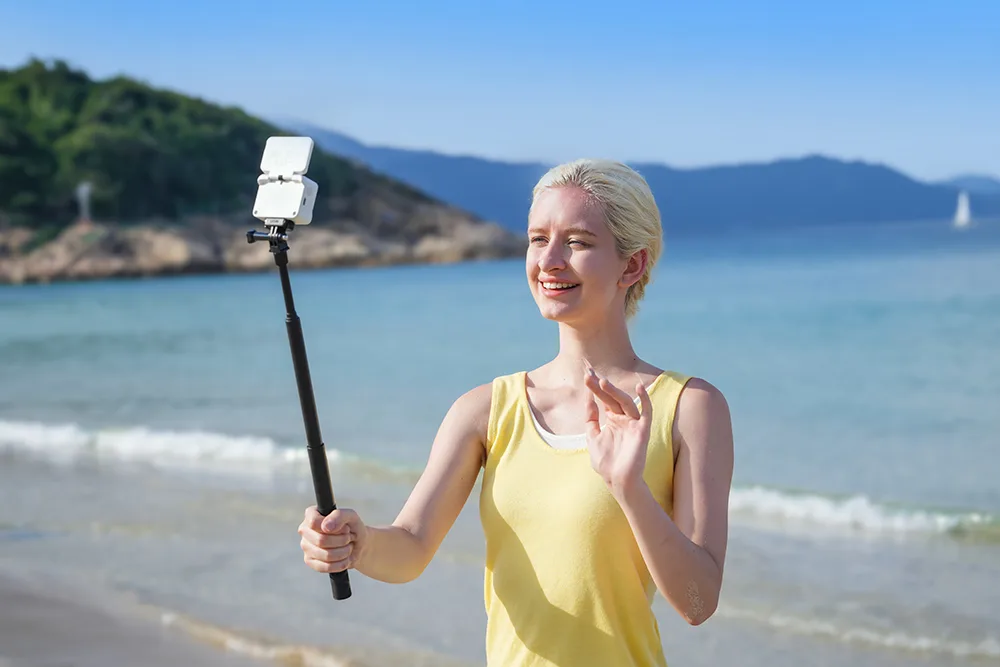
Built-in Stabilization
Even with a smartphone, it can be hard to keep the lens still without vibrations when you’re hiking or navigating a crowd. A camera with a built-in stabilization system ensures that the photos are crisp and that your videos are recorded with natural, immersive movements similar to a professional studio production.
A Lasting Battery Life
Packing multiple chargers and power banks isn’t always the most practical decision for travelers who prefer to pack light. If you’re going with the essentials, your camera should have fuel to last for long periods of travel, which can often stretch to 10 hours of active exploration without needing a recharge several times a day.
Summary Table: Essential Features for a Solo Vlogging Camera
| Essential Feature | Technical Target Value | Direct Practical Benefit |
| Weight | Under 200 grams total | Prevents fatigue during all-day handheld vlogging |
| Monitoring Display | 180° Flip or 90° Rotatable | Eliminates blind shooting and guarantees perfect composition |
| Stabilization Tech | 6-Axis Gyro + Horizon Lock | Delivers smooth walking footage without a bulky gimbal |
| Continuous Runtime | 120 to 400+ Minutes | Allows worry-free recording across extended travel itineraries |
How to Take Better Solo Travel Photos and Videos?
It’s not just the camera that can make or break your travel photos. Careful planning and placement, scouting for the ideal backdrop, and using the right settings should help keep your audience engaged with your vlogs or photos.
Choose Better Locations
A flat wall is just one of many generic choices or backdrops or shooting locations that make your content look subpar. Positioning yourself walking along a cobblestone pathway or a shoreline makes the shot more aesthetically appealing.
When taking the picture, make sure you choose a location where you can position yourself 3 to 5 feet away from the lens. This will allow the wide-angle lens to capture more of what’s behind you.
Set the Camera Before Recording
Often, travelers try to jazz up their imagery by trying to fiddle with the camera settings in the middle of a record. This can interfere with the actual shot, which you might not be able to take again. Configure settings like the resolution, exposure, and frame boundaries before you start recording.
Add Movement to Make Videos More Engaging
The talking-head format of making videos can be a bit boring when you’re recording an exciting solo trip. Add some pacing by walking past a stationary camera setup or recording yourself stepping into a scenic viewpoint.
Capture B-Roll Footage
You can make your videos more interesting by adding five- to ten-second clips of the local environment and activities to the videos. This gives viewers more natural insights into the travelling experience, especially when you layer your voiceover clips over videos of quirky local street signs, food prep, or just the scenery.
A selfie stick can also give solo travelers more control over distance and framing; learn how a selfie stick works and how to use one effectively.
Why Action Cameras Are Better for Solo Adventure Travel
Action cameras have all the respective benefits of both smartphones and mirrorless cameras and none of the restrictions.
Unlike large DSLR or mirrorless systems, they are much more practical for lengthy travels and don’t need bulky add-ons. Plus, choosing an action camera for outdoor adventures has certain benefits that neither large cameras nor phones can provide, including:
- Better battery life
- Easier mounting
- Superior water and fall-damage resistance
Action Cameras vs. Smartphones for Solo Travel
| Feature / Scenario | Action Camera | Smartphone |
| Mounting & Versatility | Hands-free magnetic, chest, and helmet mounts for effortless self-recording | Limited mostly to handheld grips or fragile tabletop tripods |
| Durability & Weatherproofing | Rugged, impact-resistant, and natively waterproof | Fragile glass construction requires bulky protective housings |
| Field of View (FOV) | An ultra-wide angle captures full subject and expansive background | A narrower FOV often crops out background scenery during selfies |
| Battery Life & Thermal Performance | Long runtimes (up to 400+ min with battery handles) without overheating | High 4K battery drain; prone to thermal throttling in sunlight |
| Stabilization | Hardware gyroscopic stabilization with 360° horizon locking | Digital stabilization that aggressively crops into your frame |
The SJCAM C400: A Lightweight 4K Camera for Solo Travelers
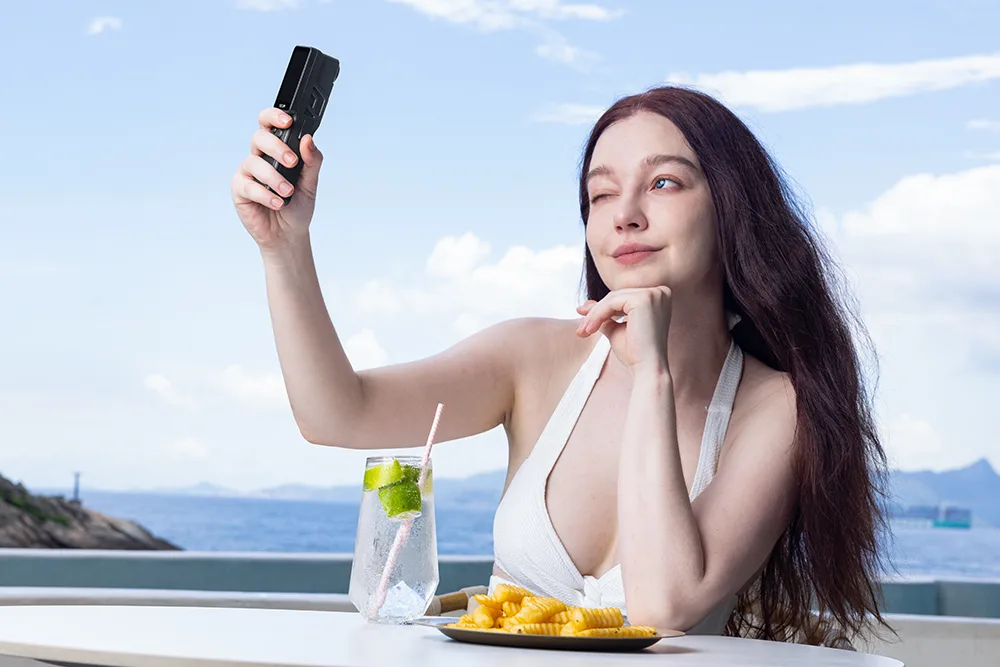
High-Quality Results
The SJCAM C400 has a high-performance 1/2.8-inch CMOS sensor that can record videos in 4K Ultra HD at 30 frames per second and take 16-megapixel photographs.
It features the SteadyMotion V1.0 stabilization algorithm and a 45-degree horizon stability enhancement system that results in smoother videos and clearer, full-color images.
A Lightweight Companion
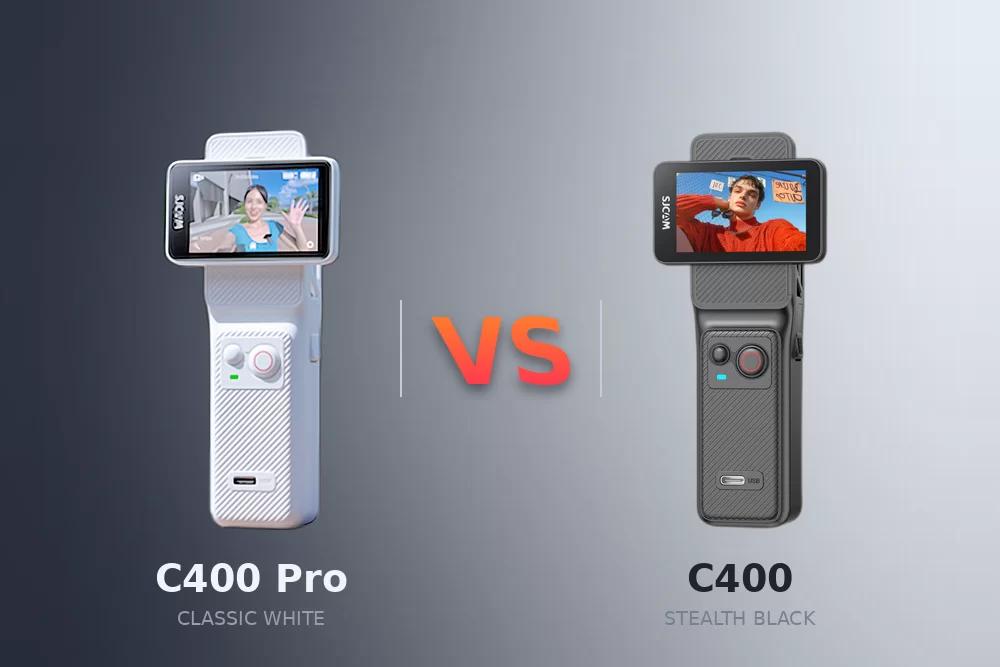
The pocket module weighs just 54 grams and measures 68 x 32 x 25.5 mm, so you can place it in your pocket or attach it to a magnetic chest pendant for low-profile recording.
Long-Lasting Performance
The C400 combines its built-in 1250mAh internal battery with a 3000mAh handle reserve. Between them, they allow the device to record more than 400 minutes of 4K media.
Who Is The C400 Best For?
Solo Travel Vloggers
The C400 boasts a dual-screen interface that allows creators to create narrative and interactive content while navigating crowded locations or steep terrain without friction.
Adventure Travelers
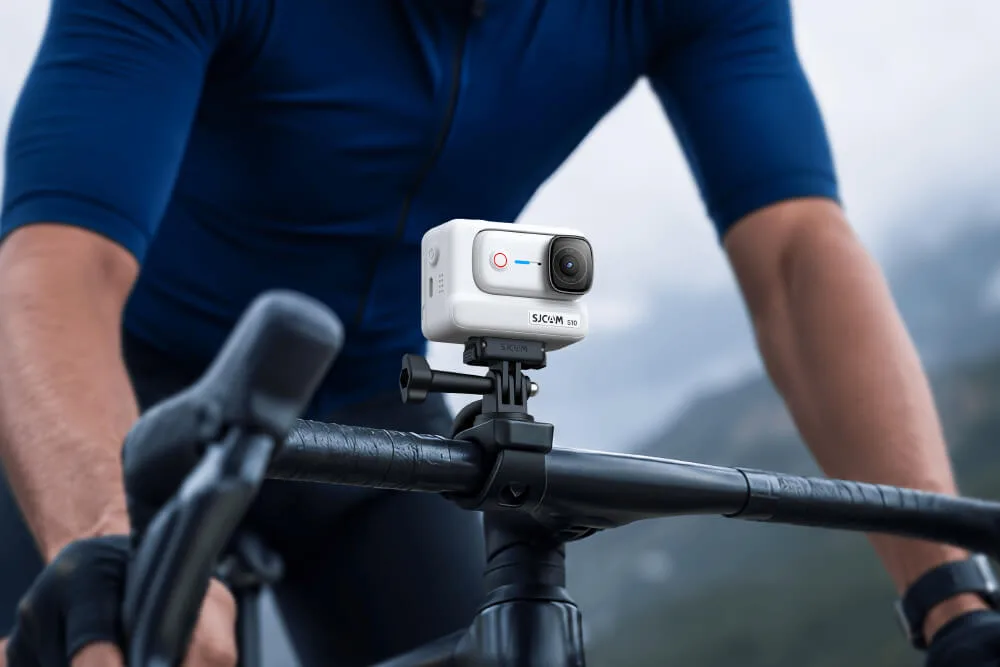
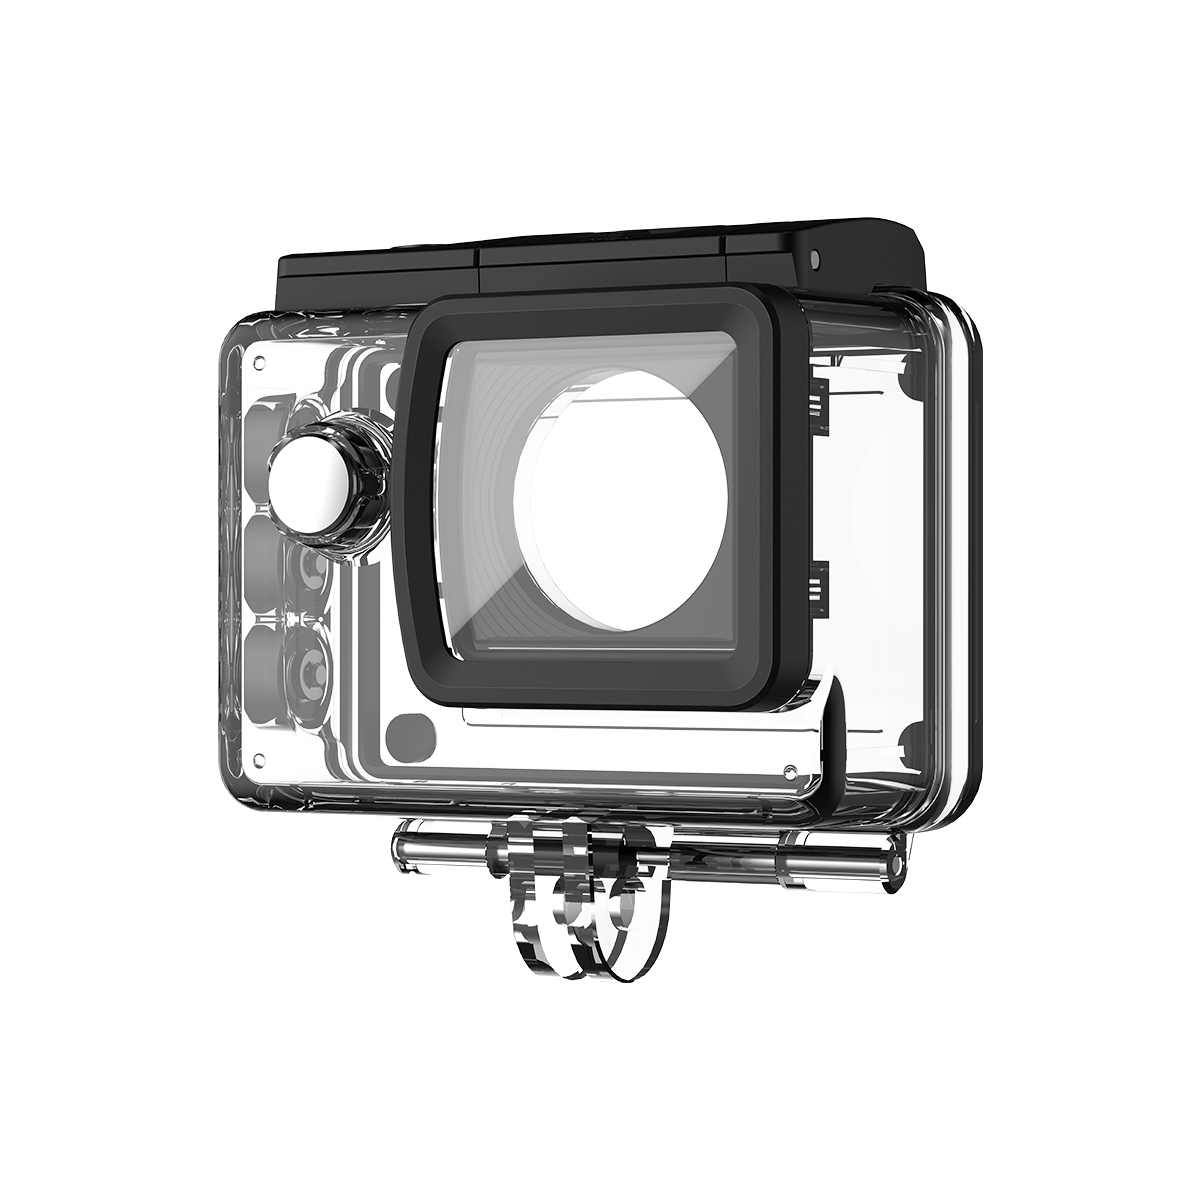
Whether you are backpacking through trails, snorkeling, or mountain biking, the C400’s waterproof housing and versatile mounting kits are built to handle harsh outdoor conditions.
First-Time Creators
With a clean, tactile button interface and an intuitive touchscreen menu layout, the C400 does not come with the steep learning curve of professional mirrorless systems. Even as a novice vlogger, you capture professional-grade 4K content right away.
Common Solo Travel Photography Mistakes to Avoid
Carrying Too Much Gear
Packing three different heavy zoom lenses, separate tripods, and added lighting gear will only add to the burden during your solo outing. Choose a more streamlined package, consisting of a single multi-functional action camera with compact, magnetic mounts.
Being Intimidated by Your Independence
Instead of asking a local or a fellow tourist for a picture, take charge of your storytelling. It only makes sense after you’ve made time for a solo adventure.
Use wide-angle lenses, smart timers, and remote monitoring displays to compose better shots without being dependent on others being there for you.
Forgetting the Essentials
Recording 4K video files requires high-speed and high-capacity data environments. Always format your high-speed microSD cards before heading out, and lean on integrated battery handles to keep your camera working throughout the day.
Solo Travel Camera Setup Checklist
To make the most of your investment in an action camera like the SJCam C400 and avoid the aforementioned missteps, use the following checklist before you set out to travel on your own.
- Do a power check: Fully charge the camera and attach the charged battery handle reserve.
- Ensure Storage Prep: Format a high-speed MicroSD card (ideally a U3/V30-rated model) directly in-camera.
- Perform a Lens Inspection: Wipe the optical glass clean with a microfiber cloth and check the waterproof housing seals if you’re shooting near water.
- Mode Configuration: Set the default resolution to 4K/30fps and verify that horizon lock and stabilization are active.
- Mount Readiness: Secure your magnetic neck pendant, mini-tripod, or wrist strap so you can deploy the camera instantly and safely.
FAQ
The best camera for solo travel should be compact and lightweight with a 180° flip screen or dual display, built-in stabilization, and long battery life, and the SJCAM C400 ticks all these boxes and more.
Solo travelers use compact cameras paired with mini-tripods, chest mounts, interval timers, or smartphone remote controls. Front-facing displays and ultra-wide lenses make it easy to frame selfies and walking shots without the assistance of passers-by.
Absolutely. Action cameras are portable, weatherproof, and provide wider fields of view and advanced stabilization that smooths out dynamic footage without requiring a gimbal.
Yes, you can. Modern action cameras can record 4K videos and high-resolution photos while having superior battery runtimes, durability, and mounting options compared to smartphones or DSLR cameras.
Position the camera slightly above eye level, tilting down at roughly 10 to 15 degrees while maintaining a distance of 3 to 5 feet. This preserves natural proportions and allows the wide-angle lens to include more of your surroundings.