





 Անգլերեն
  չինարեն (Չինաստան)
  իսպաներեն
  գերմաներեն
  ֆրանսերեն
  իտալական
  ճապոներեն
  կորեերեն
  բուլղարերեն
  հունարեն
  Ինդոնեզերեն
  չինարեն (Հոնկոնգ)
  ռուսերեն
  դանիերեն
  Ֆիններեն
  հունգարերեն
  թուրքական
  հոլանդերեն
  պորտուգալերեն
  շվեդ
շվեդ  ռումիներեն
  սլովակ
  սերբերեն
  նորվեգական
  խորվաթերեն
  ալբանացի
  կատալոներեն
  չեխ
չեխ  էստոնական
  Բենգալերեն
  ամհարերեն
  լեհ
լեհ  Թայերեն
  ուկրաինական
  Վիետնամերեն





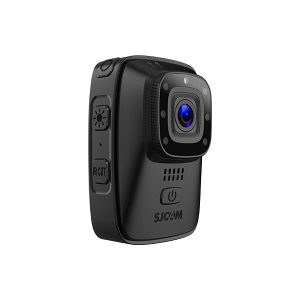




How to Extend Action Camera Battery Life on Long Cycling Trips
Long cycling rides can push an action camera battery to its limit. High-resolution recording, stabilization, wireless features, screen use, and temperature can all reduce runtime.
If you need your camera to last for a 6–8 hour ride, the solution is usually not one setting or one accessory. A better approach is to combine power-saving settings, selective recording, spare batteries, and a reliable charging setup.
In this guide, we’ll explain how to extend action camera battery life for cycling, including the best recording settings, when to use 4K or 1080p, how many spare batteries to carry, whether a power bank can charge while recording, and how cold or hot weather affects battery performance.
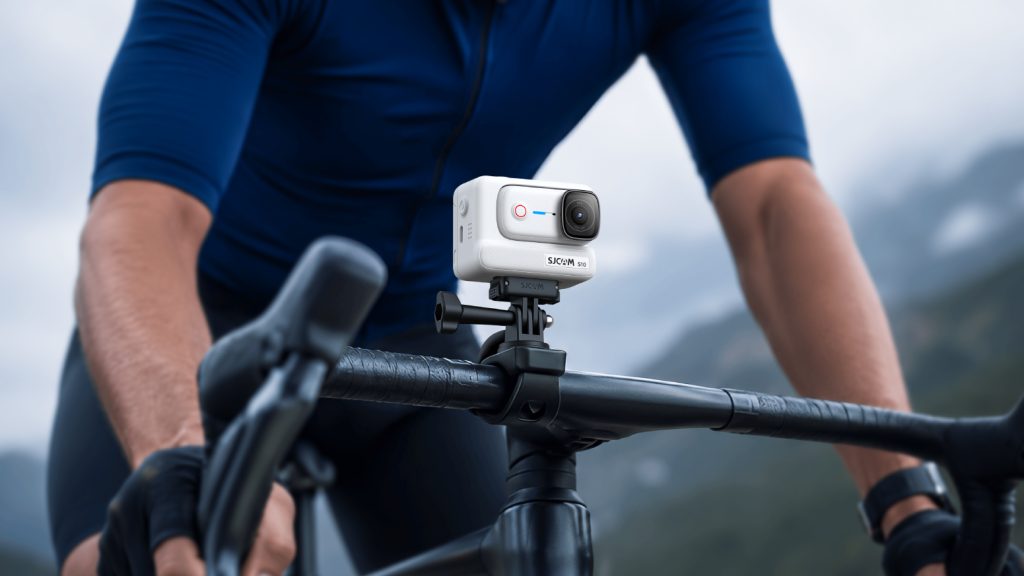
Why Action Camera Batteries Drain Faster on Long Rides
The main factors that can reduce action camera battery life during cycling include recording resolution and frame rate, electronic stabilization, screen use, wireless connectivity, and temperature.
- Stabilization and resolution. Recording 4K with stabilization on makes the processor work harder than almost any other setting. The sensor, the chip, and the stabilization algorithm are all running at full load.
- Temperature. Lithium-ion batteries lose usable capacity in the cold, and a chilly 6 a.m. start can leave you with noticeably less than a full charge. Heat causes a different problem: the camera runs warm, the battery degrades faster over time, and some cameras throttle or shut down to protect themselves.
- Wi-Fi and Bluetooth. These keep drawing power even when you aren’t using the app. A camera that’s paired to a phone or remote all day is spending energy on the connection.
- Stop-and-start recording. Turning the camera on and off repeatedly adds up, since each startup uses a small burst of power. Leaving it running through a five-minute coffee stop wastes more.
A simple pattern shows up on most rides: the same camera, on the same settings, will often run considerably longer on a mild spring afternoon than on a cold autumn morning. If your battery seems to behave differently from ride to ride, temperature is usually the reason.
How to Prepare Your Action Camera Before a Long Ride?
Most battery problems are decided before you leave the house. Ten minutes of prep does more than any gadget you can buy.
Fully charge everything the night before
Charge the camera battery, every spare, and any power bank. Don’t rely on a top-up in the morning; a battery that’s charged the night before and left at room temperature will be in better shape than one rushed at 100% in the last half hour. Label your spares or keep them in a separate pouch so you don’t mix up charged and used ones on the road.
Format the memory card
Format the card in the camera before each big ride. A fresh format reduces the chance of file errors, and it means you won’t be deleting clips at a rest stop, which burns battery too. Make sure the card has enough space for the whole ride; 4K footage takes up a lot more room than most people expect.
Turn off unnecessary features
Switch off Wi-Fi, Bluetooth, voice control, and the screen if your camera lets you. Turn off GPS if you aren’t going to use the overlay data. Each of these is a small drain by itself, but they add up over six or eight hours.
Set a lower but still usable resolution and frame rate
You rarely need the highest setting for a ride. Dropping from 4K to 1080p, or from 60 fps to 30, extends recording time and also saves card space and editing time. More detail on this is below.
Check and clean battery contacts
Wipe the metal contacts on the battery and inside the compartment with a dry cloth. Dust, sweat, and a bit of grime can cause poor connection, which shows up as sudden shutdowns even when the battery indicator says there’s charge left.
Test Your Actual Recording Time Before the Ride
Don’t rely only on the battery-life number listed in a product specification. Record a test clip using the same resolution, frame rate, stabilization, screen, and wireless settings you plan to use on the ride.
For a long cycling trip, a 30–60 minute test can help you estimate how many batteries or how much external power you actually need.
Best Action Camera Settings for Long Cycling Trips
Resolution and frame rate recommendations for all-day recording
For a full day on the bike, 1080p at 30 fps is the most reliable choice for stretching battery life. If you want more detail, 2.7K at 30 fps is a reasonable middle ground on cameras that offer it. Reserve 4K at 60 fps for short, scenic sections where you’ll actually use the footage.
When to use 1080p instead of 4K
Use 1080p if:
- You’re riding more than four or five hours without access to charging.
- You’re filming for social media or YouTube at standard sizes, where the gain from 4K is hard to see.
- It’s cold, and you already expect reduced battery capacity.
Use 4K if the footage is for a specific project, you have spare batteries or a power source, and the ride is short.
Stabilization settings
Electronic stabilization is one of the most power-hungry features. On smooth roads or gravel with a solid mount, try lowering it or turning it off. On rough terrain, or if the camera is mounted on the handlebars where it picks up vibration, keep it on. You can often switch it on for descents and off for climbs.
Screen brightness and auto-off timers
If your camera has a screen, lower the brightness and set the auto-off timer to the shortest option, usually 15 to 30 seconds. On a bike you rarely look at it anyway. Some riders turn the screen off completely and rely on the status lights and beeps.
Loop recording and other power-friendly modes
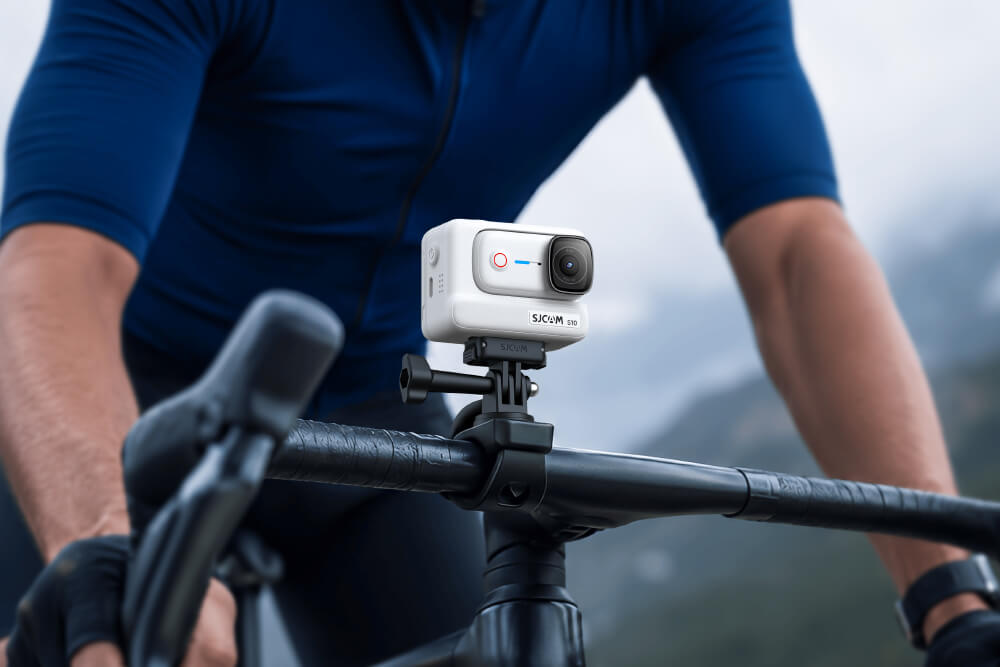
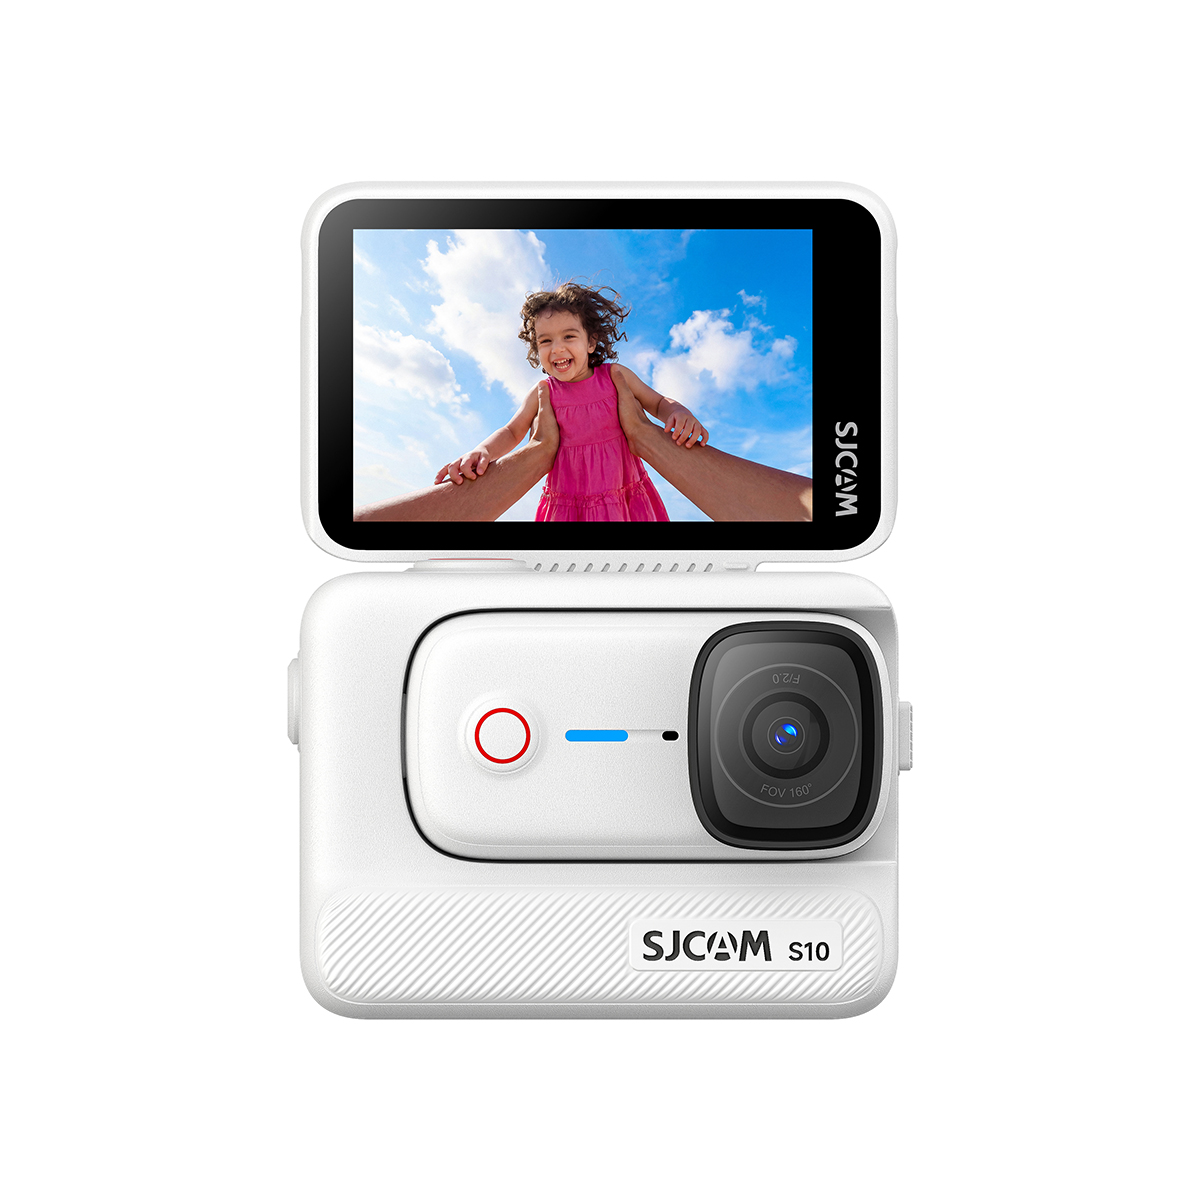
Loop recording is useful if you mainly want a safety record of the ride, since it overwrites old clips and doesn’t need you to manage the card. Time-lapse mode is another good option for long days: it records a frame every few seconds, uses far less power than continuous video, and gives you a compact summary of the whole ride. The S10’s compact design and simple menus make switching between these modes quick on the road.
| Riding situation | Suggested setting | Why |
|---|---|---|
| 6–8 hour ride | 1080p/30fps | Lower storage and power demand |
| 3–5 hour ride | 1080p/30fps or 2.7K/30fps | Balance runtime and detail |
| Short scenic sections | 4K/30fps or higher | More detail |
| Slow-motion footage | Higher FPS | Better for motion playback |
| Smooth roads | Lower stabilization | May reduce processing load |
| Rough roads | Stabilization on | Smoother footage |
4K vs 1080p: Which Is Better for Long Cycling Rides?
If battery life and storage are your main priorities, 1080p is generally the more practical option for long rides.
4K is useful when you need more detail, want additional flexibility for cropping, or plan to produce higher-resolution video. However, higher-resolution and higher-frame-rate recording can increase power and storage requirements on many cameras.
For a long ride, consider using 1080p for continuous recording and switching to 4K for short sections where image detail matters most.
How Many Spare Batteries Do You Need?
A better way to calculate spare batteries is to use your camera’s real-world recording time, rather than the length of the ride alone.
Estimated batteries needed = total recording time ÷ tested runtime per battery
For example, if your camera records for approximately 90 minutes under your chosen settings and you expect 6 hours of actual recording, you would need about four battery cycles. Carry an additional battery as a safety margin.
If you only record selected sections of the ride, your actual battery requirement may be much lower.
Can You Use a Power Bank While Recording?
Some action cameras can charge from a power bank while recording, but support varies by camera model and recording mode. Before relying on a power bank for a long cycling trip, check your camera’s manual and test the setup in advance.
What to Check Before Using a Power Bank
- Charging while recording: Confirm that the camera can continue recording while connected to USB power.
- Recording modes: Some cameras may limit certain resolutions, frame rates, or features when external power is connected.
- Cable connection: Use a short, flexible USB cable and secure it to prevent the connector from being pulled out by vibration or movement.
- Weather protection: Keep the USB port and connection protected from rain and moisture, especially during outdoor rides.
- Power bank capacity: Choose a reliable power bank with enough capacity for your expected recording time without adding unnecessary weight.
- Test Your Setup Before the Ride
Connect the camera, USB cable, and power bank and record for at least 30–60 minutes using the settings you plan to use on the ride. This helps you check whether the camera continues recording, whether the connection stays secure, and how the setup affects battery life and camera temperature.
For long cycling trips, a power bank is best treated as additional power rather than a replacement for spare batteries. A combination of tested recording settings, spare batteries, and a secure external power setup provides more flexibility when charging opportunities are limited. you can also explore SJCAM action camera accessories for compatible batteries, mounts, and other riding equipment.
How Temperature Affects Action Camera Battery Life
Temperature can affect both battery performance and camera operation. High temperatures can increase the risk of overheating during extended recording, while cold conditions can temporarily reduce lithium-ion battery performance. Avoid leaving the camera or spare batteries in direct sunlight or other extreme conditions, and follow the operating-temperature guidance for your specific camera.
For example, SJCAM lists an operating temperature range of -20°C to 45°C (-4°F to 113°F) for the S10. This is a camera-specific specification and should not be treated as a universal operating range for all action cameras.
How We Recommend Battery Settings for Cycling
We prioritize four factors when recommending battery-saving settings for cycling: recording time, image quality, storage requirements, and ease of use while riding.
The goal is not simply to maximize battery life. A useful setup should provide enough image quality for the intended purpose while reducing unnecessary power consumption.
Because battery performance varies by camera model, users should confirm the final settings and runtime with their specific camera before a long trip.
On-the-Road Habits That Save Battery
Start recording only when needed
Don’t record the entire ride if you don’t need it. Record scenic sections, climbs, descents, and interesting moments, and stop during flat commuting or rest breaks. Selective recording can significantly extend the time your camera remains available during a long ride because the camera is powered and recording for fewer minutes.
Use a remote or voice control carefully
A wireless remote makes it easy to start and stop recording without touching the camera, but it keeps a wireless connection open. If battery life is your priority, use a physical button or a wired trigger instead. If you use voice control, expect some extra drain from the microphone listening all the time.
Keep the camera out of direct sun when possible
On hot days, a camera in direct sun can overheat and drain faster. If you stop for lunch, put it in the shade or in a bag. On the bike, a mount position that’s partly shaded by your body or bag can help a little.
Manage temperature
In cold weather, keep spare batteries close to your body and swap them in when the active one gets weak. A battery that seems dead in the cold often recovers some charge when warmed. In heat, avoid leaving batteries in a hot bag or on a dark surface in the sun.
Quick mid-ride battery swaps without losing the shot
Stop somewhere safe, turn the camera off, swap the battery, and check that it restarts and is recording before you continue. Keep the spare in an easy-to-reach pocket, and close the compartment door firmly. A swap can take under a minute once you’ve done it a few times, so practice at home.
Best Action Camera Setup for Long Cycling Trips
| Կարգավորում | Long-distance recommendation |
|---|---|
| Բանաձեւ | 1080p or 2.7K when battery life is a priority |
| Շրջանակի արագություն | 30fps for normal riding |
| Կայունացում | Use when road vibration requires it |
| Էկրան | Auto-off or low brightness |
| Wi-Fi/Bluetooth | Turn off when not needed |
| GPS | Turn off if location data is unnecessary |
| Batteries | Base the number on tested runtime |
| Փաուեր բանկ | Use only if charging while recording is supported |
| Պահեստային մարտկոցներ | Keep them protected from extreme temperatures |
| Memory card | Use a compatible, sufficiently fast card |
SJCAM S10: A Compact Option for Longer Rides
If you need longer recording sessions without carrying several standalone batteries, the SJCAM S10 offers up to 115 minutes of 4K/30fps recording as a standalone camera and up to 290 minutes with the Boost Pod, based on SJCAM’s controlled laboratory testing. The S10 also supports recording while charging. Actual battery performance varies depending on settings, usage patterns, and environmental conditions.
5 Common Mistakes That Reduce Action Camera Battery Life
- Leaving Wi-Fi or Bluetooth enabled when you don’t need them.
- Using the highest resolution and frame rate for the entire ride.
- Leaving spare batteries exposed to extreme temperatures.
- Leaving the camera powered on when you’re not recording.
- Using damaged, incompatible, or non-recommended batteries.
Quick Checklist Before a Long Ride
- Charge the camera and spare batteries before the ride.
- Check that the memory card has enough available storage.
- Choose a resolution and frame rate appropriate for the ride.
- Turn off Wi-Fi, Bluetooth, GPS, or voice control when you don’t need them.
- Set the screen to turn off automatically when supported.
- Carry enough spare batteries or a compatible external power source.
- Keep spare batteries away from extreme heat and cold.
- Check charging ports, cables, and weather seals before riding.
- Make sure external cables do not interfere with steering or rider movement.
Հաճախակի տրվող հարցեր
Action camera battery life varies depending on the camera model, resolution, frame rate, stabilization, screen use, wireless features, temperature, and recording conditions. For a long cycling trip, check the manufacturer’s published runtime for your specific camera and recording settings. If you plan to record for several hours, carry compatible spare batteries or an external power source when supported.
If battery life and storage are your priorities, 1080p can be a practical choice for long cycling trips. Lower-resolution recording may reduce the camera’s processing workload and typically requires less storage than higher-resolution video. Use 4K when you need more detail or plan to capture specific sections of the ride at higher quality.
Some action cameras support recording while charging, but the feature varies by model. Check your camera’s specifications or manual before relying on an external power source during a ride. If you use a power bank, test the camera, cable, and charging setup before the trip, and make sure the cable does not interfere with steering, braking, or rider movement.
Cold temperatures can reduce the usable capacity and runtime of lithium-ion batteries. For cycling in cold conditions, keep spare batteries protected from extreme temperatures and follow the camera manufacturer’s operating and storage recommendations. It is also a good idea to carry an extra battery if you expect colder-than-normal riding conditions.
Yes. Wi-Fi, Bluetooth, GPS, voice control, and other wireless or connected features can consume additional power when active. If you do not need them during a section of your ride, turning them off can help reduce unnecessary battery consumption.
Final Takeaway
The best way to extend action camera battery life on a long cycling trip is to combine efficient settings with a reliable power plan.
Start by testing your camera with the resolution, frame rate, stabilization, and screen settings you actually plan to use. Turn off features you don’t need, avoid unnecessary continuous recording, and carry enough spare power based on your tested runtime rather than a generic estimate.
For rides lasting six hours or more, having a combination of conservative recording settings, spare batteries, and a compatible power bank gives you more flexibility than relying on a single battery.
Most importantly, test the complete setup before the trip. Your actual camera, battery, memory card, cable, weather, and recording settings will determine how long you can realistically keep filming.