


How to Set Up and Mount Your Action Camera for Surfing for Perfect POV
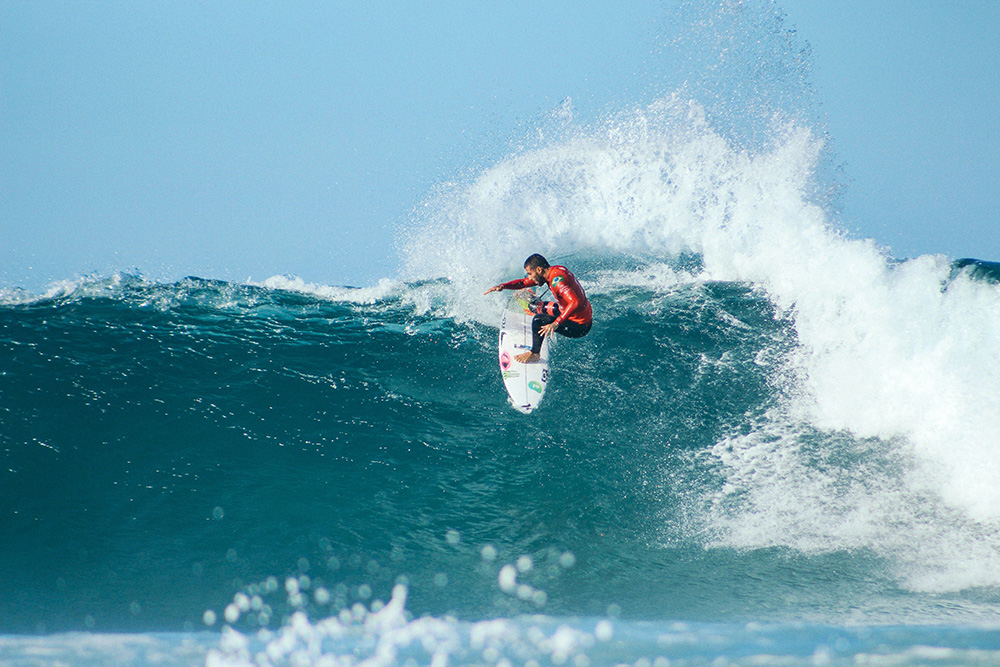
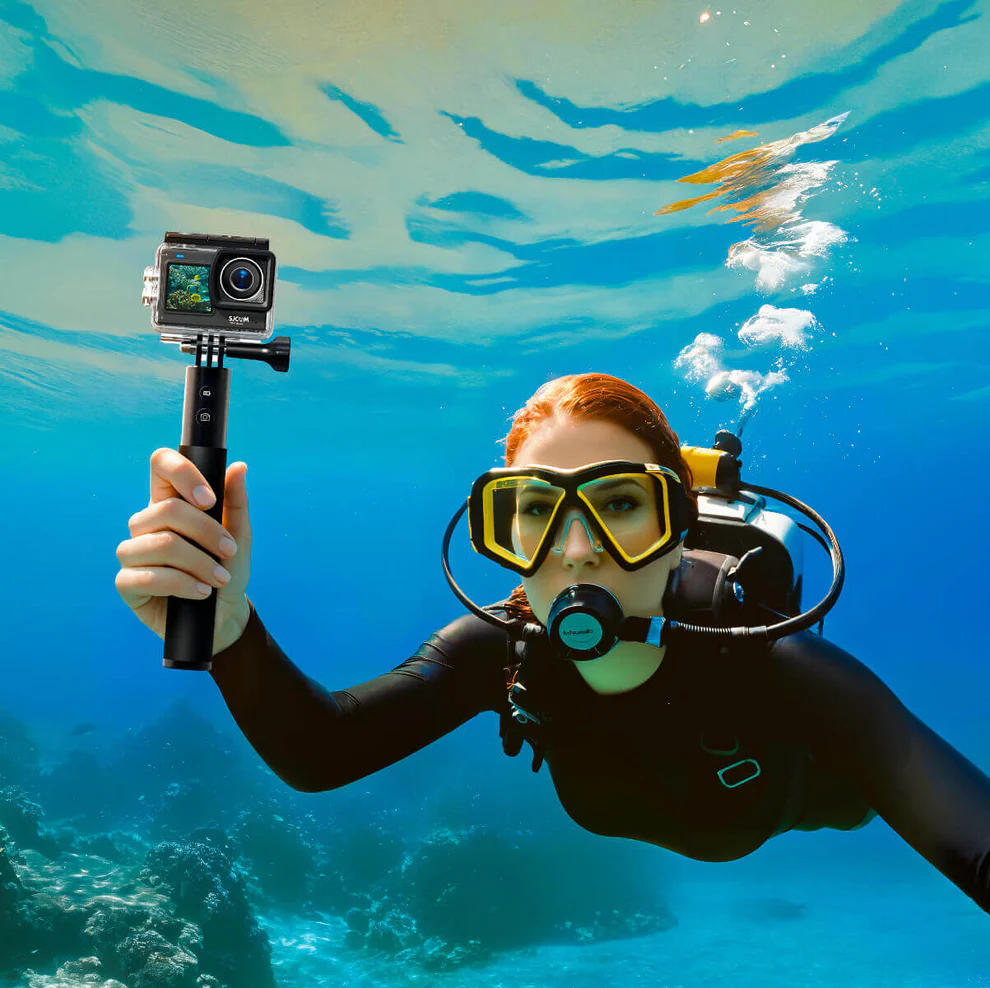
Surfing is an extremely challenging sport. But each week, thousands of people visit a beach in order to ride the waves. If you are also one of these individuals and you love to capture the surfing scenes, then you know that an action camera for surfing can be a lifesaver.
A camera is not a thing to be taken to the sea. The camera body may be damaged by water waves and saltwater. On the same note, the vibrations of the surfboard and sunlight might interfere with the videos when taken continuously. You may end up with a distorted recording if you don’t have the proper setup.
In order to get a perfect picture, the surf camera has to be adjusted to record video under extreme conditions in the ocean. Also, camera mounts for securing the camera to the board and protective casings to protect the camera from strong ocean waves will have to be used.
Advanced Video Settings: Freezing Water & Taming Motion
Given below are a few things you should keep in mind to record high-quality surfing videos.
Resolution vs. Frame Rate
You can choose from any of the following options, based on what you wish to capture:
| Surf Scenario | Recommended Setting | Why It Works |
| Barrel riding | 4K/120 fps | Smooth & slow-motion playback |
| Long point breaks | 4K/60 fps | Detailed and efficient battery life |
| Social edits | 4K/30 fps | Significant time savings and reduced file sizes |
Based on SD Association Video Speed Standards (VSS), continuous recording videos at higher resolution and frame rate require constant write speed.
Locking of the shutter and ISO
When taking a picture in the middle of the day, when at the beach, most of the cameras will automatically adjust the shutter speed to a low value and narrow the aperture. This can result in an out-of-focus video.
To attain better performance, manually adjusting the shutter speed to 1/500s, or even a slower speed when surfing in light winds, and 1/1000s when heading out on extreme surf is preferred.
Keep ISO manually limited:
- In sunny, hot weather: ISO 100 – 200
- In the early morning: ISO 400 doubtful topmost
- Avoid using ISO 800+ (where possible)
Tips to Revert Color Loss due to Water
The red wavelengths of light are absorbed in ocean water/saltwater. This will result in the underwater recordings being blue and green. Use:
- The built-in color correction of the camera during recording
- Grading later using “flat” color profiles!
- Original red filter lenses for depths up to 2 m
The red filter correction is very much suggested in high-quality surf videos because it occurs in the recording.
Reduce Camera Shake during Surfing
Here we will discuss the reasons behind the shaky surf recordings and how to reduce them.
Why Are Surfing Videos Unstable?
All boards make a vibration upon use. With the camera being mounted on the surfboard, any water shocks or vibrations will be directly passed via the camera body. The result is
- Loose mounting of the camera
- Camera shake due to nose mounting
The above-mentioned issues affect videos greatly when used individually or in combination.
EIS with 6-Axis Gyro
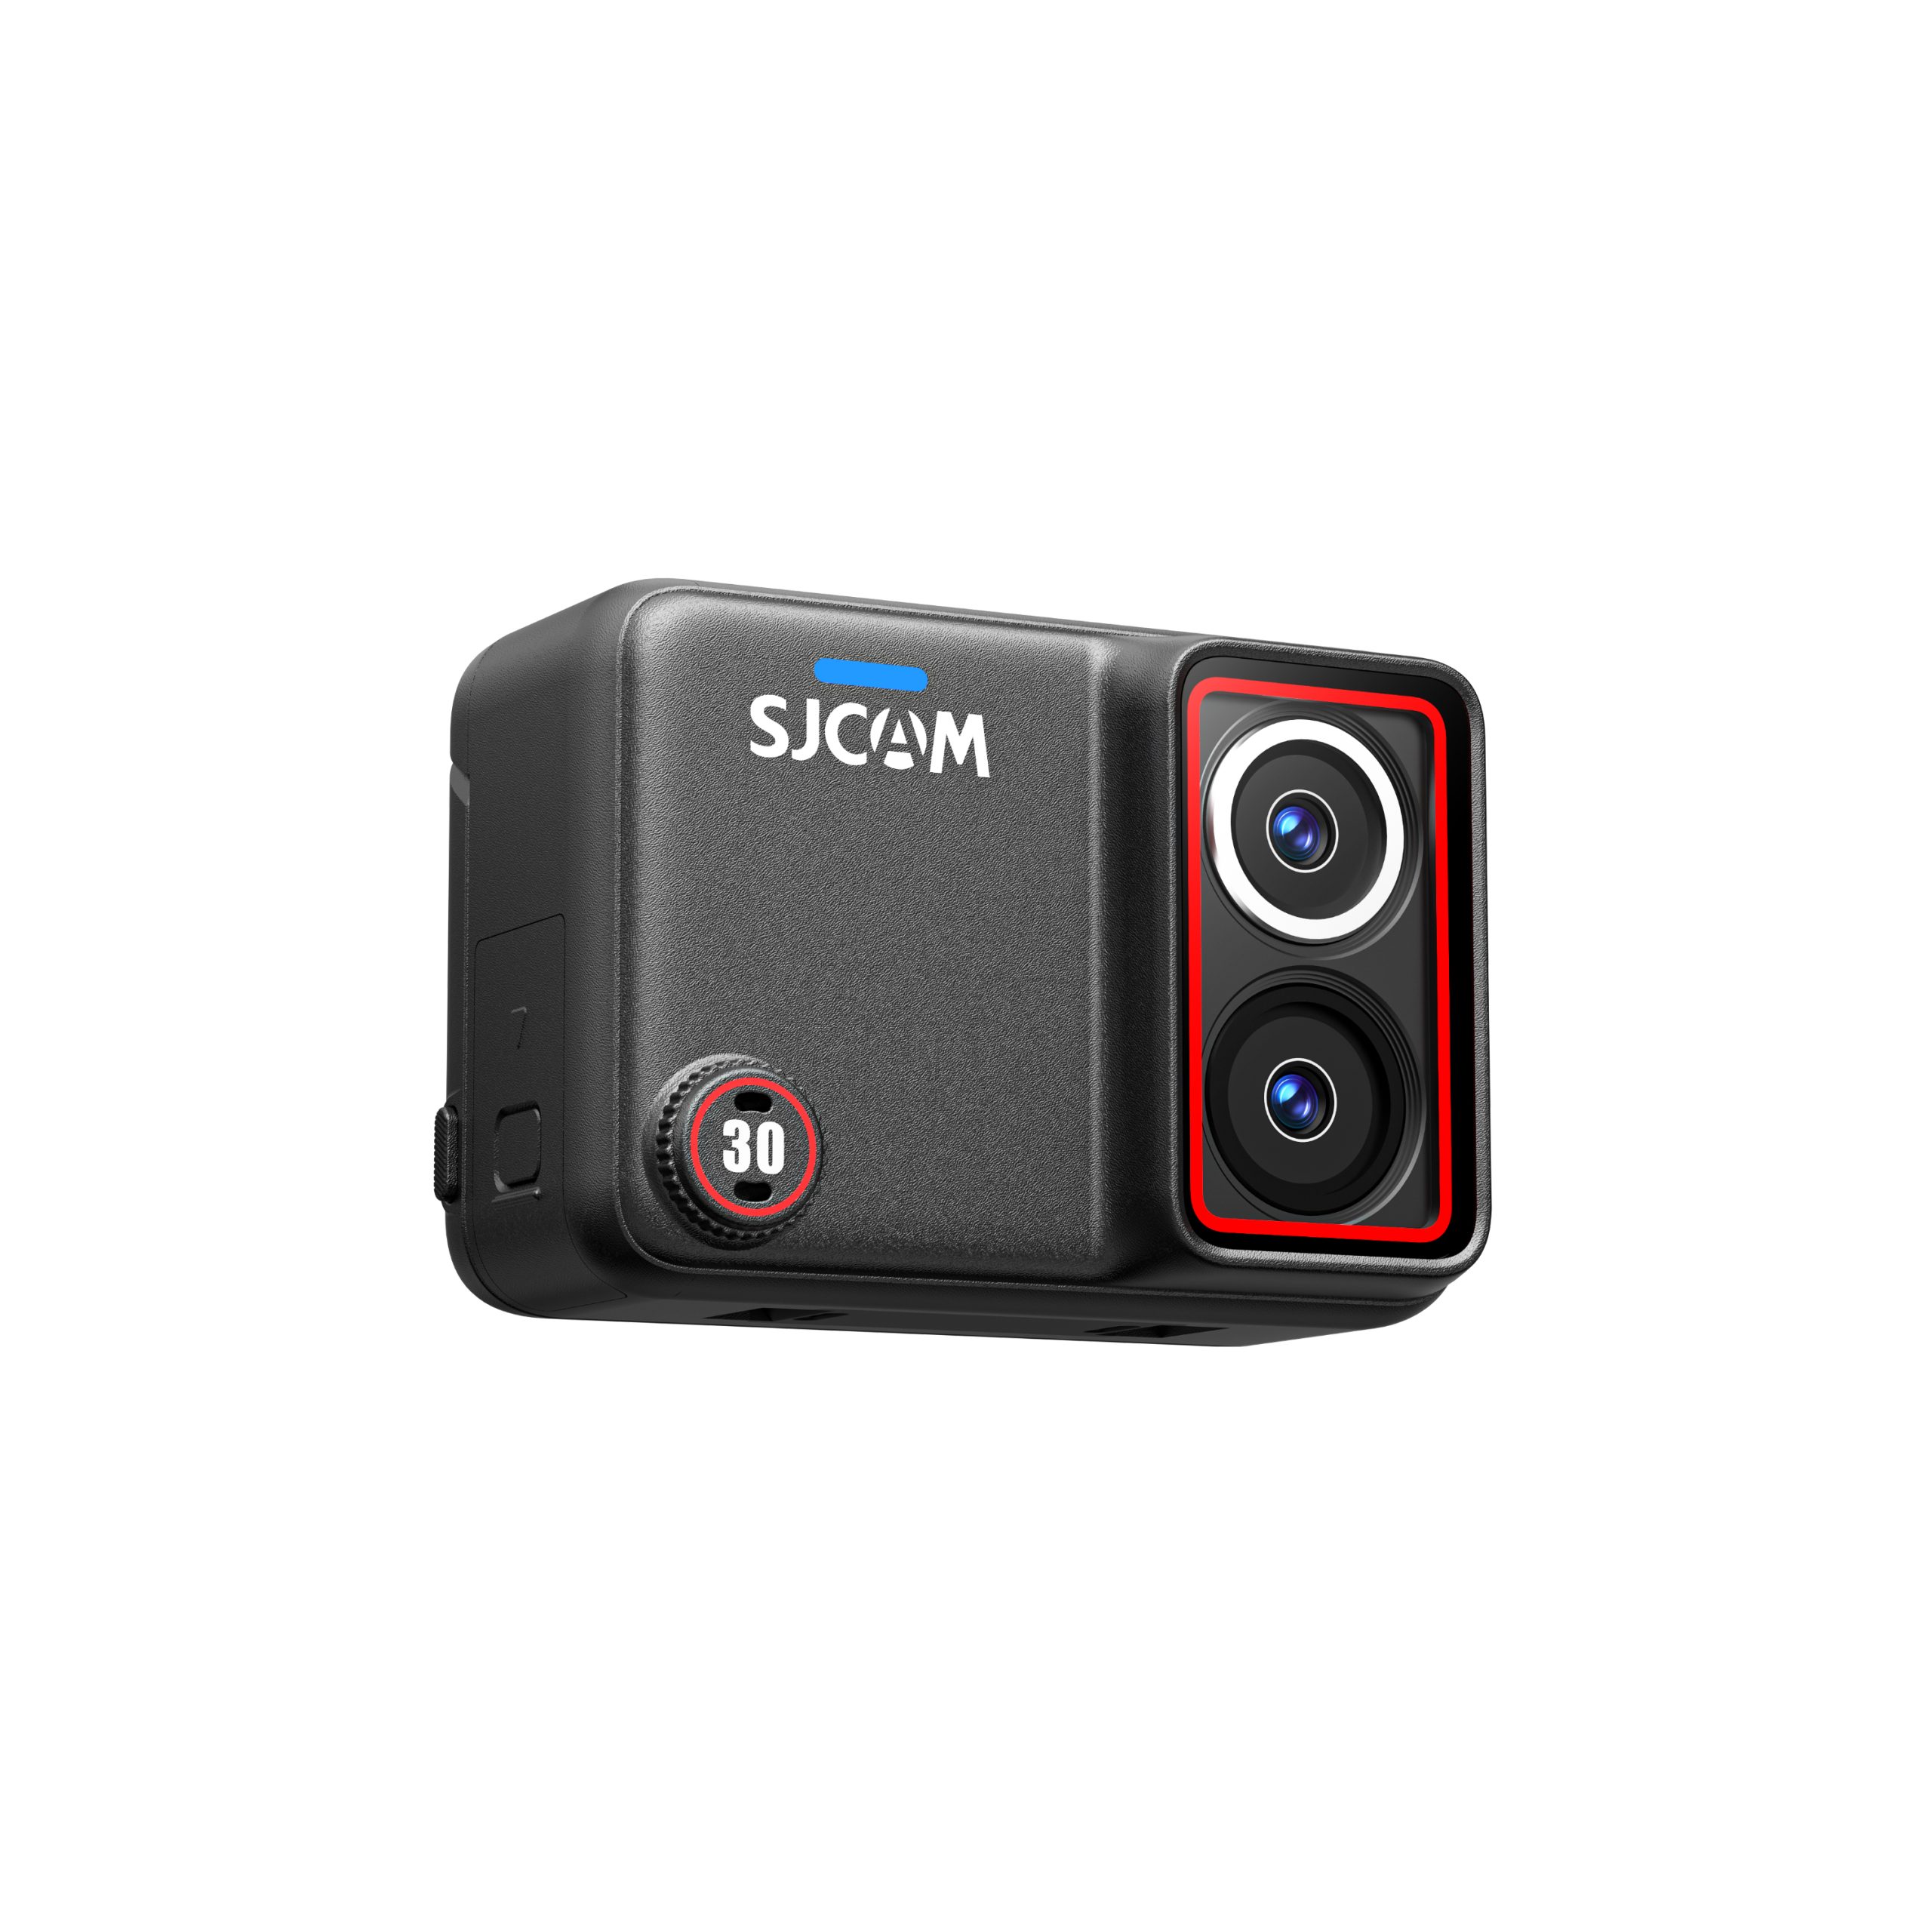
Modern EIS uses internal gyroscopes to reposition frames in real-time. For example, cameras such as the SJCAM SJ30 have the digital warping minimization feature based on the data of the 6-axis gyro to minimize distortion.
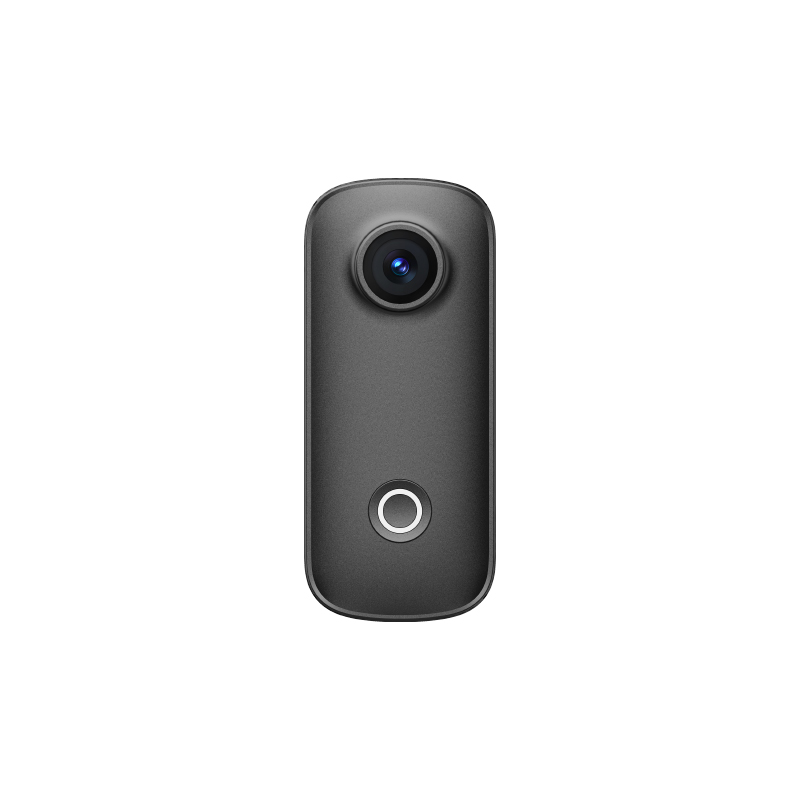
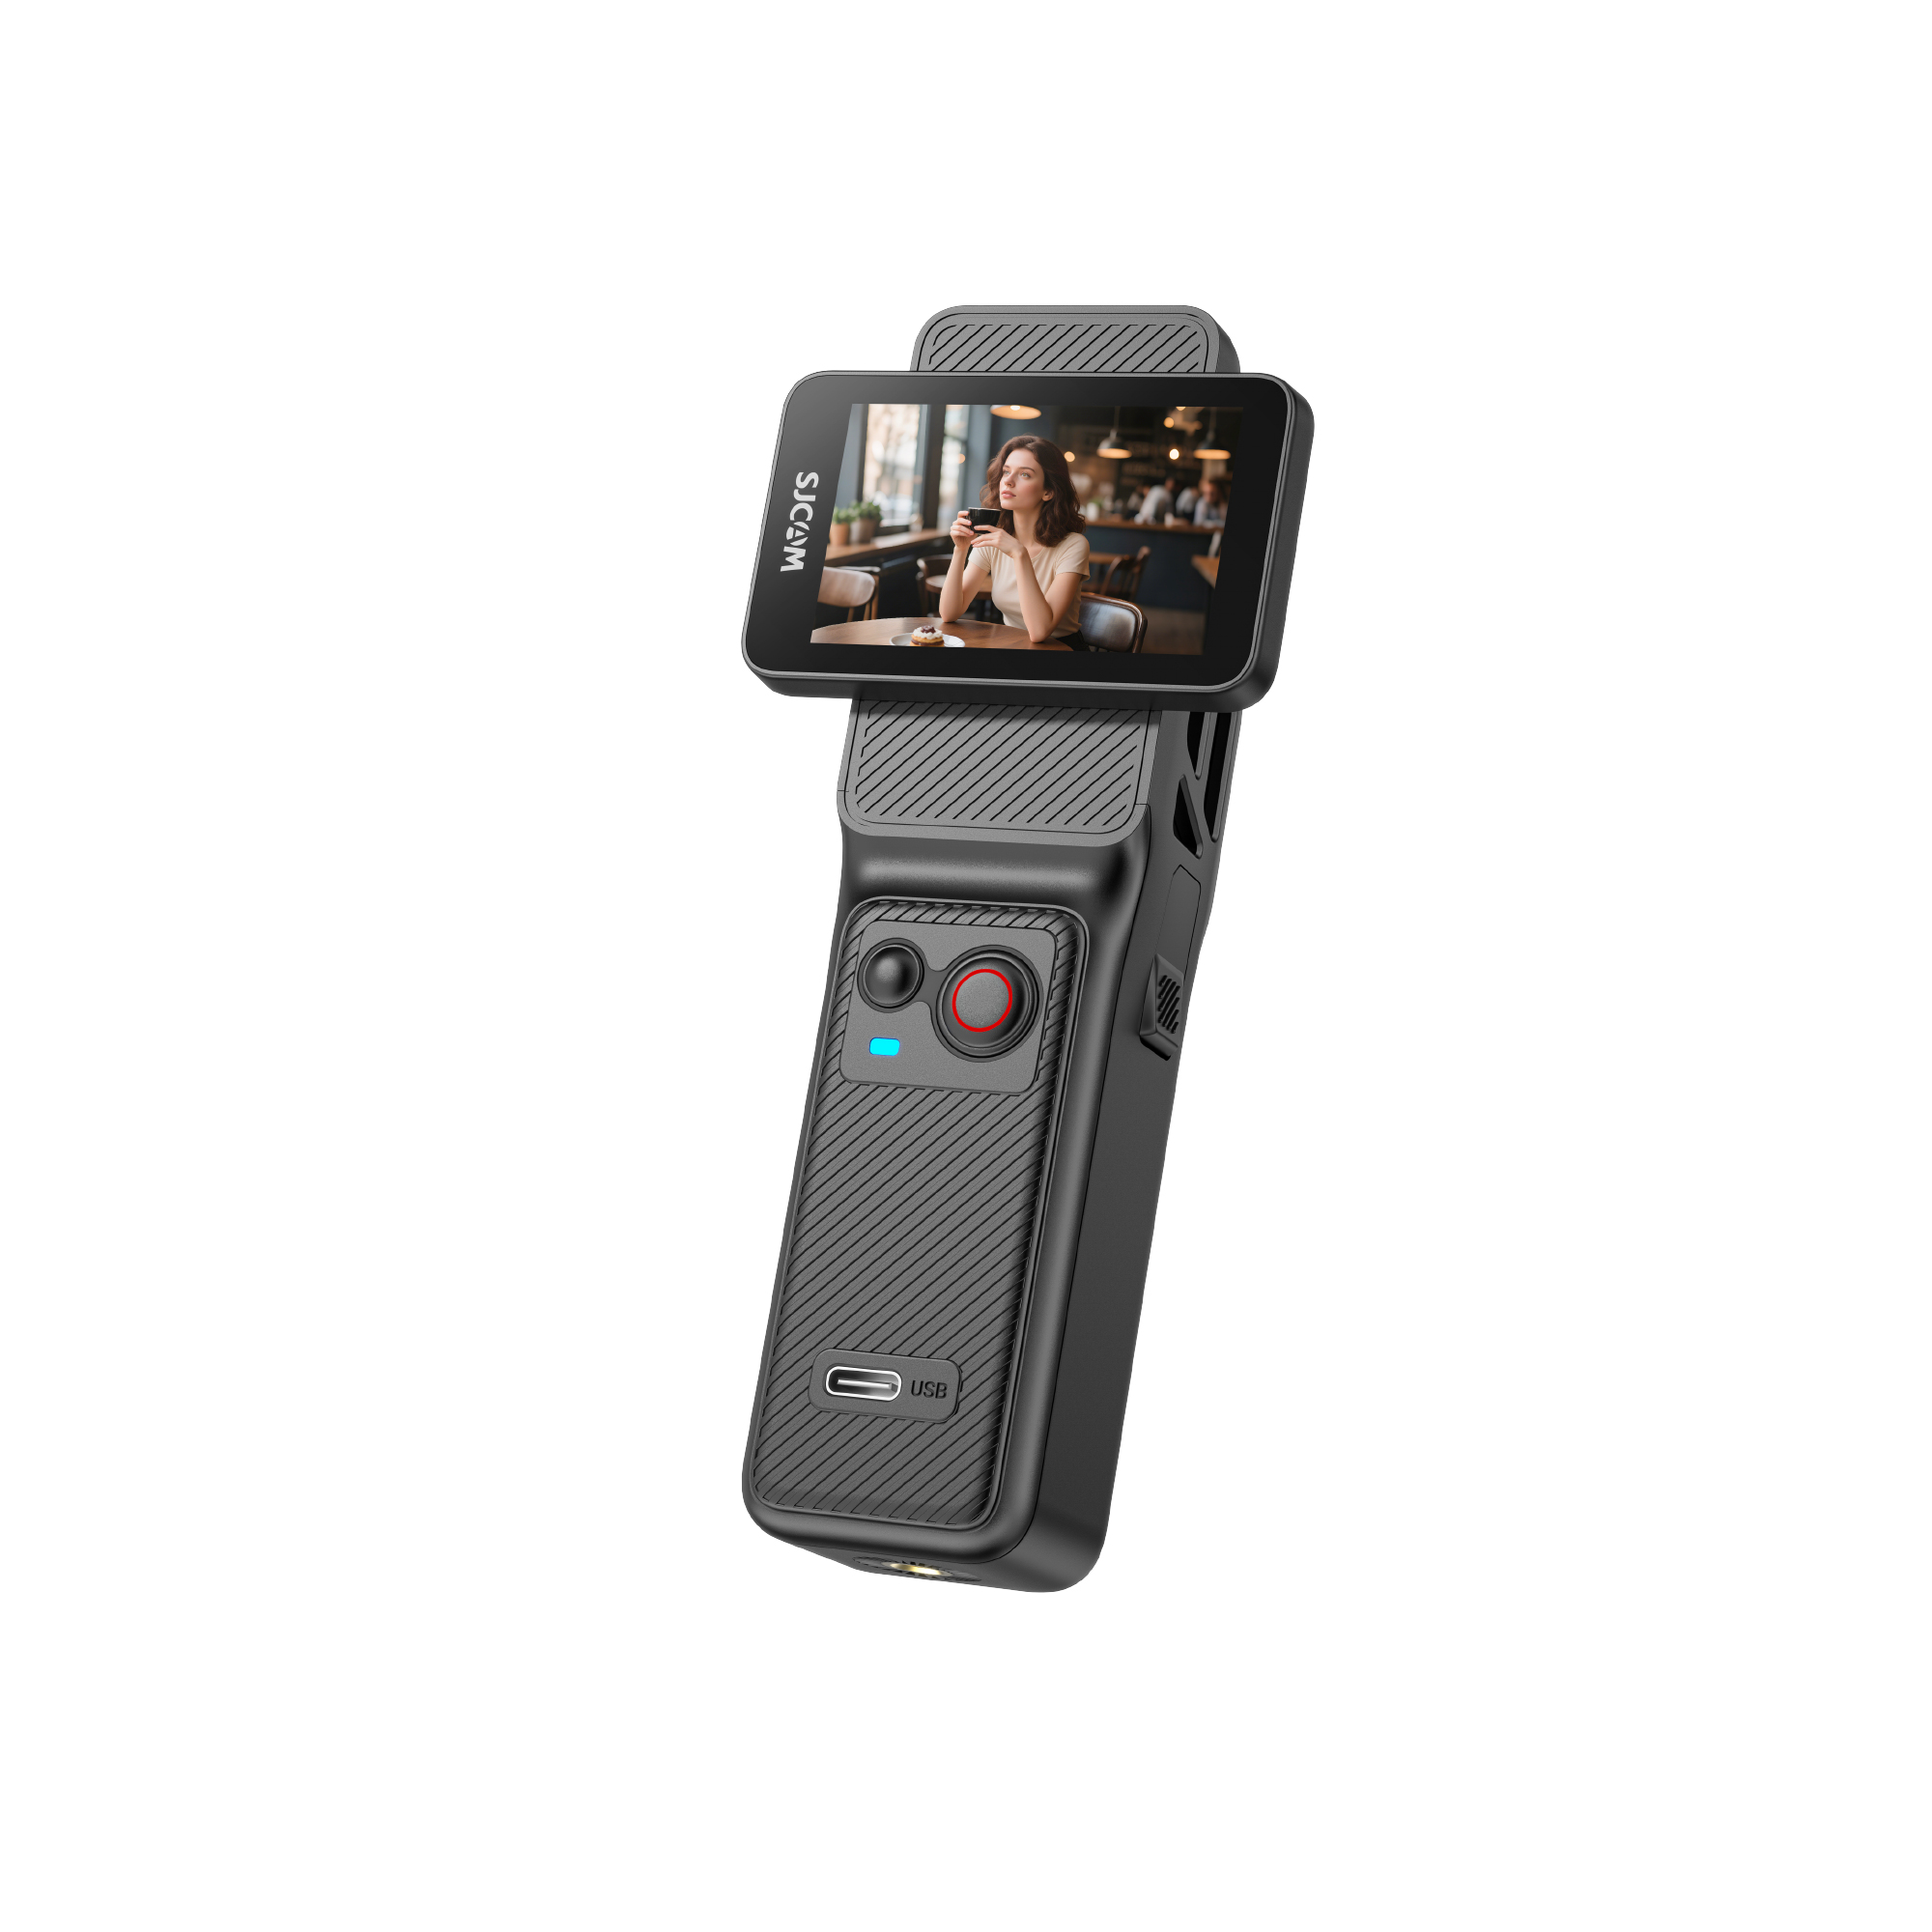
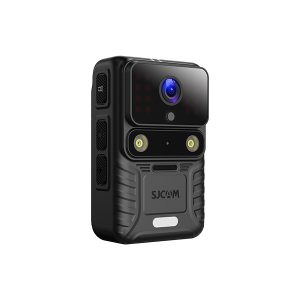
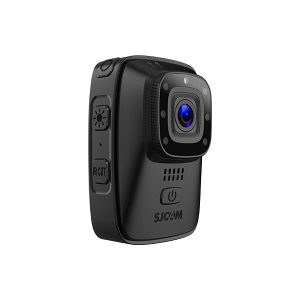
Using the SJ30 Action Camera for Surf Recordings
There are many cameras for surfing on the market. But one that has become popular is the SJ30, because of its features aimed at capturing stable videos.
SteadyMotion 2.0 Image Stabilization: When on, this helps in recording smooth and stable video.
Long Battery Life: Even at 4K 30 fps, the SJ30 can record a video of 150 minutes.
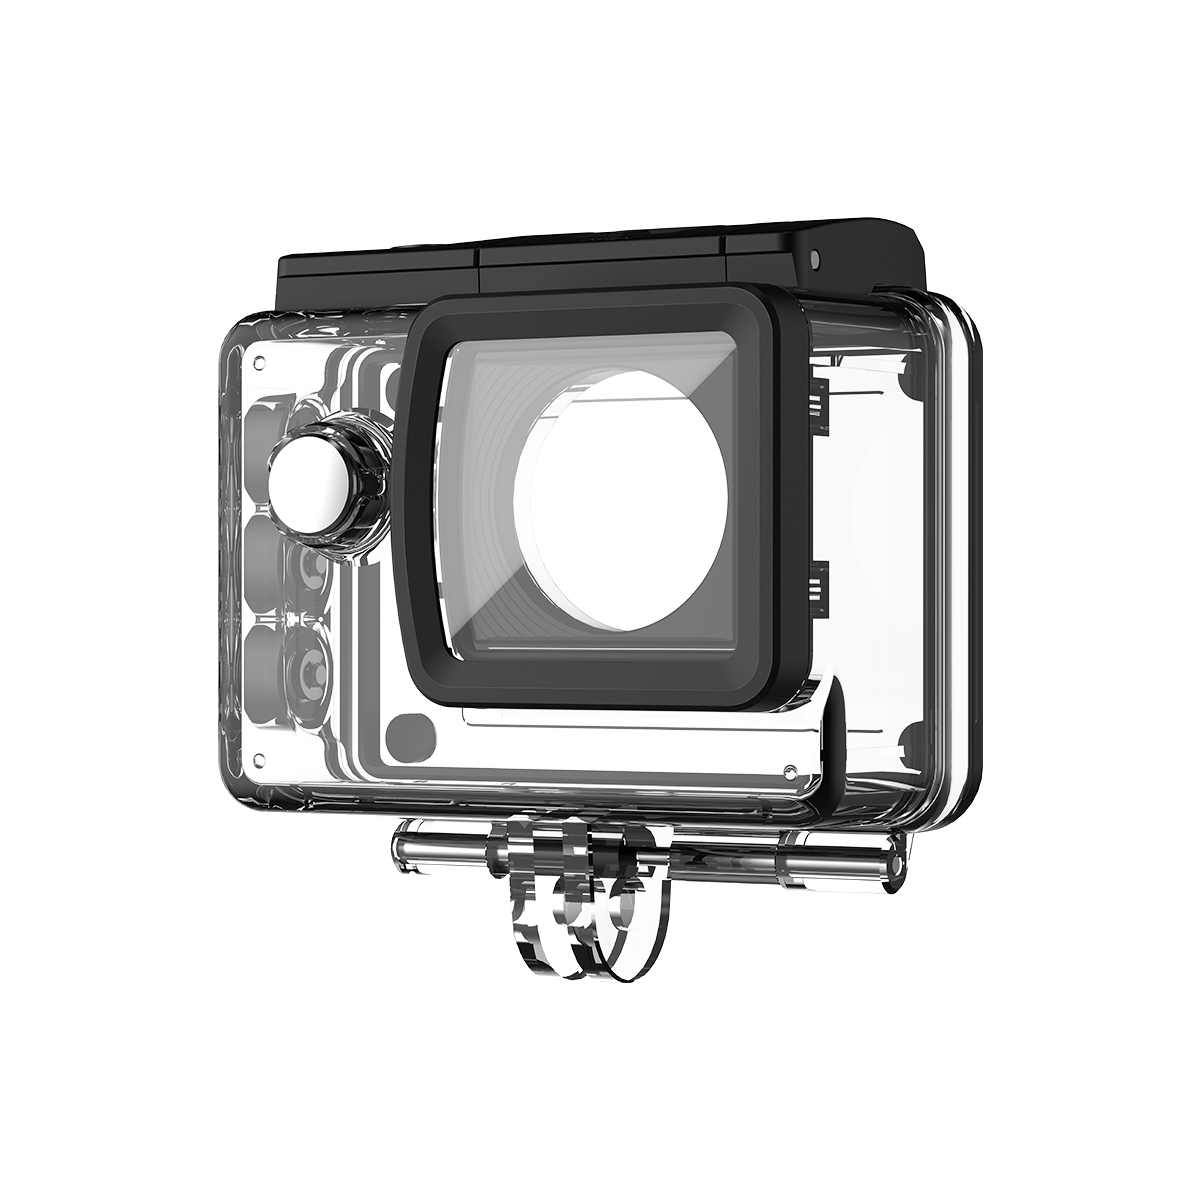
Waterproof up to 30 meters: With waterproof housing, the SJ30 can withstand water splashes and waves. It can even be submerged in the water.
Horizon Correction: Assists with maintaining the horizon when the camera is always tilted or rotated.
Together, these features alone make the SJ30 a good choice among surfers. It has a strong body and can help record high-quality, stable recordings in tough oceanic conditions.
How to Use SJ30 When in Heavy Surf?
Ideally speaking, it is best to set up the SJ30 before mounting it on the surfboard so you can enjoy surfing instead of controlling the camera.
Quick Setup Protocol
Following are a few configurations that indicate which setup to use in which scenario:
| Condition | Resolution | Frame Rate | EIS |
| Heavy barrels | 4K | 60 fps | Super Smooth |
| Scenic lineups | 8K | 20 fps | Standard |
| Sunset sessions | 4K | 30 fps | Super Smooth |
Enable:
- High-bitrate recording
- Wind-noise reduction
- Lens correction
- Horizon leveling
One-Touch Capture
When riding a surfboard, you cannot manually handle the camera. Here, the one-button quick recording feature of SJ30 comes to the rescue. Once the camera is powered on, simply press a button to start recording.
Gear Setup & Safety: Keeping Equipment Secure in Strong Surf Conditions
It is important to properly mount the camera for recording high-quality videos. Weak mountings will only damage the camera and the recording.
The Mouth Mount
Professional surfers usually prefer the mouth mount. The recordings produced by the neck mount are smoother.
Below are a few advantages of this mounting:
- Natural head tracking
- Better barrel alignment
- Reduced deck vibration
The Deck Mount
Set the mount about 18 to 25 cm behind the board nose, facing backwards. This angle records:
- Position of the Foot
- Size of the Wave
- Water spray
The Redundant Tether Protocol
The adhesive mountings start to break with every hydrodynamic pressure. Always attach:
- Primary adhesive mount
- Secondary tether leash
- Backup float attachment
A secondary leash is not an optional choice in surf recordings; it’s a necessary piece of equipment.
Other Safety-related Accessories
Besides the above things, you can also think of using the following accessories in order to keep your camera safe when surfing:
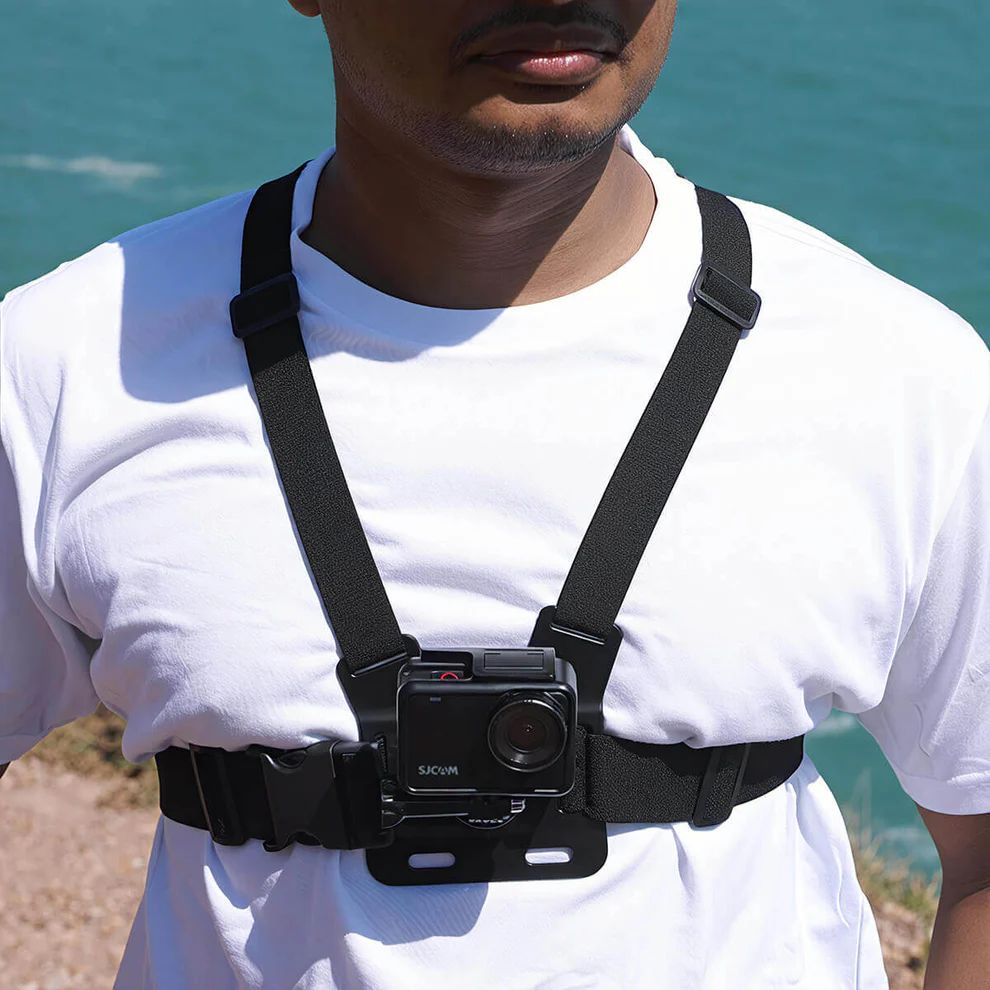
- Chest Strap/Helmet Holder: When surfing, the most stable POV is when held to the chest.
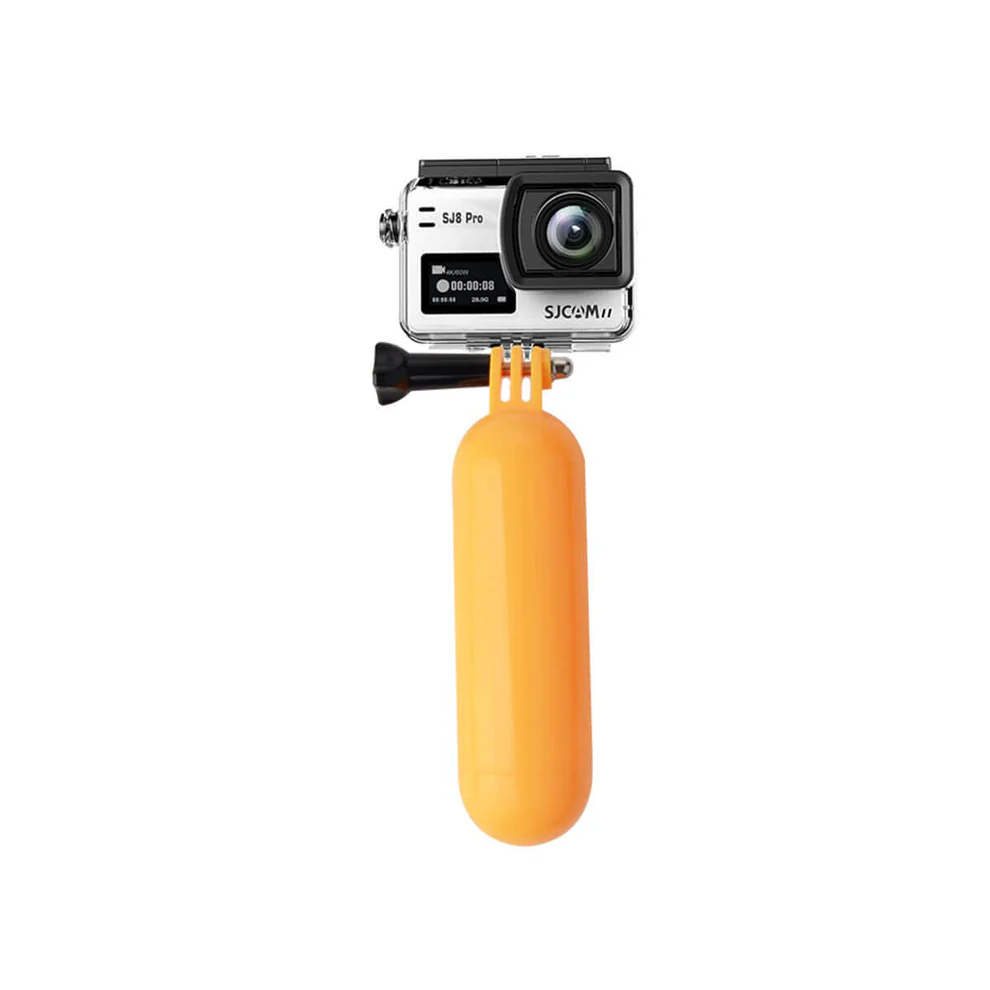
- Floaty Bobber: To avoid the camera being submerged into the water.
- 30m Waterproof Case: To keep the camera dry in the water.
You will be able to have fun surfing with these accessories without thinking about the camera or the conditions of the video.
Better Video Quality: Eliminating Bitrate Problems
High-resolution video capture will also need some outstanding memory cards. Loss of recording can happen in the middle of the surfing due to slow cards.
Memory Card Requirements
In case you would like to capture your surfing in 4K or 8K, we will suggest using V30 and above microSD cards. Video speed classes are guaranteed to ensure the right performance required in a continuous capture.
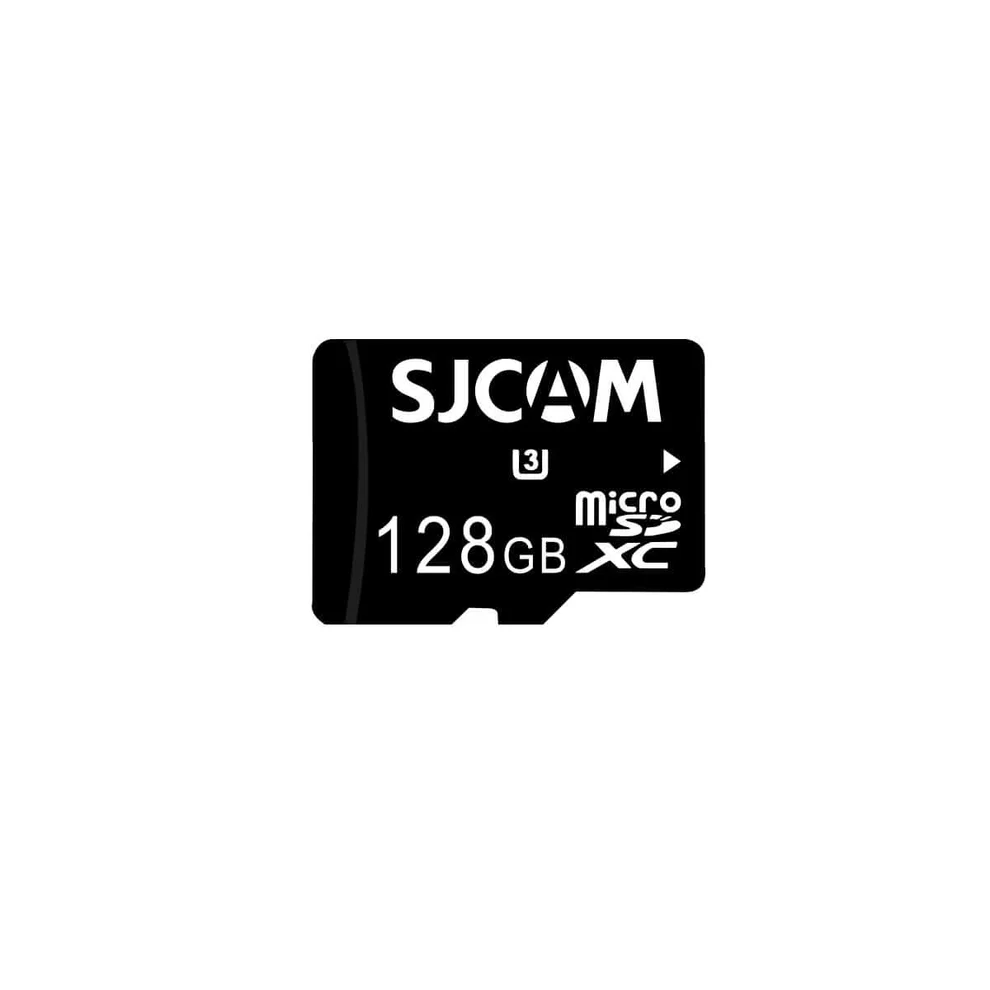
When surfing for longer periods, you can also select:
- A 128GB memory card to record up to 3 hours of 4k videos
- A 256GB memory card to record videos all day
How to Maintain SJ30 for Longer Use?
Even if you don’t see any corrosion, saltwater quickly begins to destroy electronics. To protect the camera, read the information below:
Pressure & Housing Seal
A tremendous amount of force is generated when there are heavy wipeouts hitting waterproof housings. Always:
- Fit and lock the camera in the 30 m waterproof camera case
- Take the white rubber O-ring and carefully inspect it
- Before sealing, strip off hair, wax, or sand
As little as one grain of sand can affect the waterproofing integrity.
The Freshwater Flush
Eventually, salt crystals can wreak havoc on the buttons, hinges, and seals. To protect the camera after each surf:
- Thoroughly flush the housing with clean water
- Dry externally
- Remove the camera
- Rinse the naked body off
- Air dry before recharging
If this were not done, the life span of seals would be drastically cut.
Frequently Asked Questions
The 128GB should last for approximately 3 hours with 4K/60 fps. If it is a serious surf trip, carry at least 256GB total storage.
Prevent water from fogging your lens by applying a hydrophobic lens coating (like Rain-X Lens Spray) or a lens water repellent. These will make it easy to remove the water droplets from the camera’s lens.
One of the primary reasons can be the use of the default mode, rather than “Super Smooth.” The default mode is not very effective when on a vibrating surfboard. If you would like a smooth video, you can turn on the “SteadyMotion 2.0 image stabilization.”
Another reason can be your mount. The vibration is passed to the camera through a rigid mount. To solve this, you can utilize a thin neoprene or silicone gasket. Place any one of them between the mount and board. This will help to significantly minimize chatter in front of the camera.